Secure Shell (SSH) Access
Securely connect to and manage your virtual machines using the Secure Shell (SSH) protocol.
Secure Shell (SSH) is a network communication protocol that provides a secure way to access and manage remote resources. SSH is essential for accessing virtual machines (VMs) in Hyperstack. By using SSH, you can securely connect to your VMs, execute commands, and manage applications and services.
To gain SSH access to your VMs in Hyperstack, you must create an SSH key pair. A key pair consists of a private key, which you keep secure on your local machine, and a public key, which is stored in Hyperstack. When you attempt to connect to the VM, the SSH protocol uses these keys to establish a secure and authenticated connection, ensuring unauthorized users cannot gain access. For SSH access, a VM must have a public IP address assigned, as this allows the VM to be reachable over the internet, enabling remote management and connectivity.
Each key pair belongs to a single environment. Only VMs deployed in that same environment can use the key, and a key cannot be moved to another environment after you create it. To use one key in several environments, import the same public key into each one. Create the key before you deploy a VM, because you select it during deployment.
Follow the steps outlined in this article to securely access your virtual machines.
Create an SSH key
You can add a key pair in two ways from the Key Pairs page. Import the public key of a pair you already hold, or have Hyperstack generate a new pair for you. You can also select or add a key while deploying a VM. To add a key programmatically, use the Import key pair API.
Import an existing public key
Use this method when you already hold a key pair. Your private key never leaves your machine. To create a pair locally first, see Manually generate an SSH key pair.
-
Open the key pair form
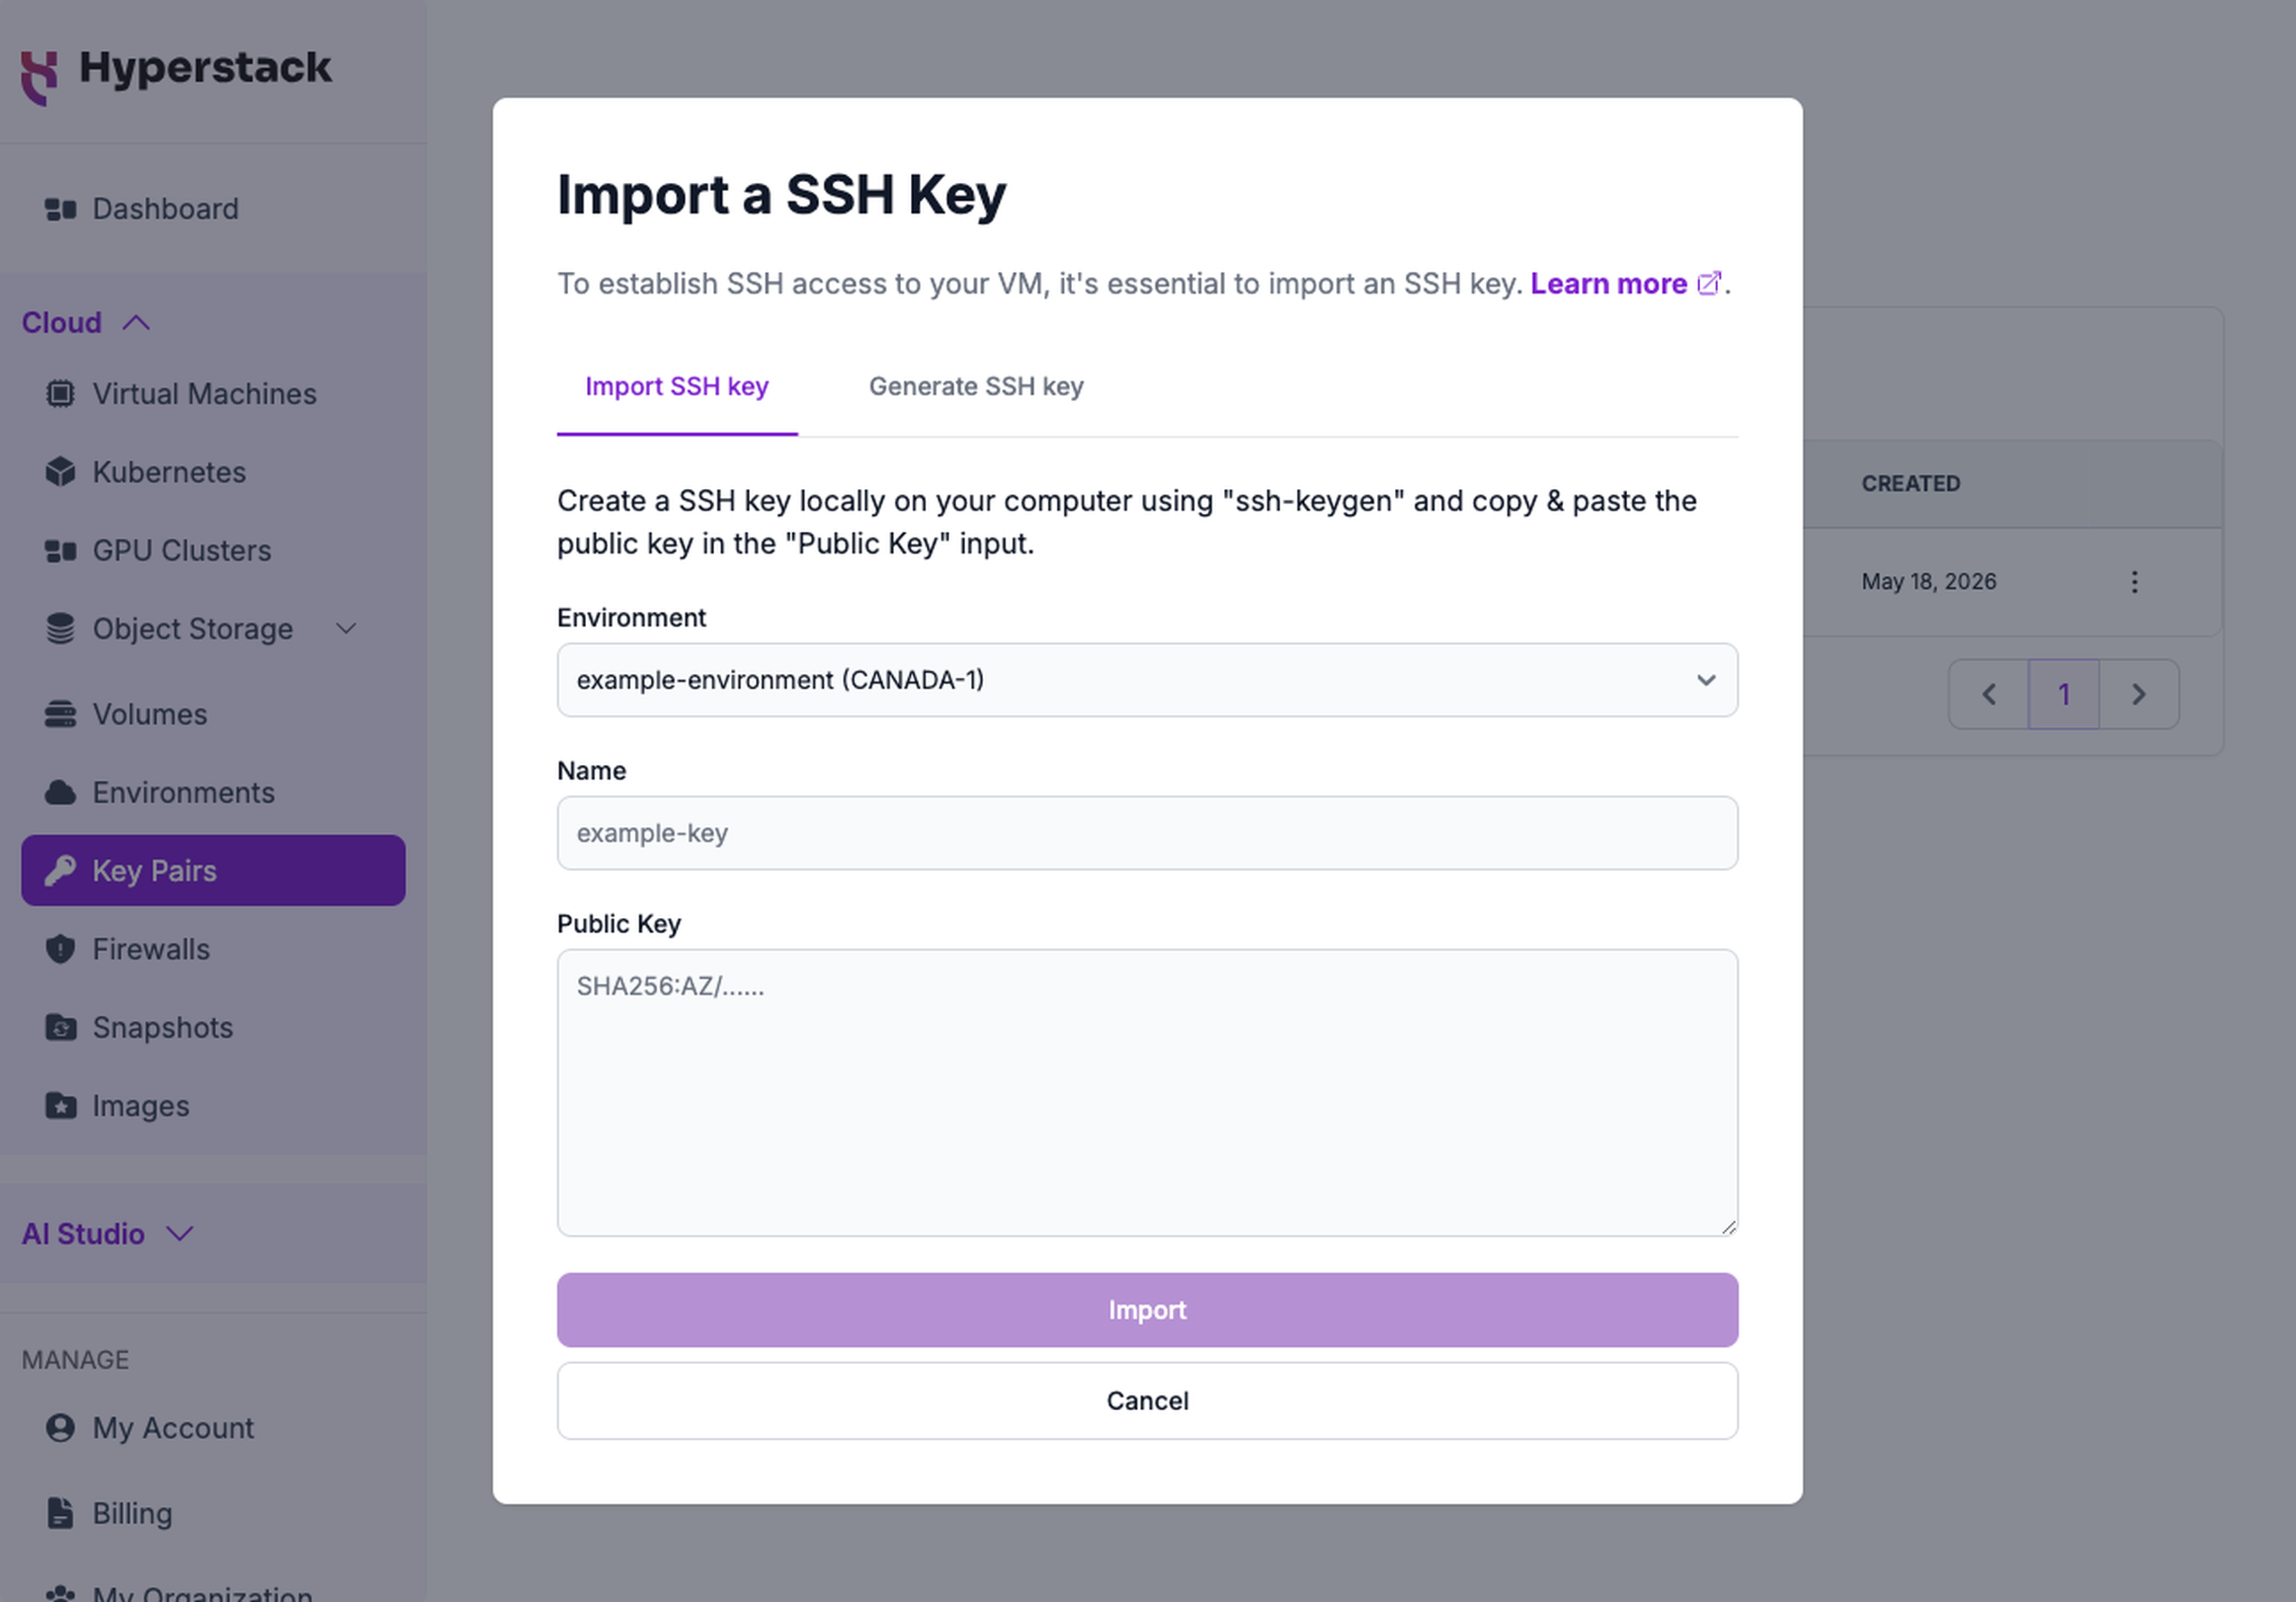
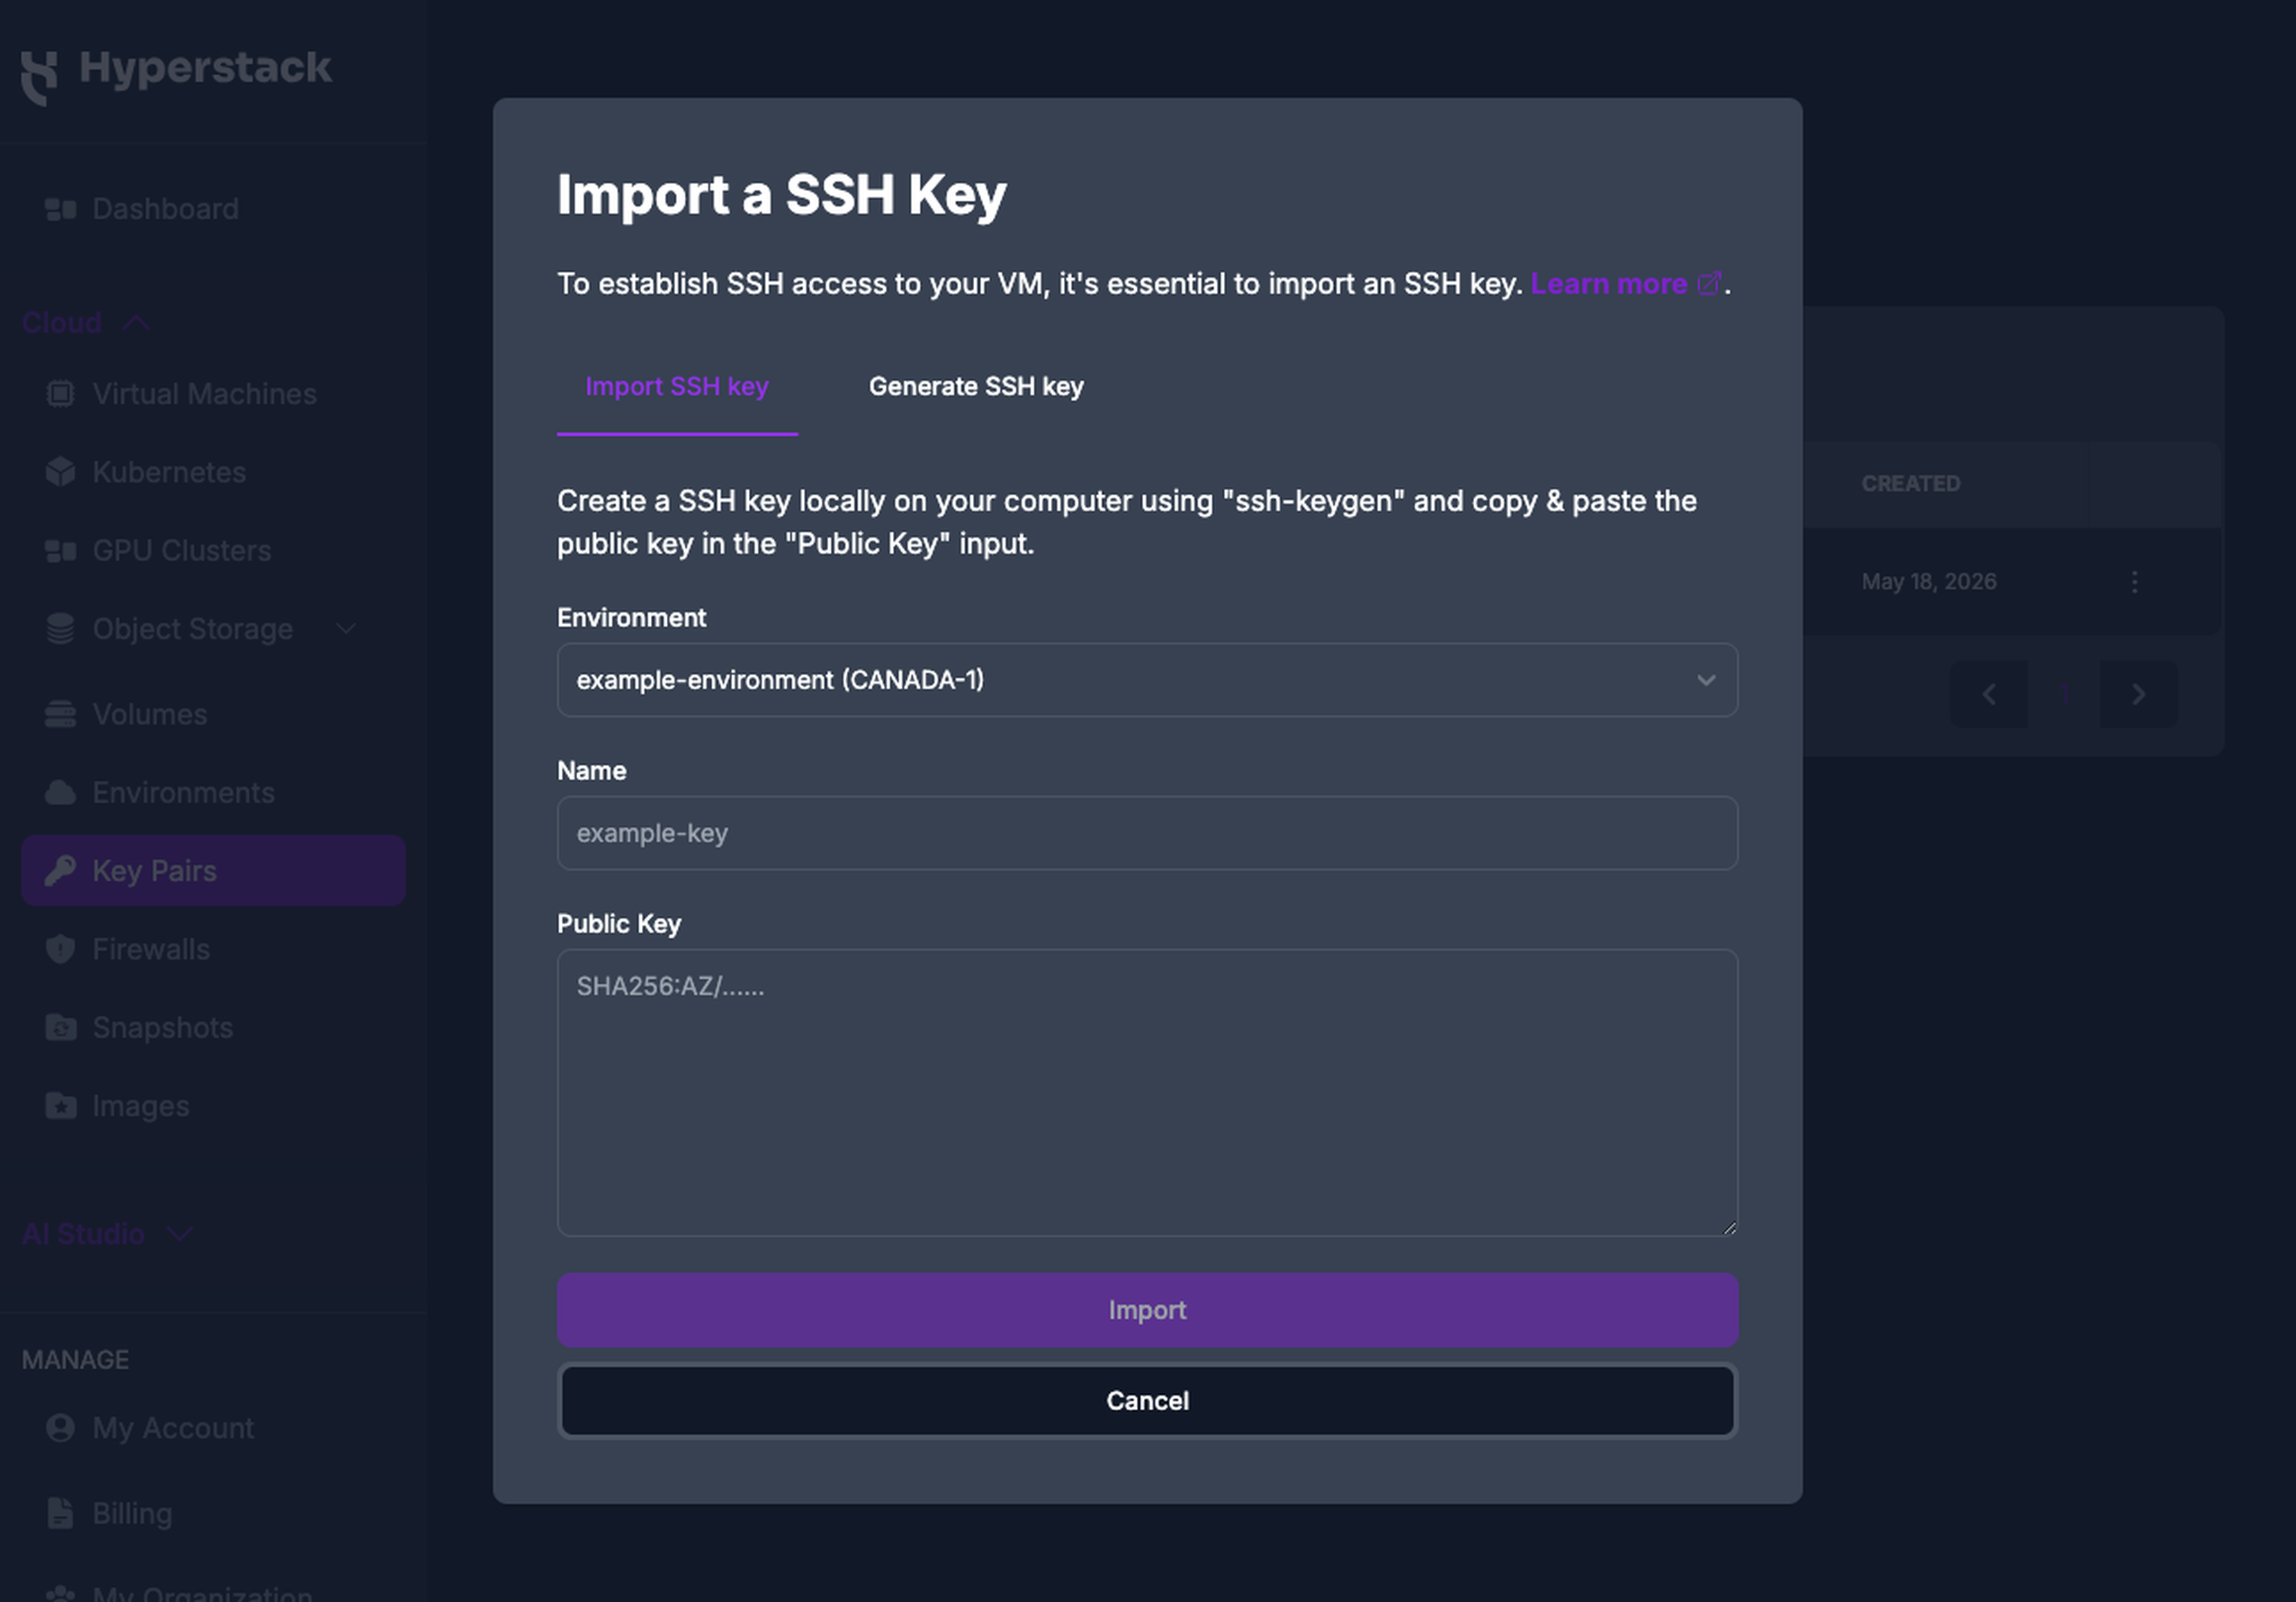
Navigate to the Key Pairs page in Hyperstack and click Create a new Key Pair. The form opens on the Import SSH key tab.
-
Complete the fields
- Select the environment where the key will be created.
- Enter a name for the key pair.
- Paste the full contents of your public key file as a single line, such as
ssh-ed25519 AAAAC3Nz... [email protected]. The key must be a supported key type.
-
Import the key
Click Import. The key pair appears on the Key Pairs page and is available to VMs in the environment you selected.
Generate a new key pair
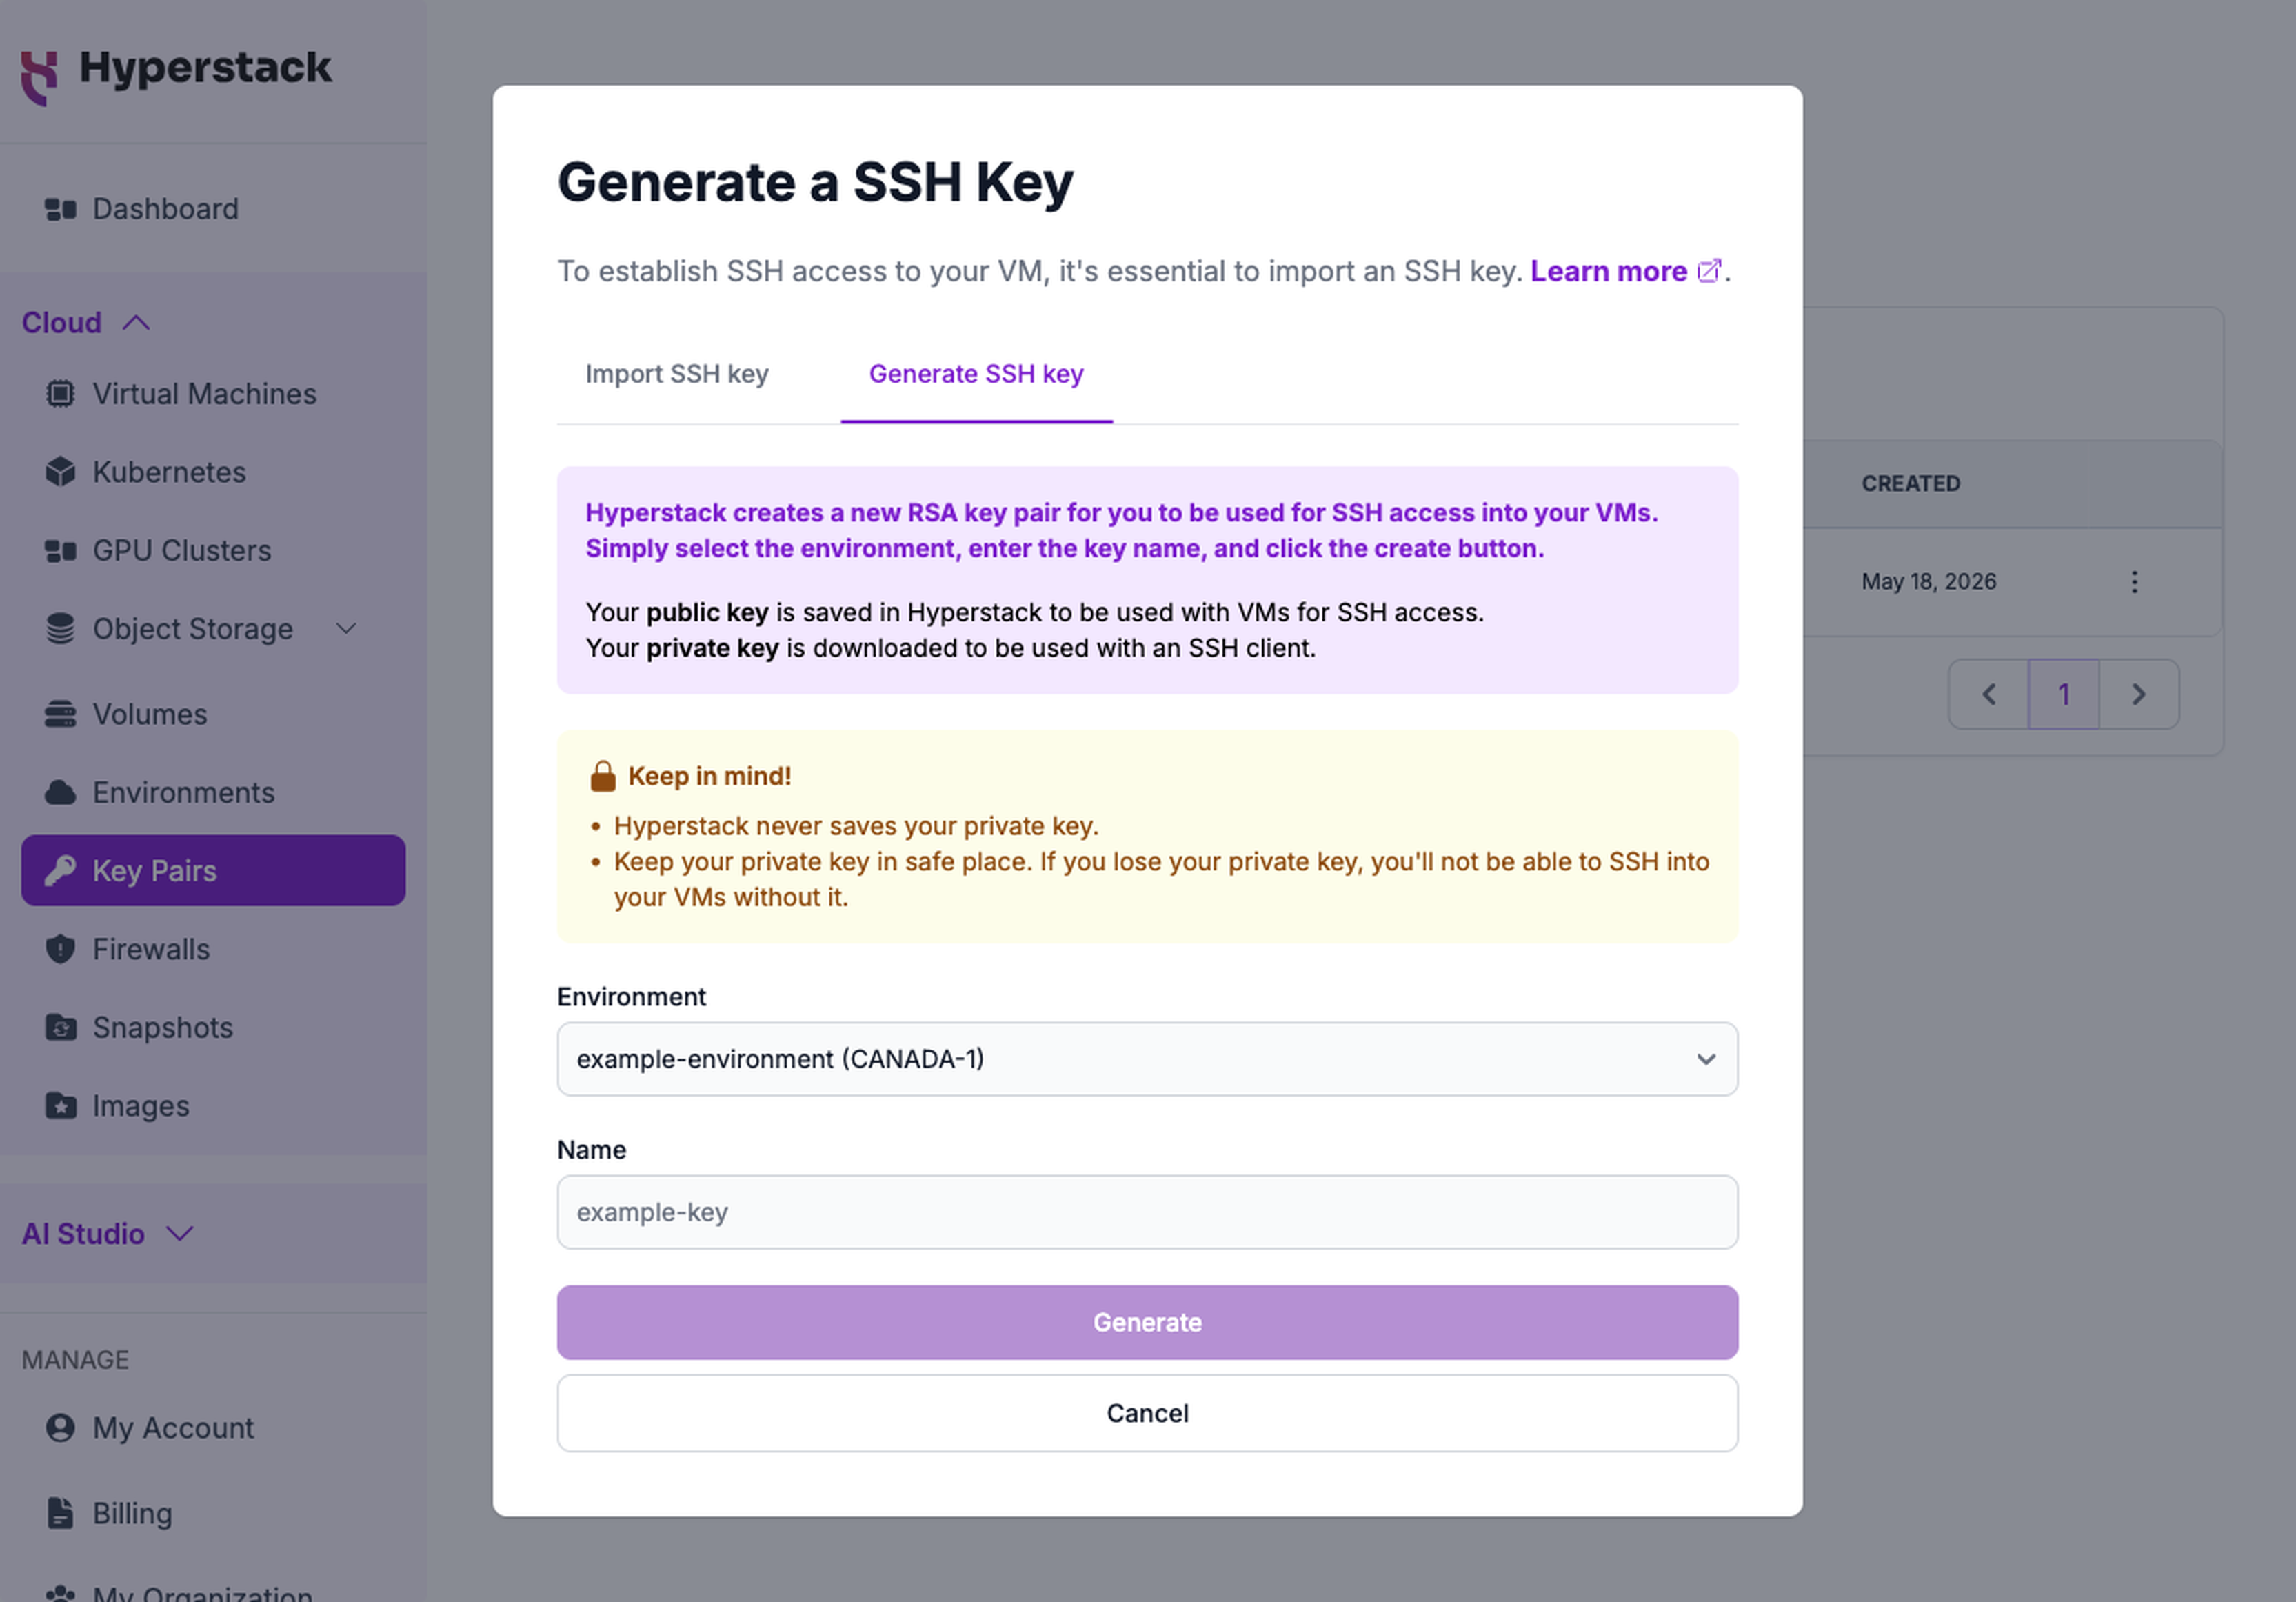
Use this method when you want Hyperstack to create the key for you. Hyperstack generates an RSA key pair, stores the public key, and downloads the private key to your computer.
-
Open the key pair form
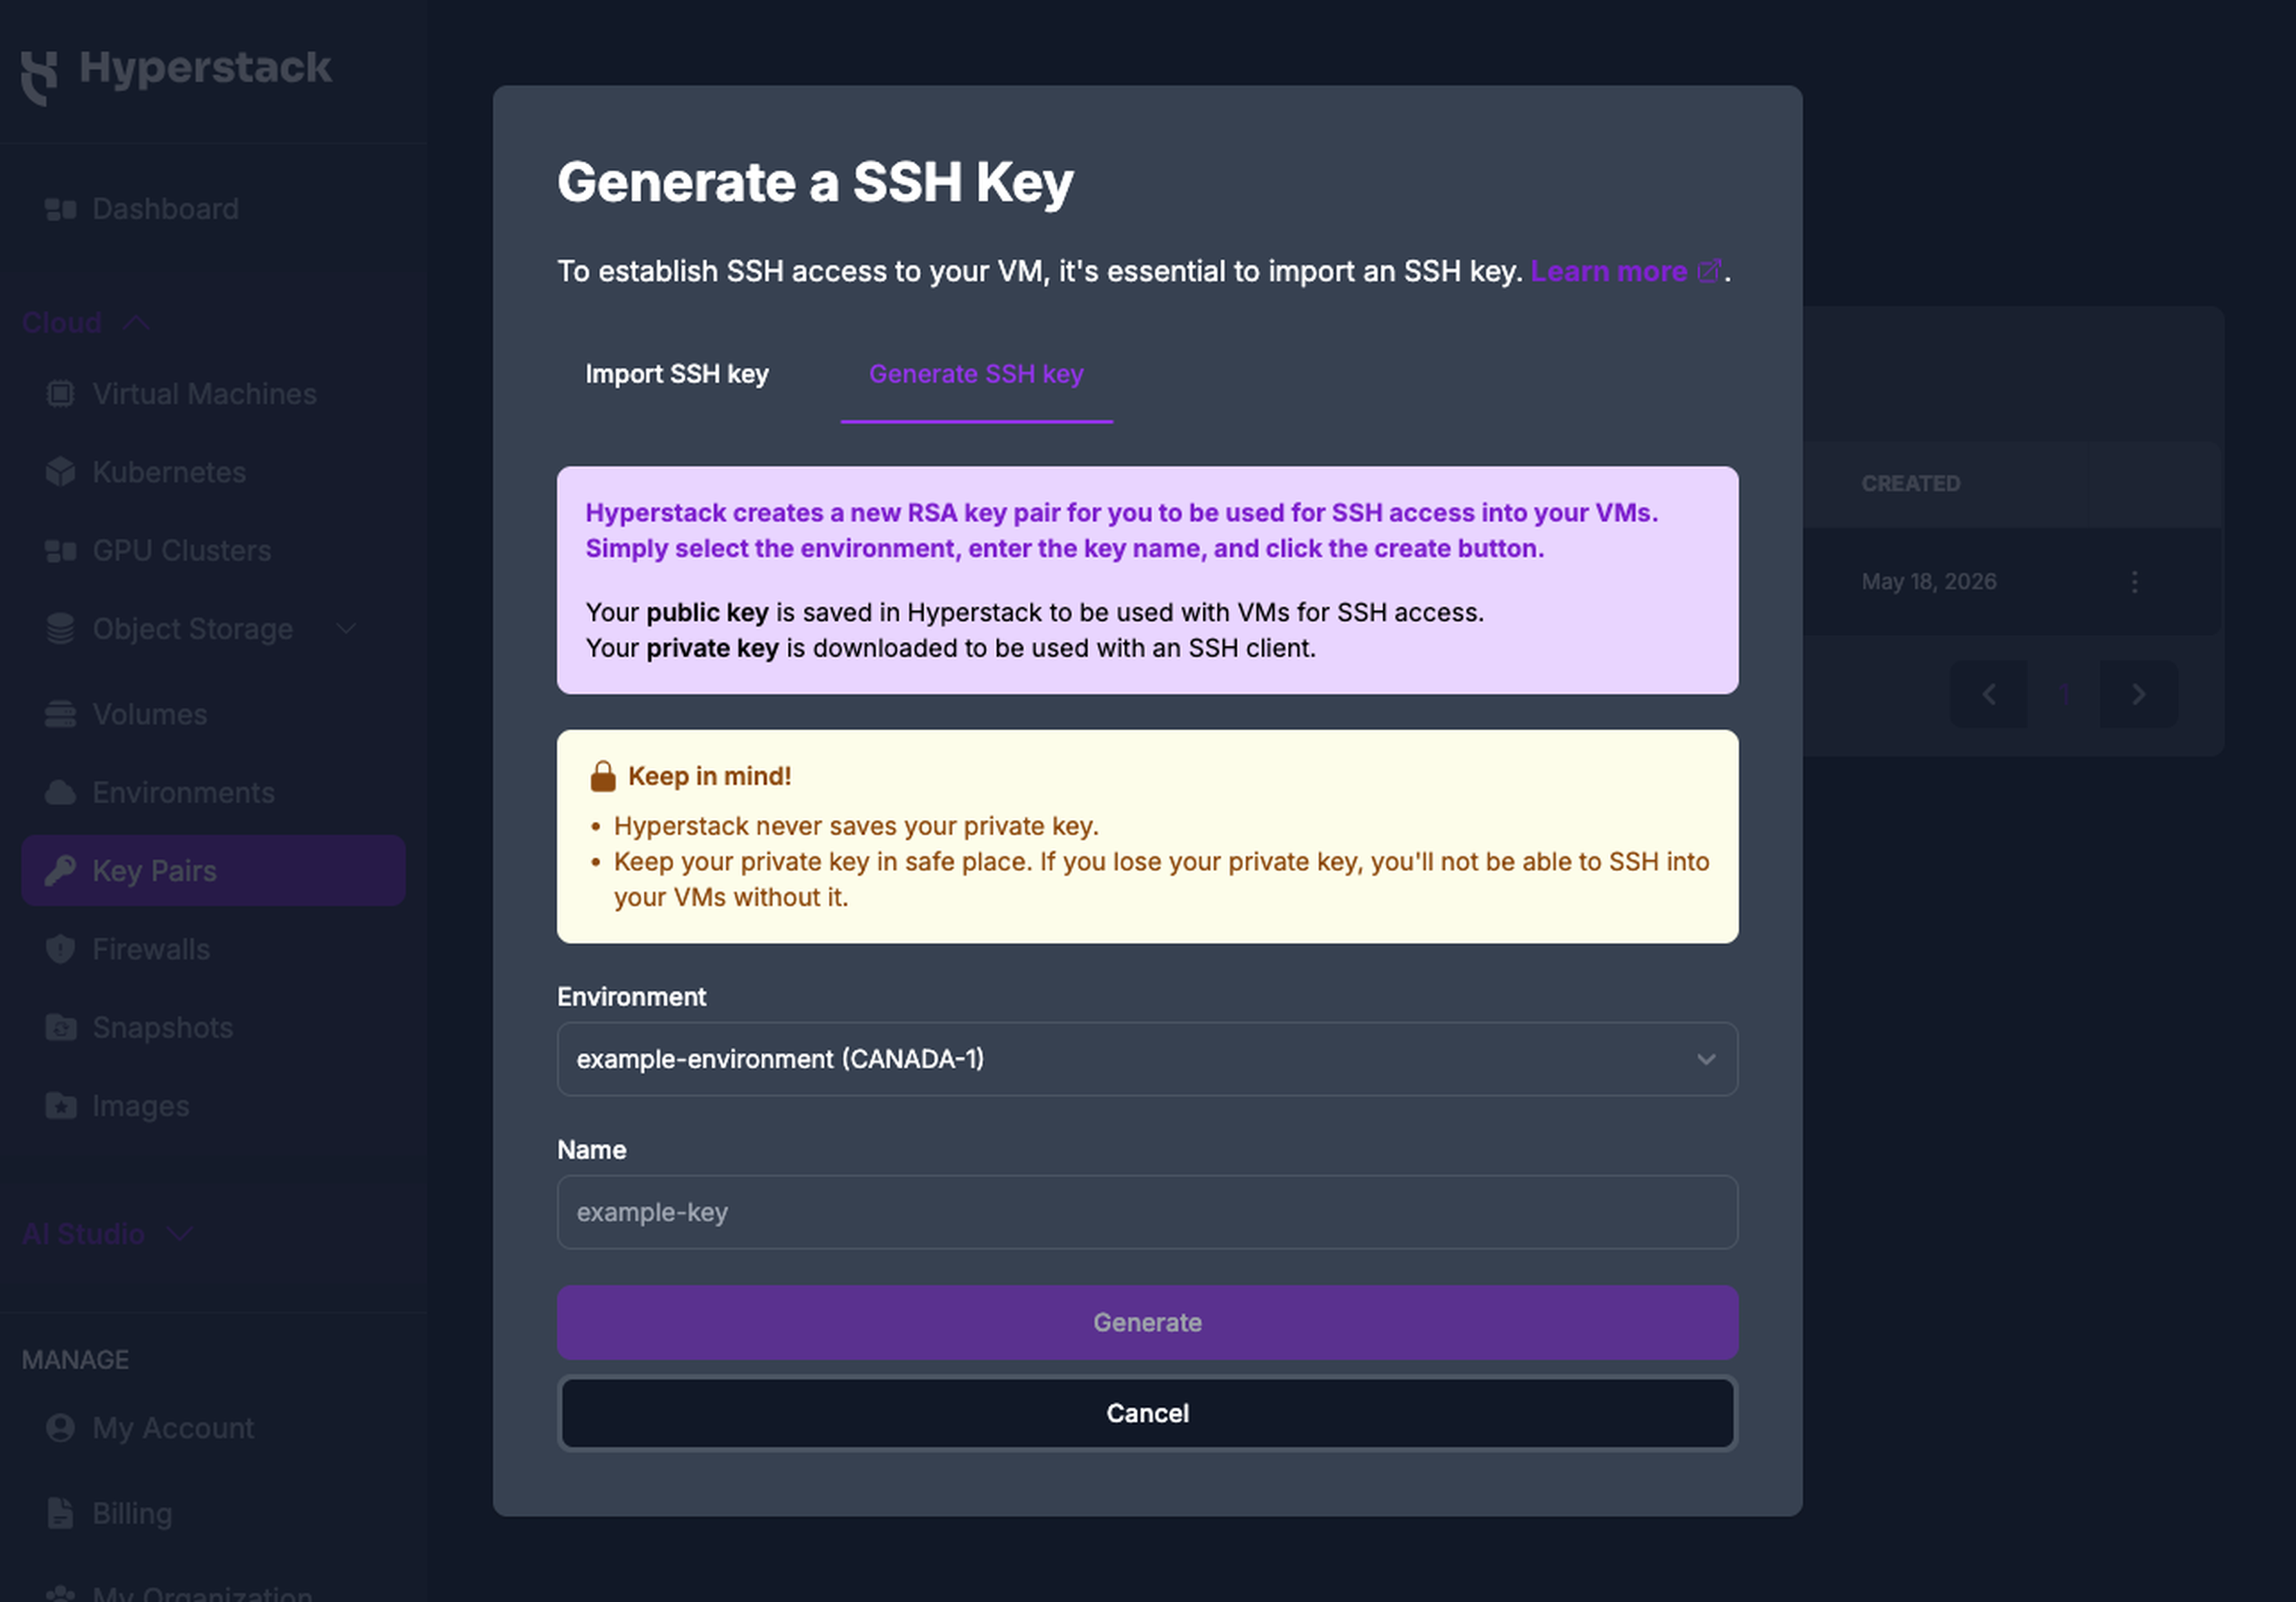
Navigate to the Key Pairs page in Hyperstack and click Create a new Key Pair, then select the Generate SSH key tab.
-
Complete the fields
- Select the environment where the key will be created.
- Enter a name for the key pair.
-
Generate the key
Click Generate. Your browser downloads the private key file.
Your private key is downloaded only onceHyperstack never stores your private key. The browser downloads it a single time when the key is created. Save it somewhere safe, because you cannot download it again, and without it you cannot connect to any VM that uses the key.
Save the location of your SSH key, as you will need it to connect to your virtual machine.
Manually generate an SSH key pair
To generate a key pair in the Hyperstack console instead, see Create an SSH key.
How to manually create a key pair:
-
Open Terminal.
-
Execute the
ssh-keygencommand to create a new key. The-tflag sets the key type, which must be a supported key type:terminalssh-keygen -t ed25519 -
After you run the command, you will be asked to specify the names of files where the keys will be saved and enter the password for the private key. Press Enter to use the default name. The key pair will be created in the
~/.sshdirectory. -
Your public key will be saved with a
.pubextension. The private key will be in the location you specified.Public key:
/path/to/your/key.pubPrivate key:
/path/to/your/key -
Copy the public key from the
<key_name>.pubfile using any text editor. The key must be written as a single line, with no returns or line breaks.
Import the public key by following the steps in Create an SSH key.
Never share your private SSH key. Only the public key needs to be imported to access your virtual machines.
Supported SSH key types
Hyperstack checks the type of your public key when you import it, so an unsupported key is rejected before it is stored. You can import the following key types:
ssh-rsassh-ed25519ecdsa-sha2-nistp256ecdsa-sha2-nistp384ecdsa-sha2-nistp521
Importing any other key type is rejected with a message naming the supported types.
To retrieve the current list of supported types programmatically, use the List supported key pair types API.
Keys created with a FIDO2 hardware authenticator, such as a YubiKey, use the [email protected] or [email protected] type. These types are not supported, and neither is the legacy ssh-dss (DSA) type. To connect with a supported key, execute ssh-keygen -t ed25519 and import the resulting public key.
Access your virtual machine via SSH
These steps assume you assigned a public IP address when you deployed the VM, as the getting started guide directs. If you did not, assign a public IP after deployment first.
They also assume you did not enable SSH access at deployment. If you already did, the firewall rule is in place, so skip to Connect over SSH.
Prerequisites
-
Verify your VM is running: On the Virtual Machines page in Hyperstack, ensure the VM is displaying an
ACTIVEstatus. It may take some time for all services to initialize after the VM is deployed. If there is a connection error, retry after a few minutes. -
Note your VM's public IP address: On the same page, find the address in the PUBLIC IP column. You need it for the SSH command.
-
Turn on SSH access
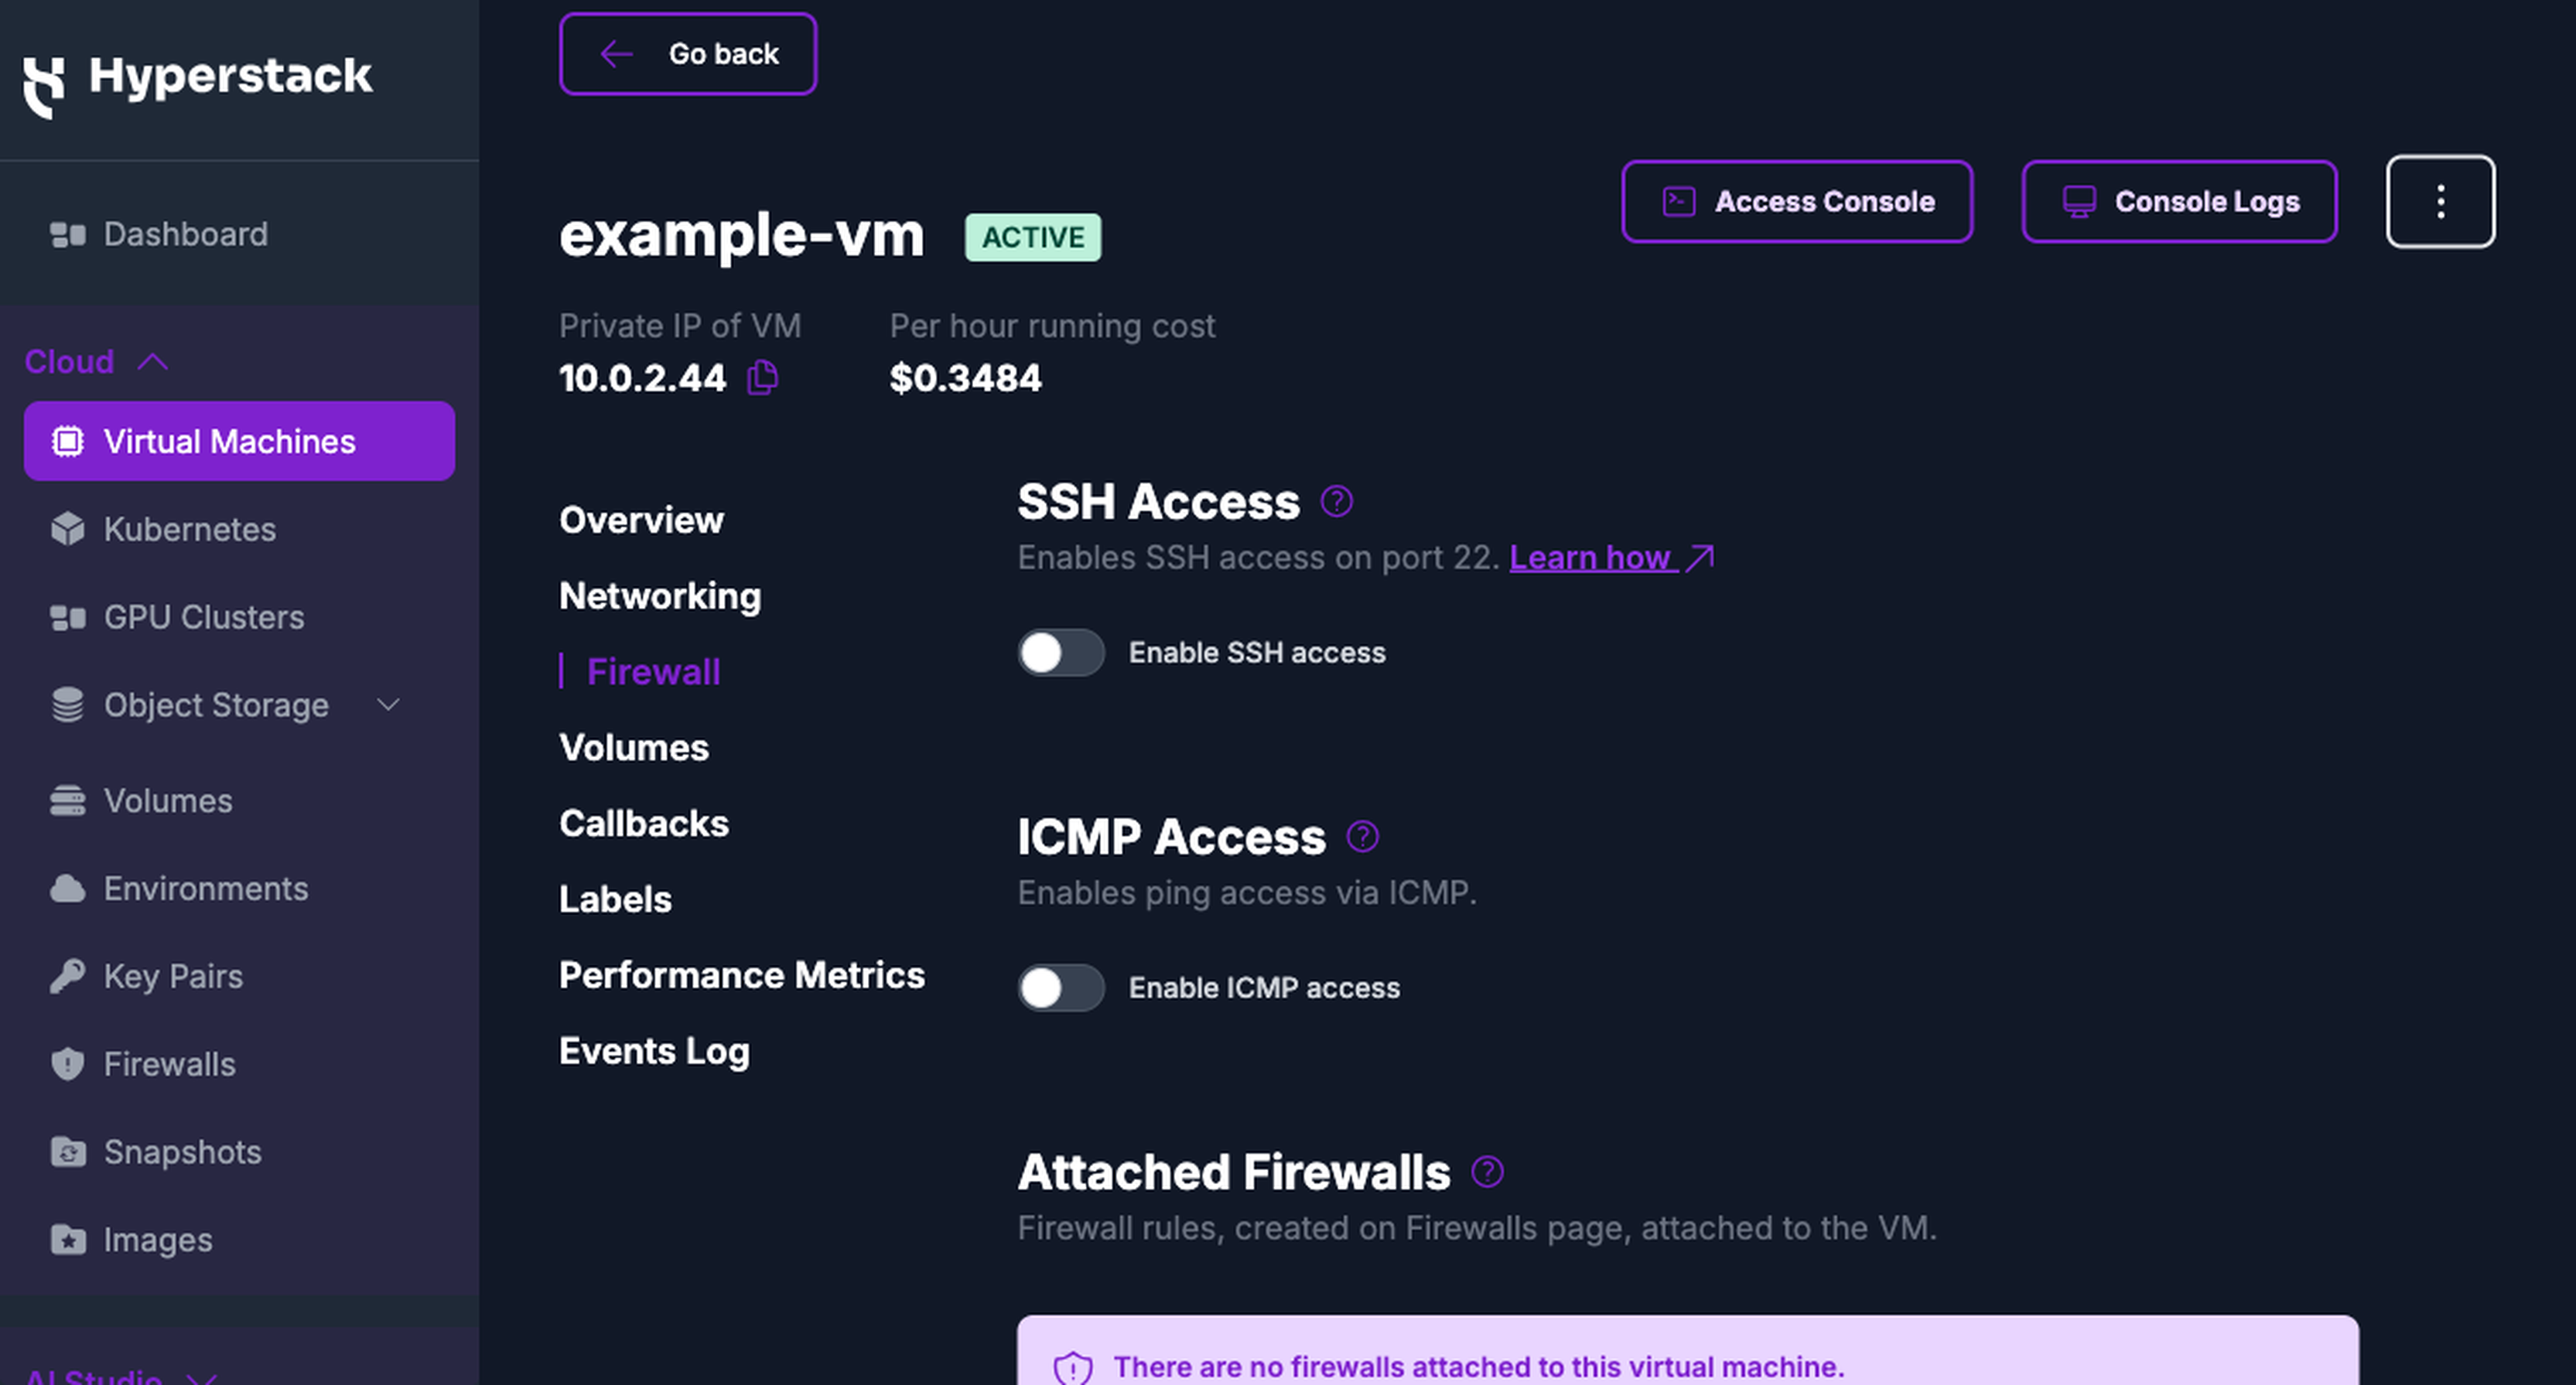
Navigate to the Virtual Machines page in Hyperstack and click the VM name to see its details. Once the VM is
ACTIVE, click the Firewall tab, then turn on the Enable SSH access toggle.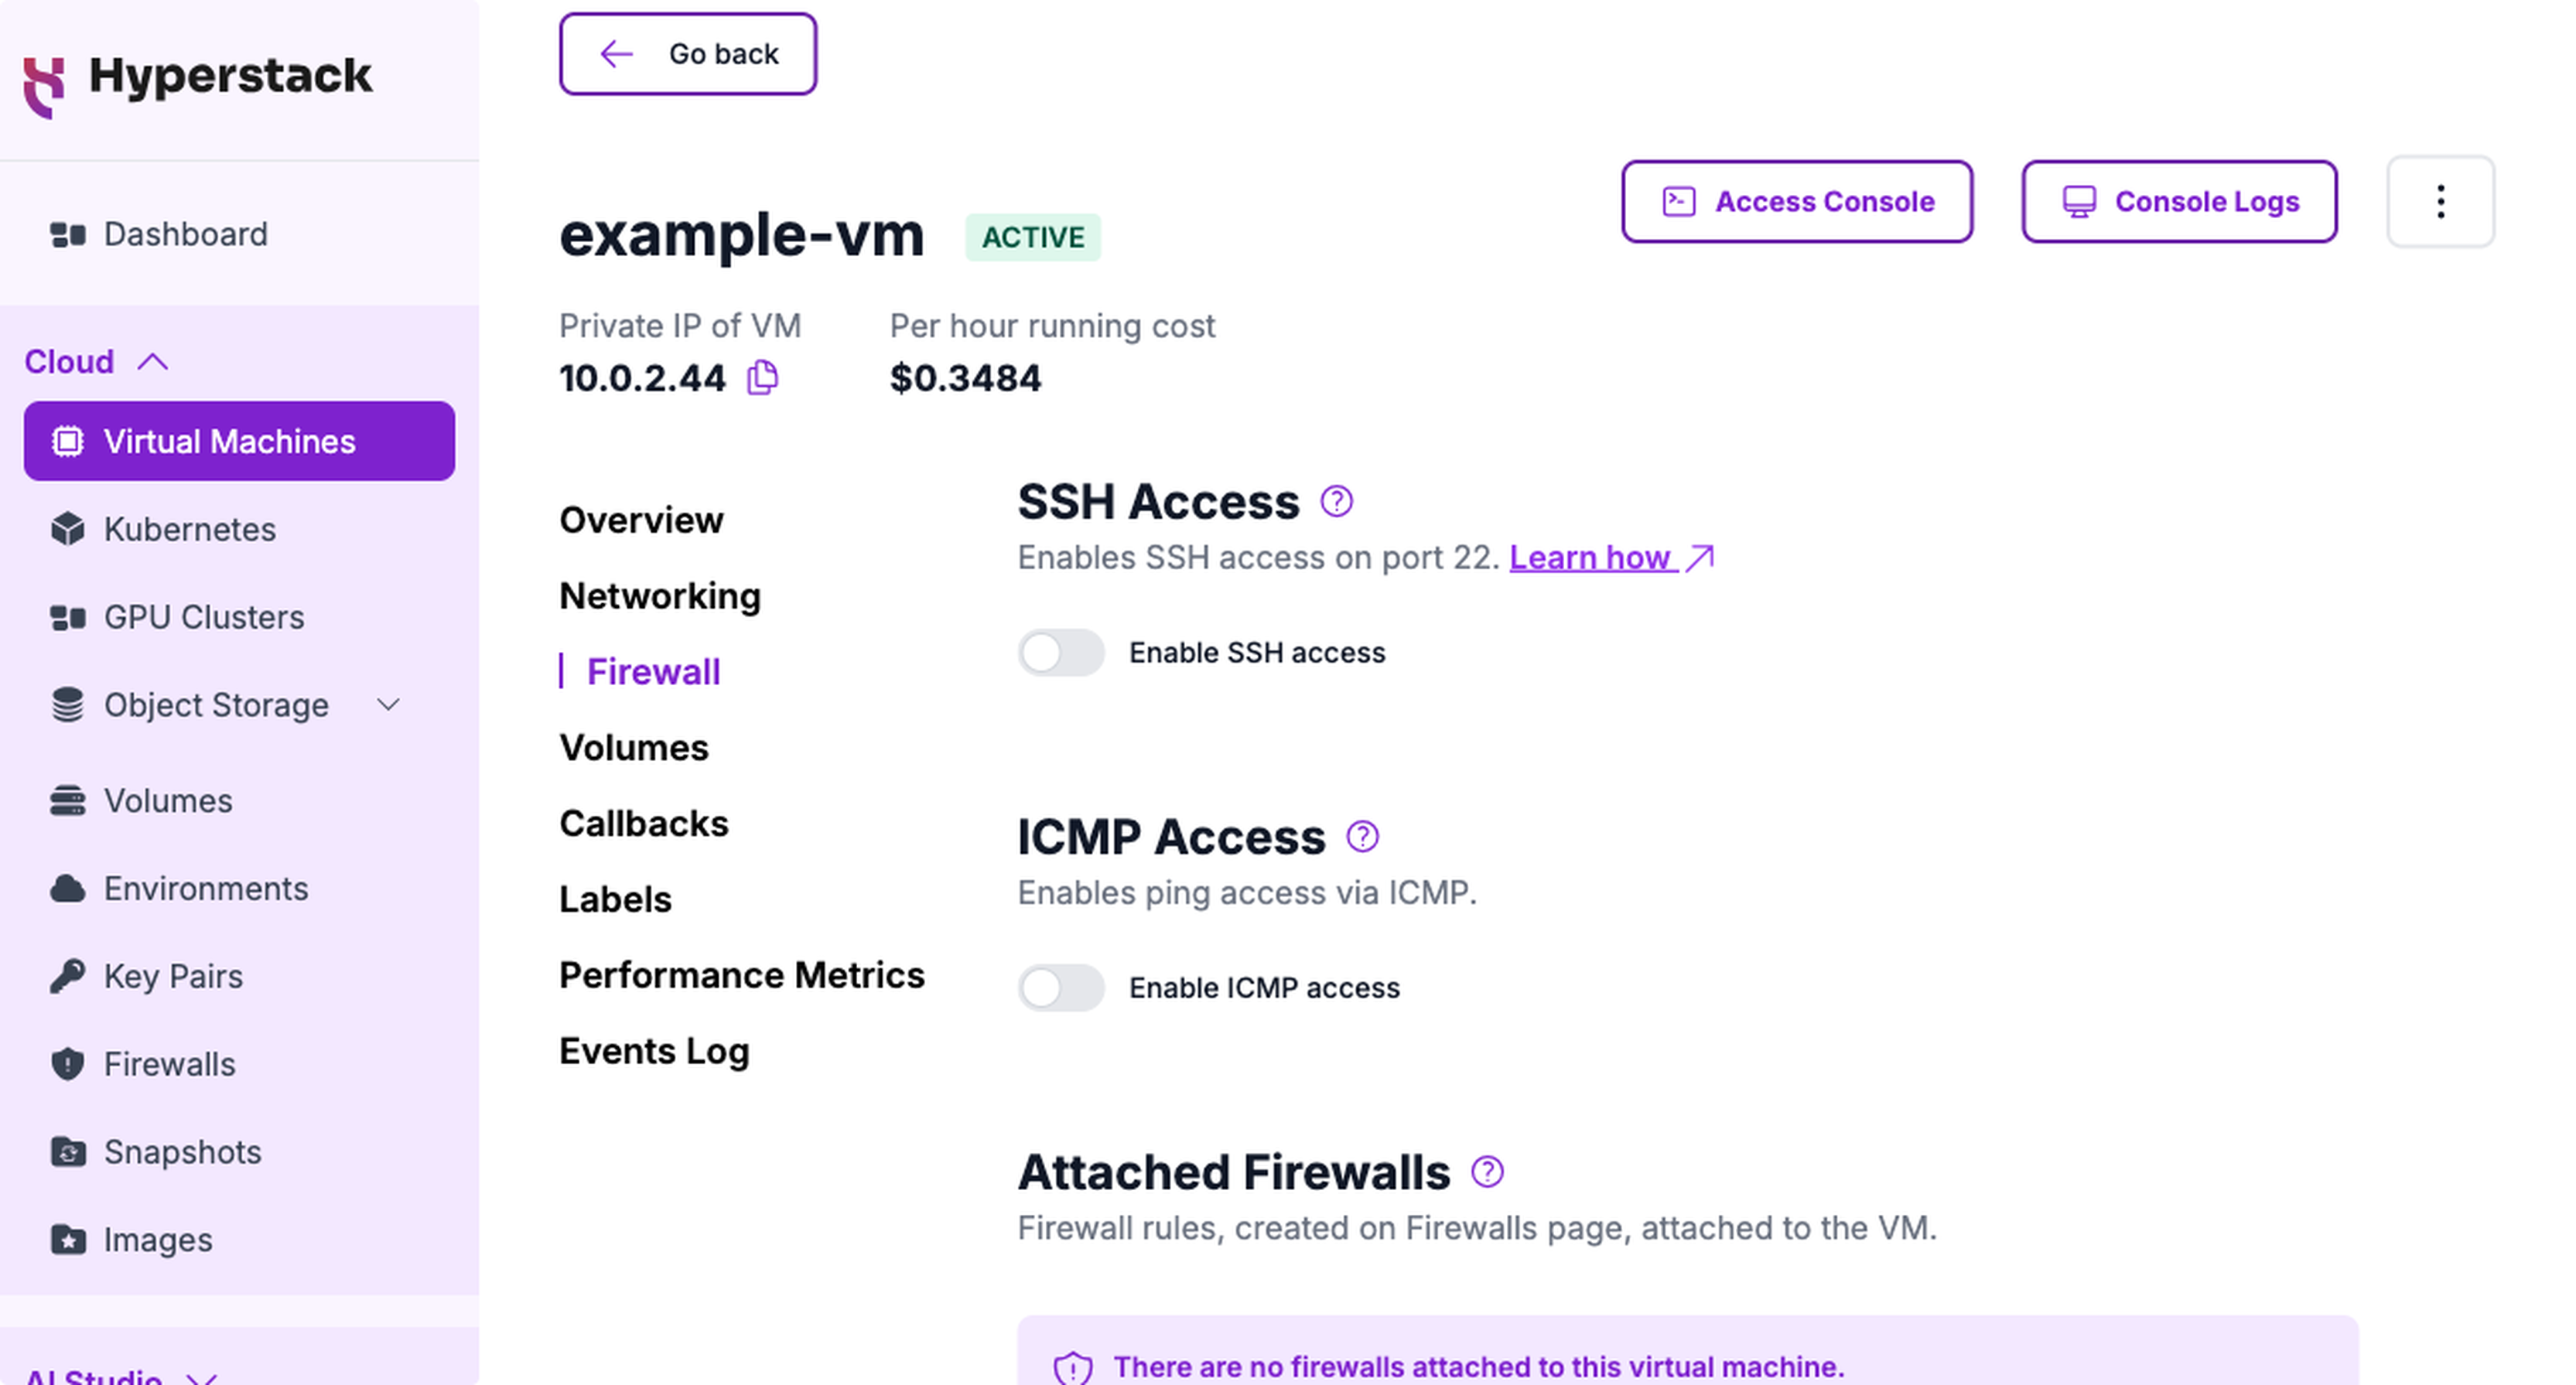
-
Check the firewall rule
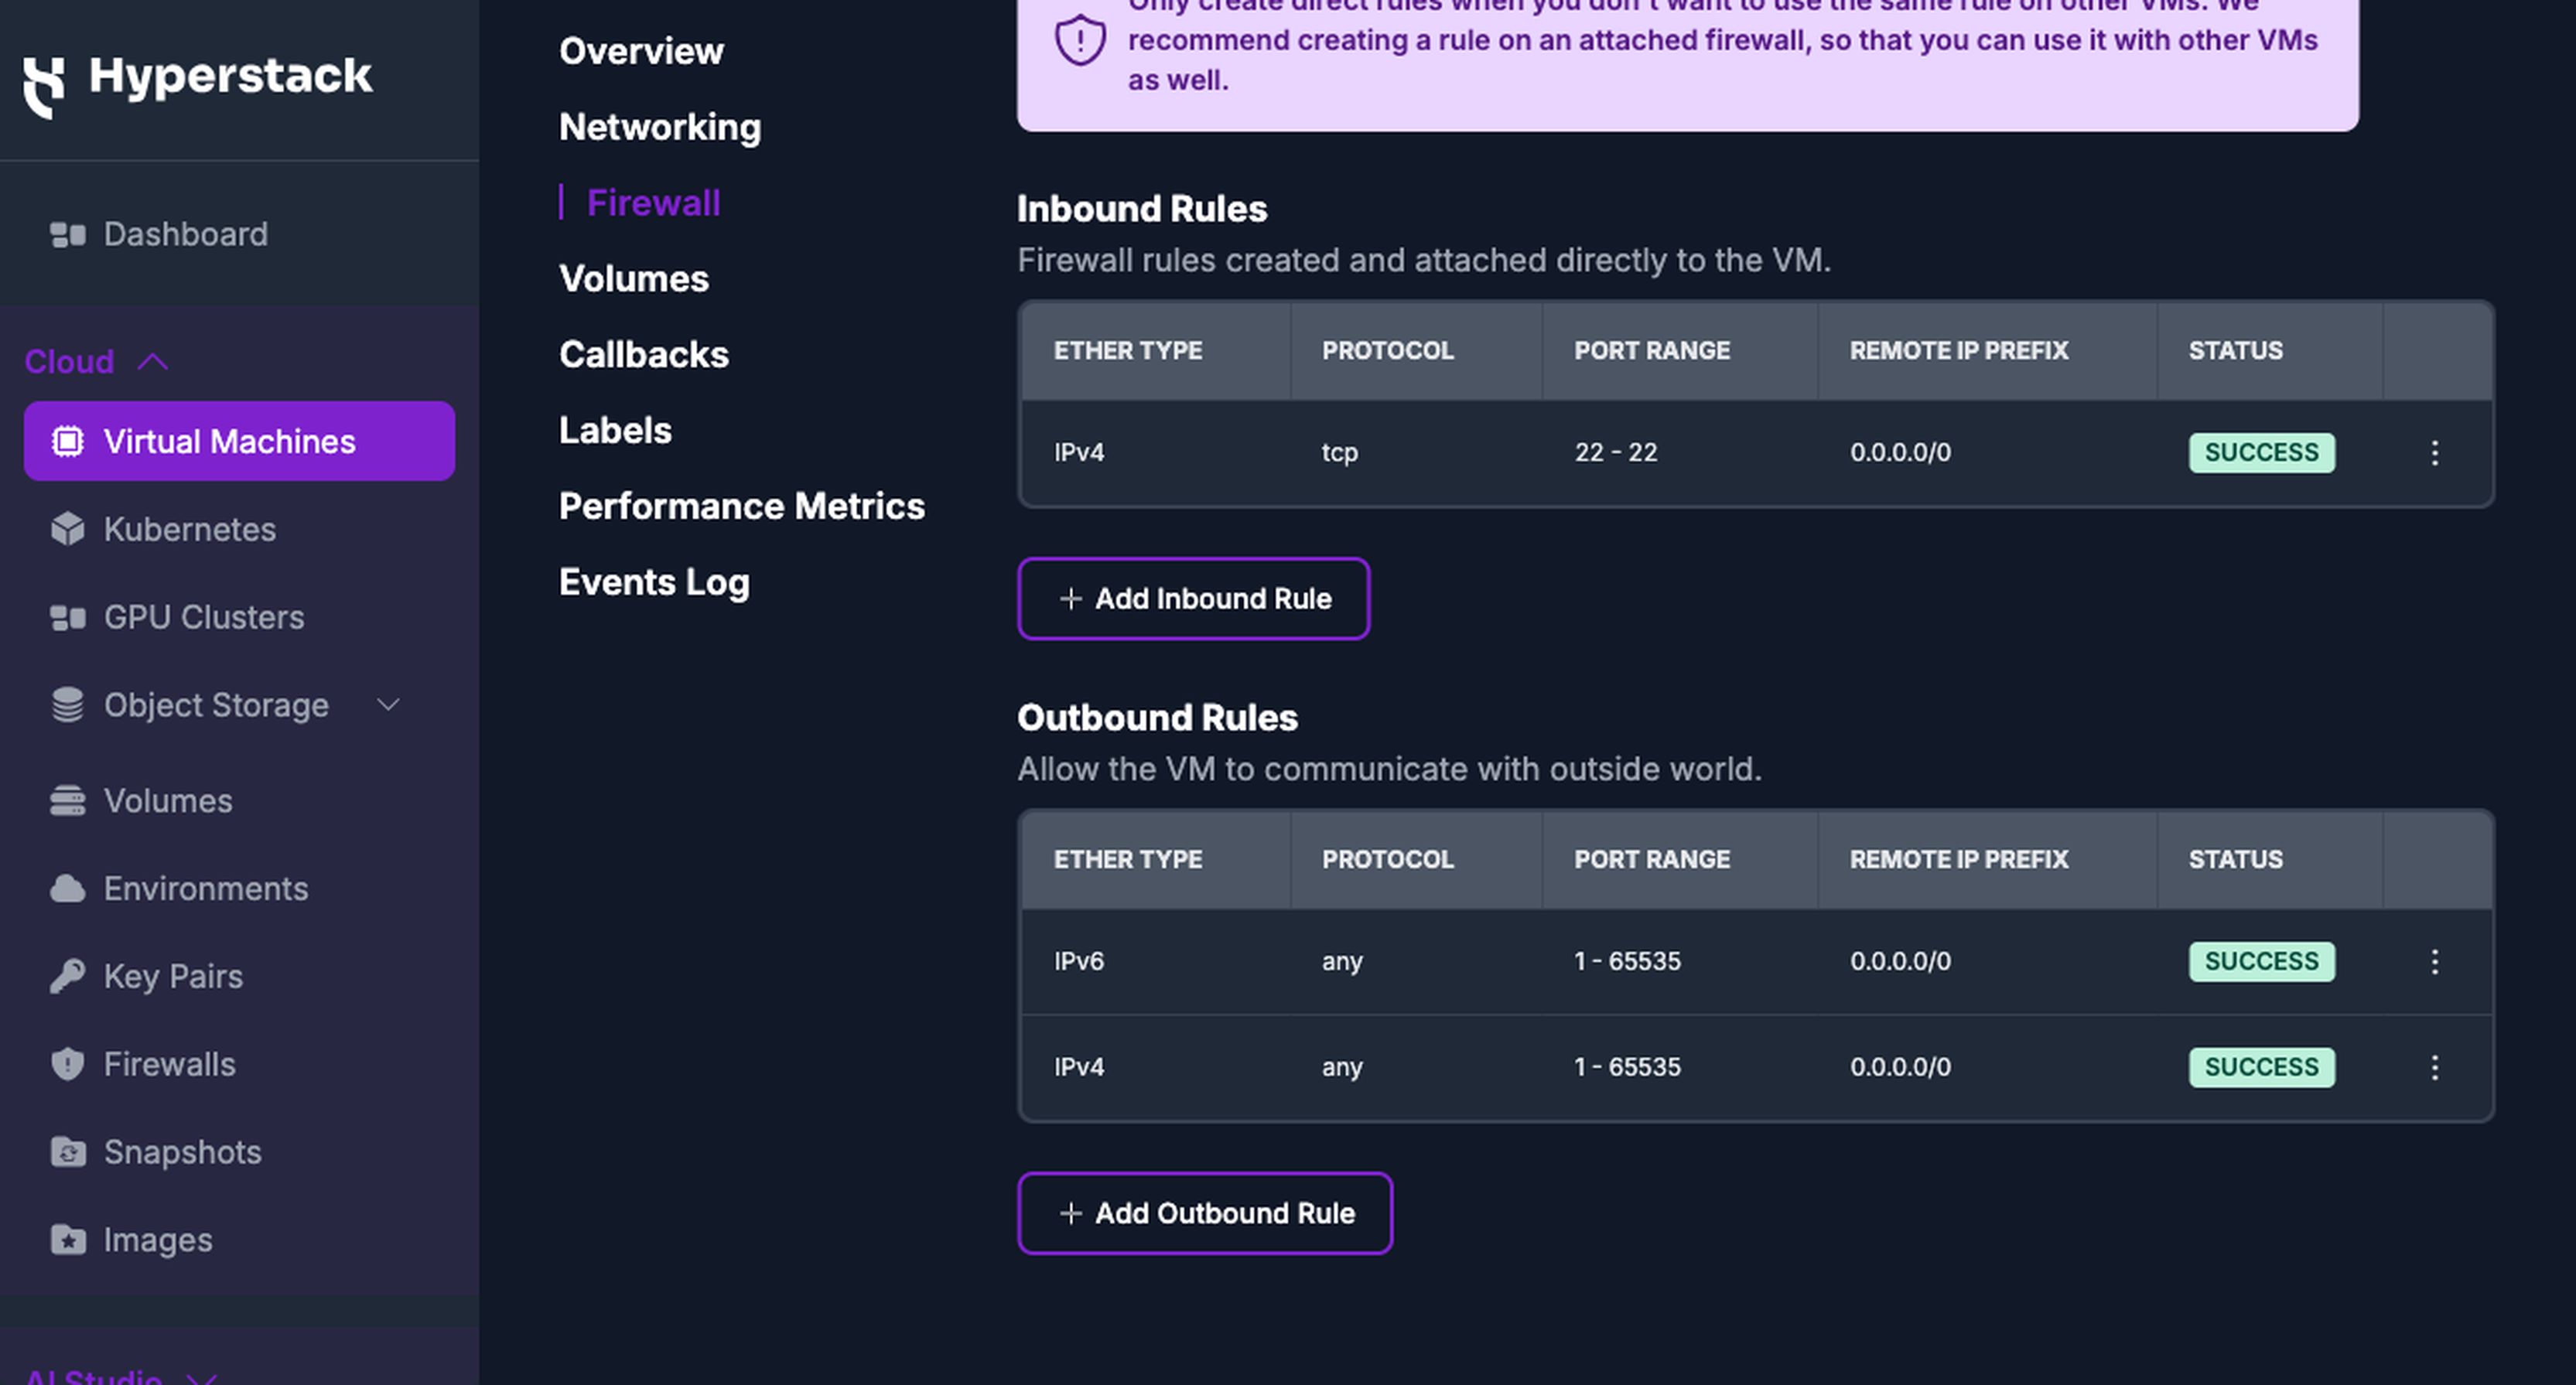
Hyperstack adds an inbound firewall rule allowing traffic from any IP (0.0.0.0/0) on port 22 via TCP. The rule appears under Inbound Rules and shows a
SUCCESSstatus once it is applied.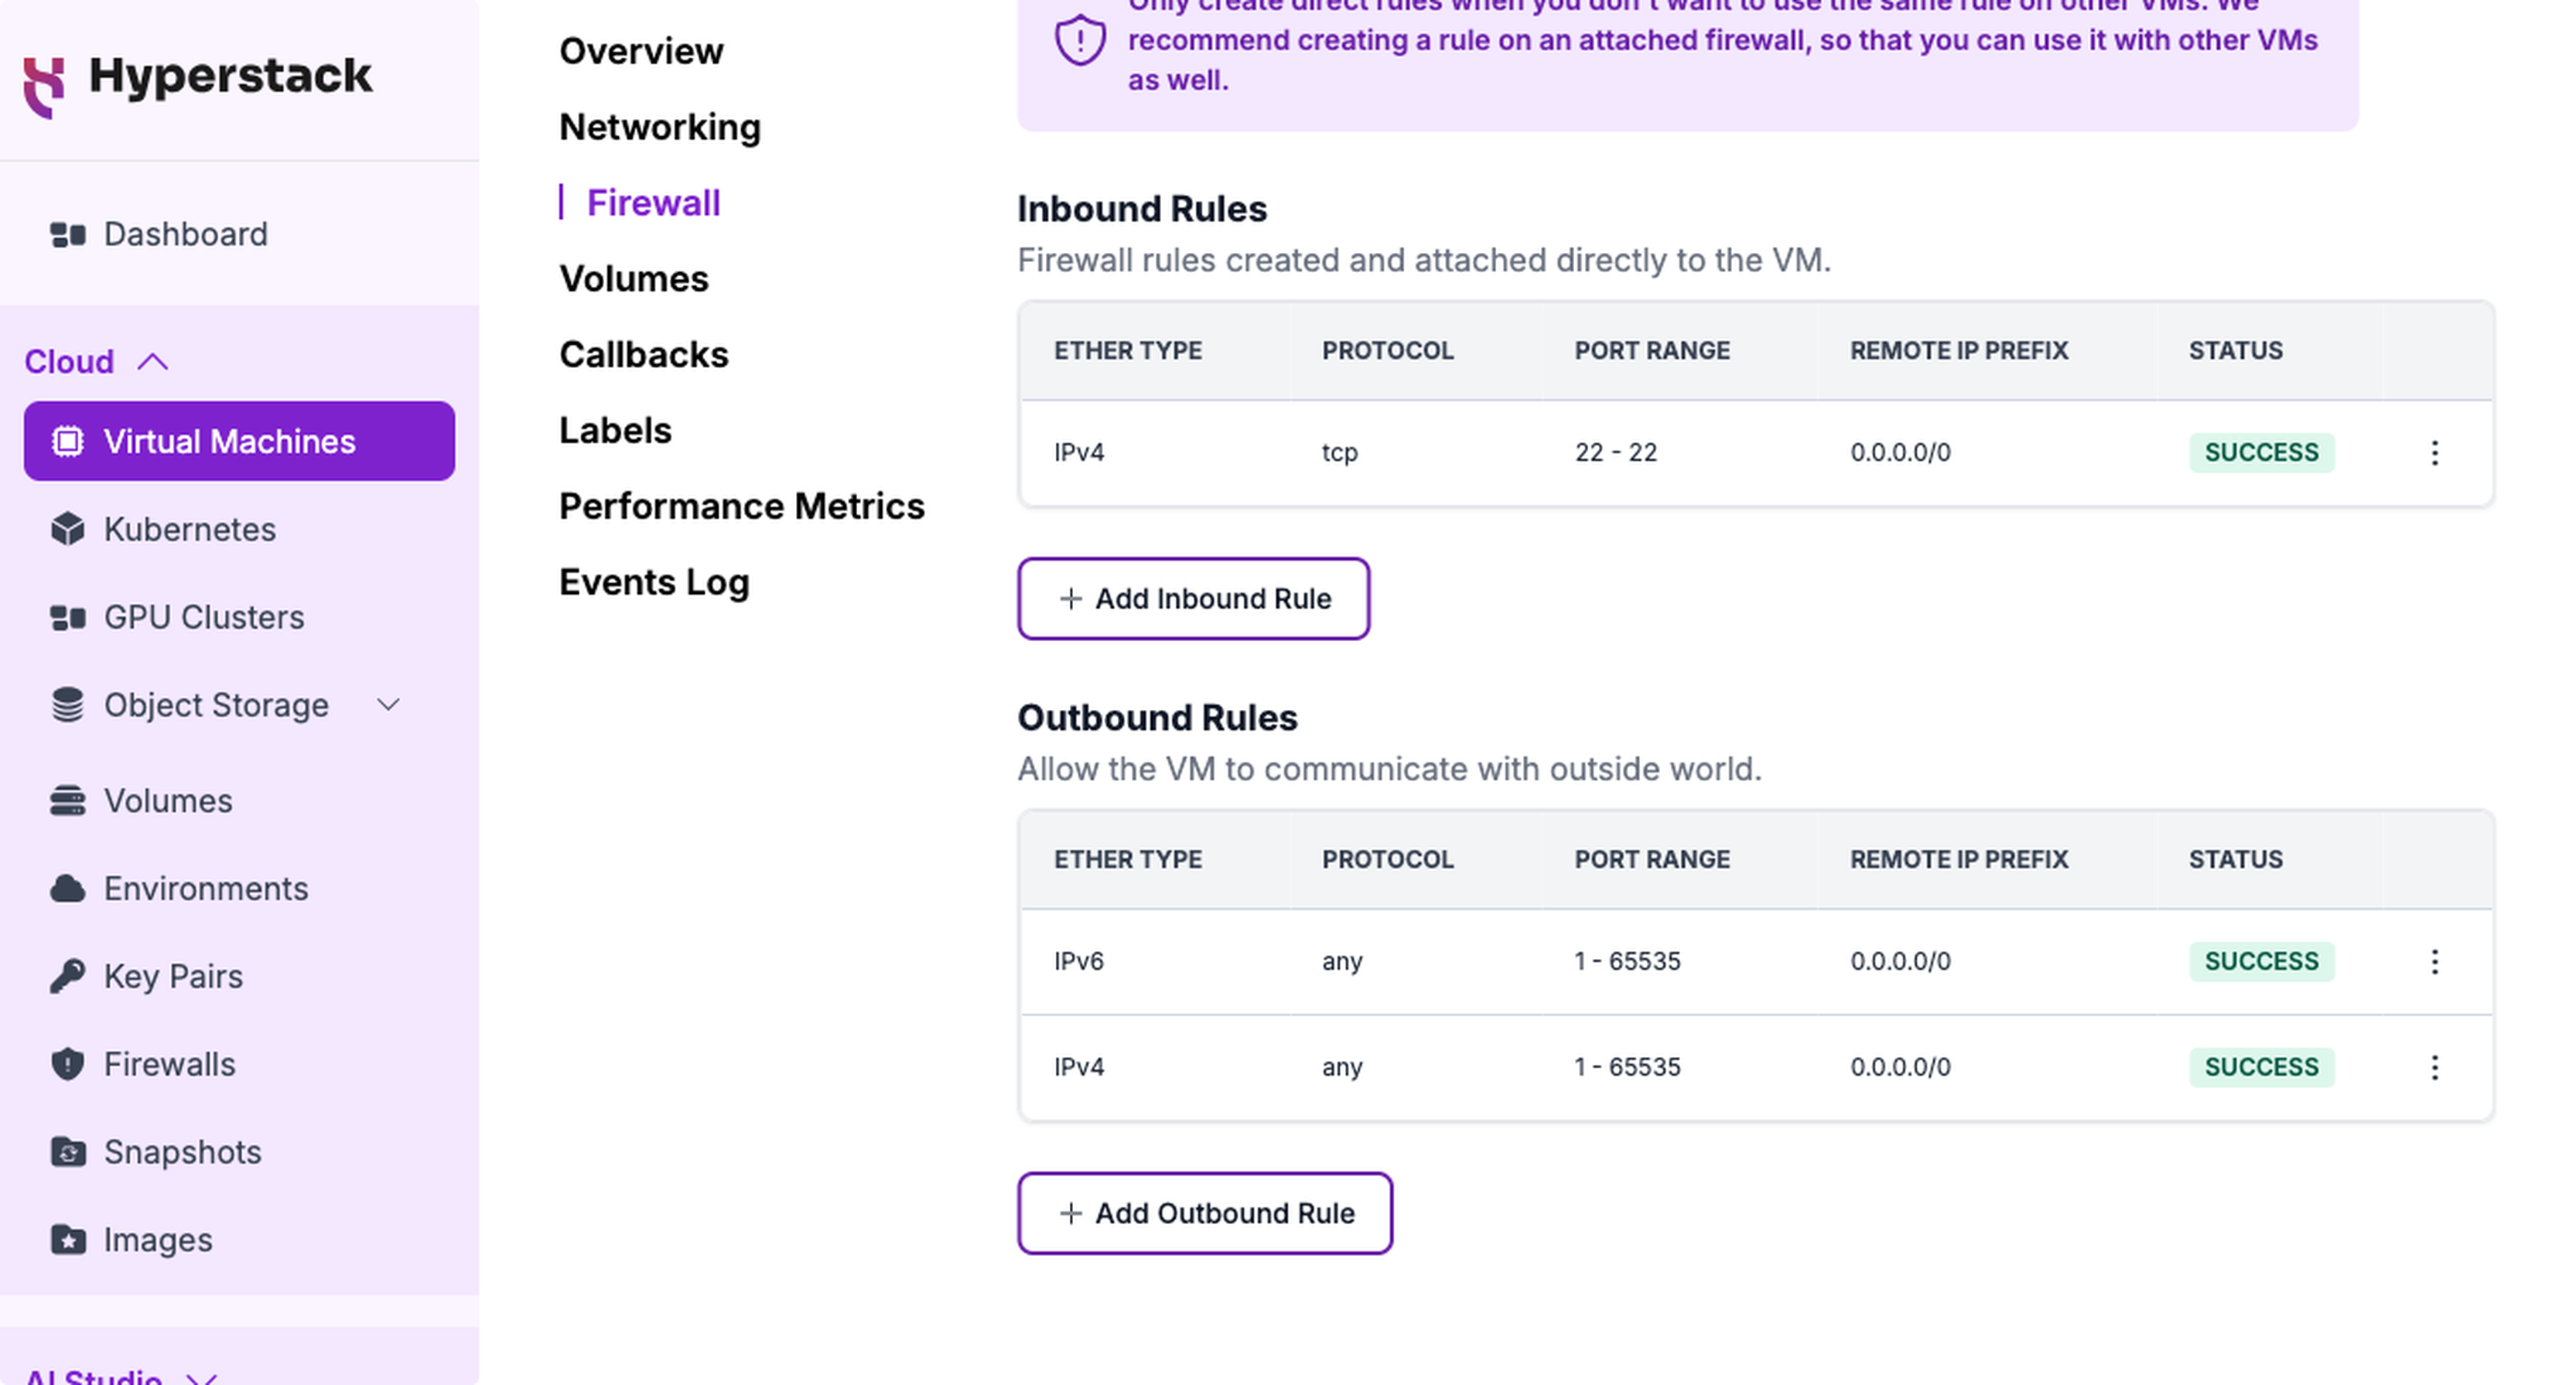
-
Connect over SSH
Copy the command from the consoleThe VM's Networking tab shows a ready-to-copy Connect over SSH command, already filled in with your VM's public IP and the default username for its OS image. It appears once the VM has a public IP and port 22 is open, which the previous steps put in place. The command leaves out
-i [path_to_ssh_key], so add that yourself if your private key is not in~/.ssh.Open your local terminal and run the command below for the OS image you selected. Replace:
[path_to_ssh_key]with the path to the SSH key you created.[vm_ip_address]with your VM's public IP from the PUBLIC IP column on the Virtual Machines page.
- Ubuntu
- AlmaLinux
- Debian
terminalConnect over SSHssh -i [path_to_ssh_key] ubuntu@[vm_ip_address]For example:
terminalssh -i ~/Downloads/my-key.txt [email protected]Troubleshooting SSH key permission errors
If SSH rejects the key with
Permissions ... are too openorPermission denied (publickey), run the command below to restrict the key file (replacing[path_to_ssh_key]with your actual key path):terminalchmod 600 [path_to_ssh_key]Then re-run the SSH command.
Once the connection succeeds, you'll see the Ubuntu welcome banner and a shell prompt:
Example Ubuntu welcome bannerWelcome to Ubuntu 22.04.5 LTS (GNU/Linux 6.8.0-40-generic x86_64)
* Documentation: https://help.ubuntu.com
* Management: https://landscape.canonical.com
* Support: https://ubuntu.com/pro
ubuntu@my-vm:~$terminalConnect over SSHssh -i [path_to_ssh_key] almalinux@[vm_ip_address]For example:
terminalssh -i ~/Downloads/my-key.txt [email protected]Troubleshooting SSH key permission errors
If SSH rejects the key with
Permissions ... are too openorPermission denied (publickey), run the command below to restrict the key file (replacing[path_to_ssh_key]with your actual key path):terminalchmod 600 [path_to_ssh_key]Then re-run the SSH command.
Once the connection succeeds, the AlmaLinux image drops you straight into a shell prompt:
AlmaLinux welcome[almalinux@my-vm ~]$terminalConnect over SSHssh -i [path_to_ssh_key] debian@[vm_ip_address]For example:
terminalssh -i ~/Downloads/my-key.txt [email protected]Troubleshooting SSH key permission errors
If SSH rejects the key with
Permissions ... are too openorPermission denied (publickey), run the command below to restrict the key file (replacing[path_to_ssh_key]with your actual key path):terminalchmod 600 [path_to_ssh_key]Then re-run the SSH command.
Once the connection succeeds, you'll see the Debian welcome message and a shell prompt:
Debian welcomeLinux my-vm 6.1.0-30-amd64 #1 SMP PREEMPT_DYNAMIC Debian 6.1.124-1 (2024-12-10) x86_64
debian@my-vm:~$
Assign a public IP after deployment
A VM needs a public IP address to be reachable over the internet. You normally assign one during deployment, but you can also add it to a running VM.
-
Open the networking settings
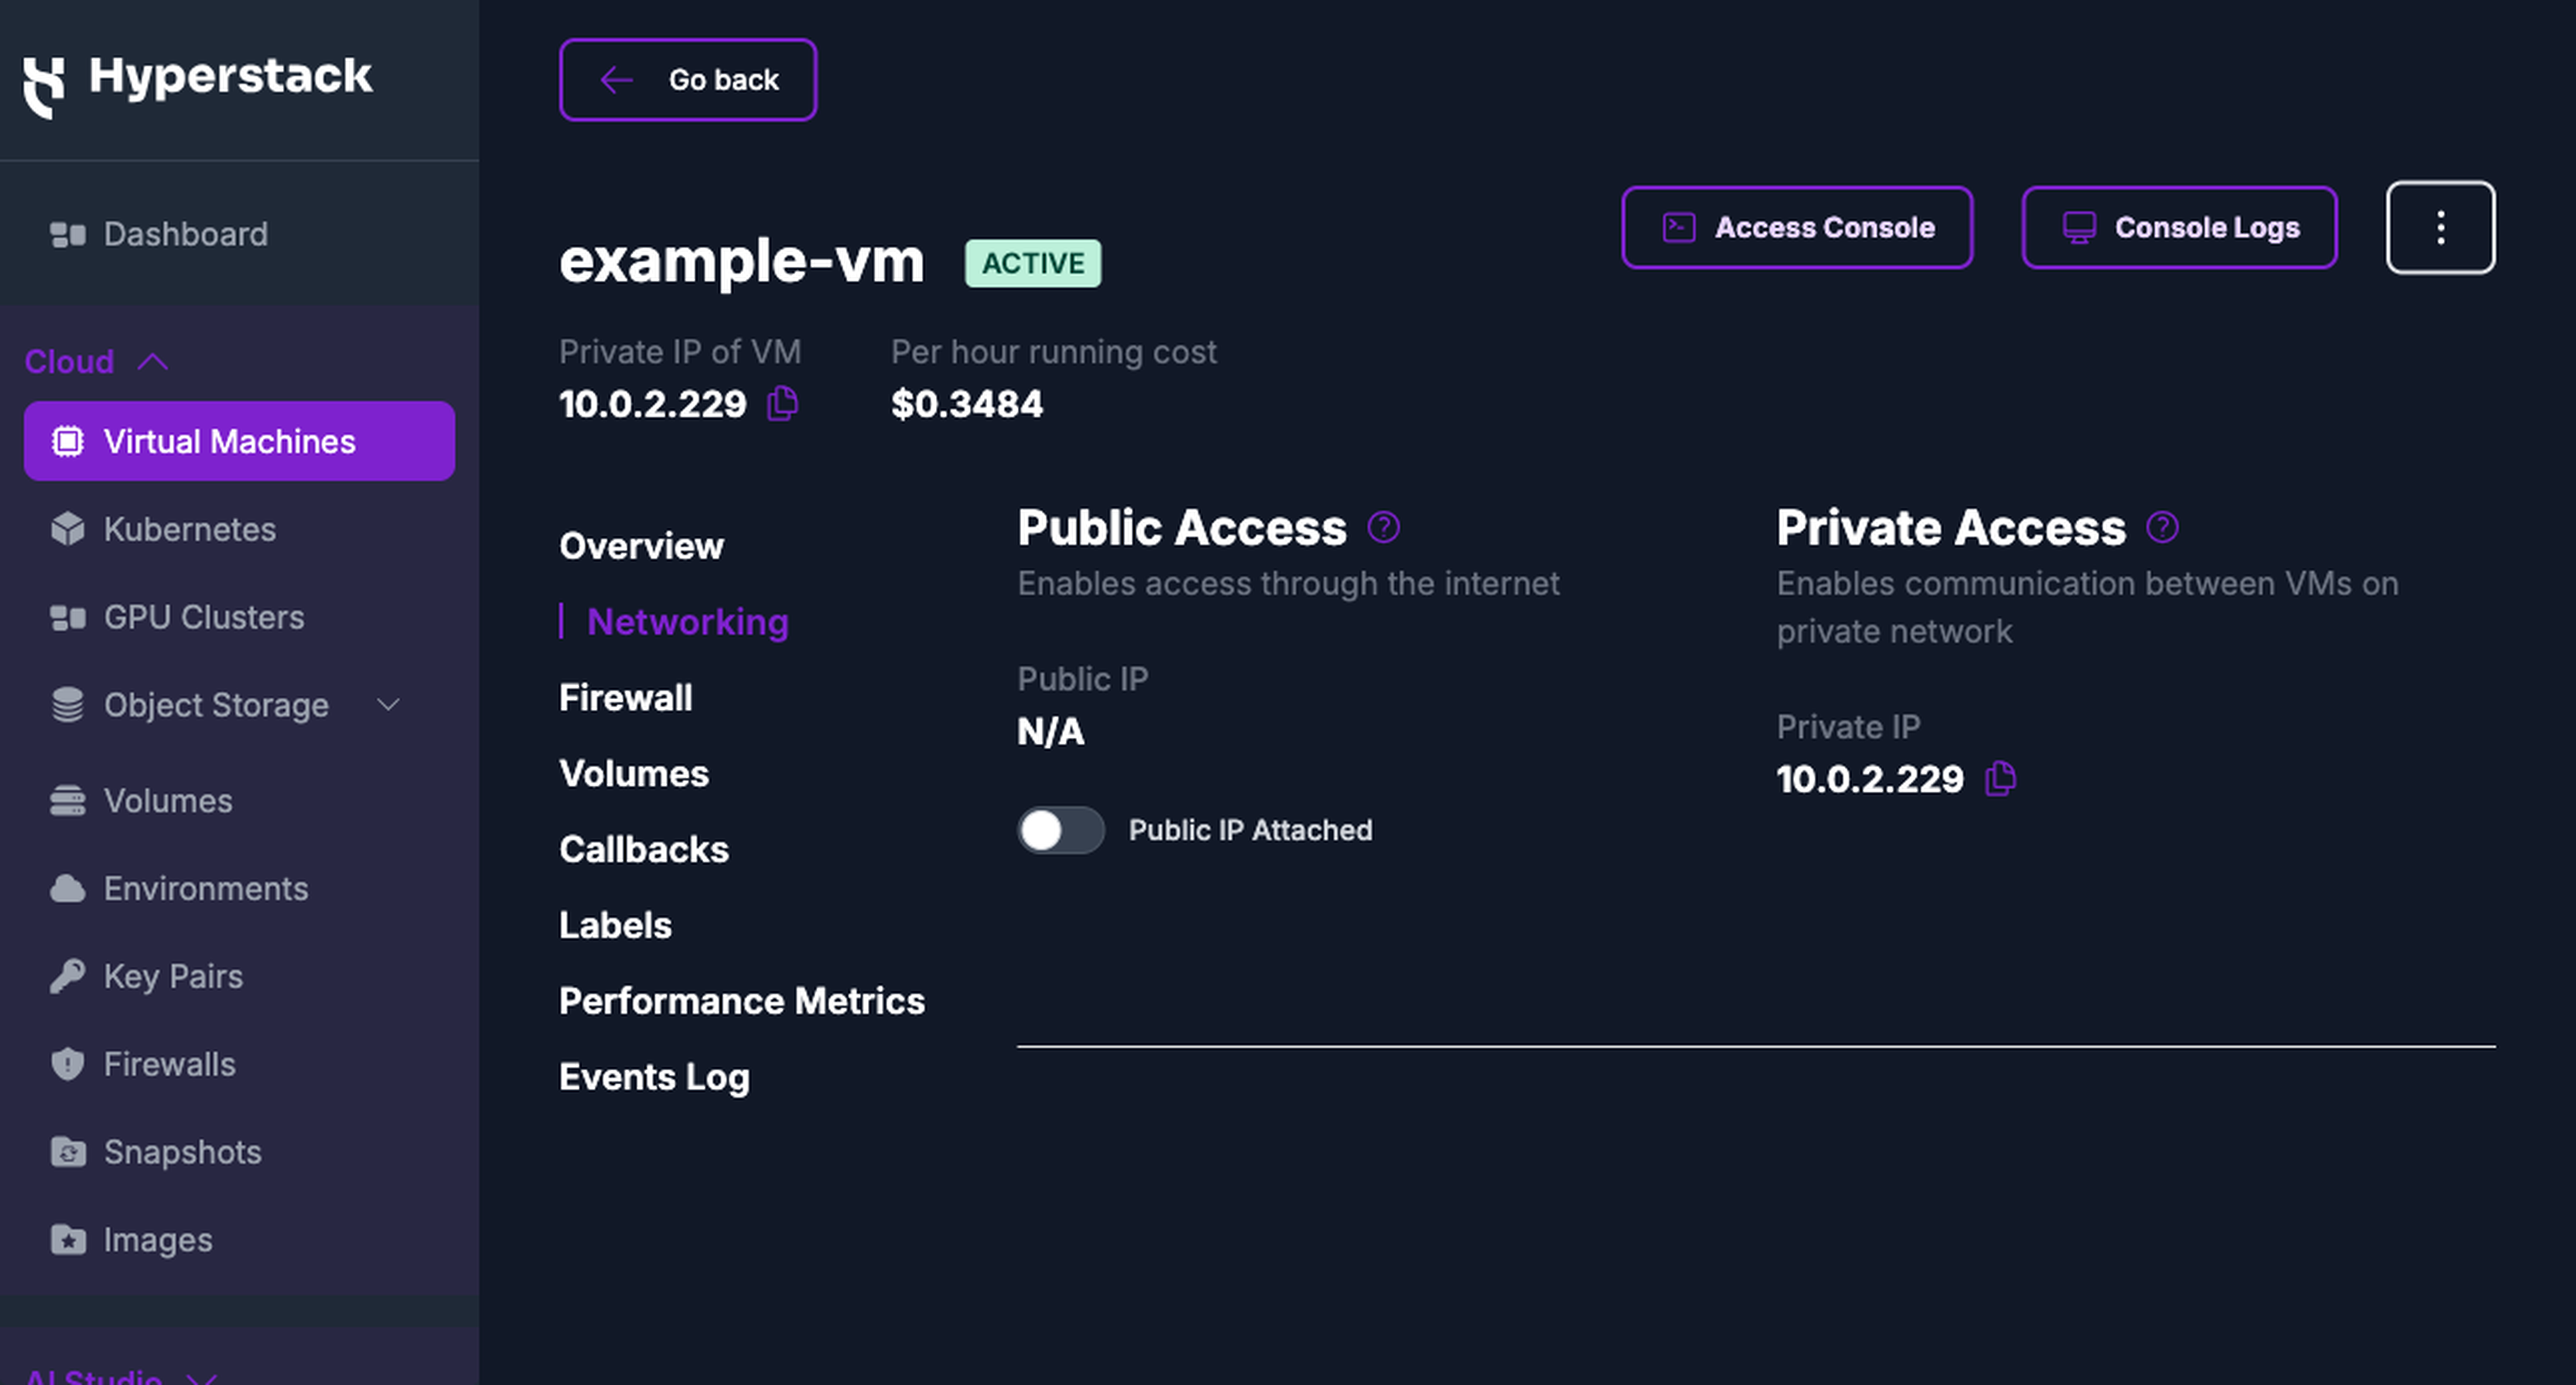
Navigate to the Virtual Machines page in Hyperstack, click the VM name to see its details, then click the Networking tab. The Public Access card shows
N/Awhen no address is assigned. -
Attach the address
Turn on the Public IP Attached toggle. The Public IP value updates from
N/Ato the assigned address, which you then use to connect over SSH.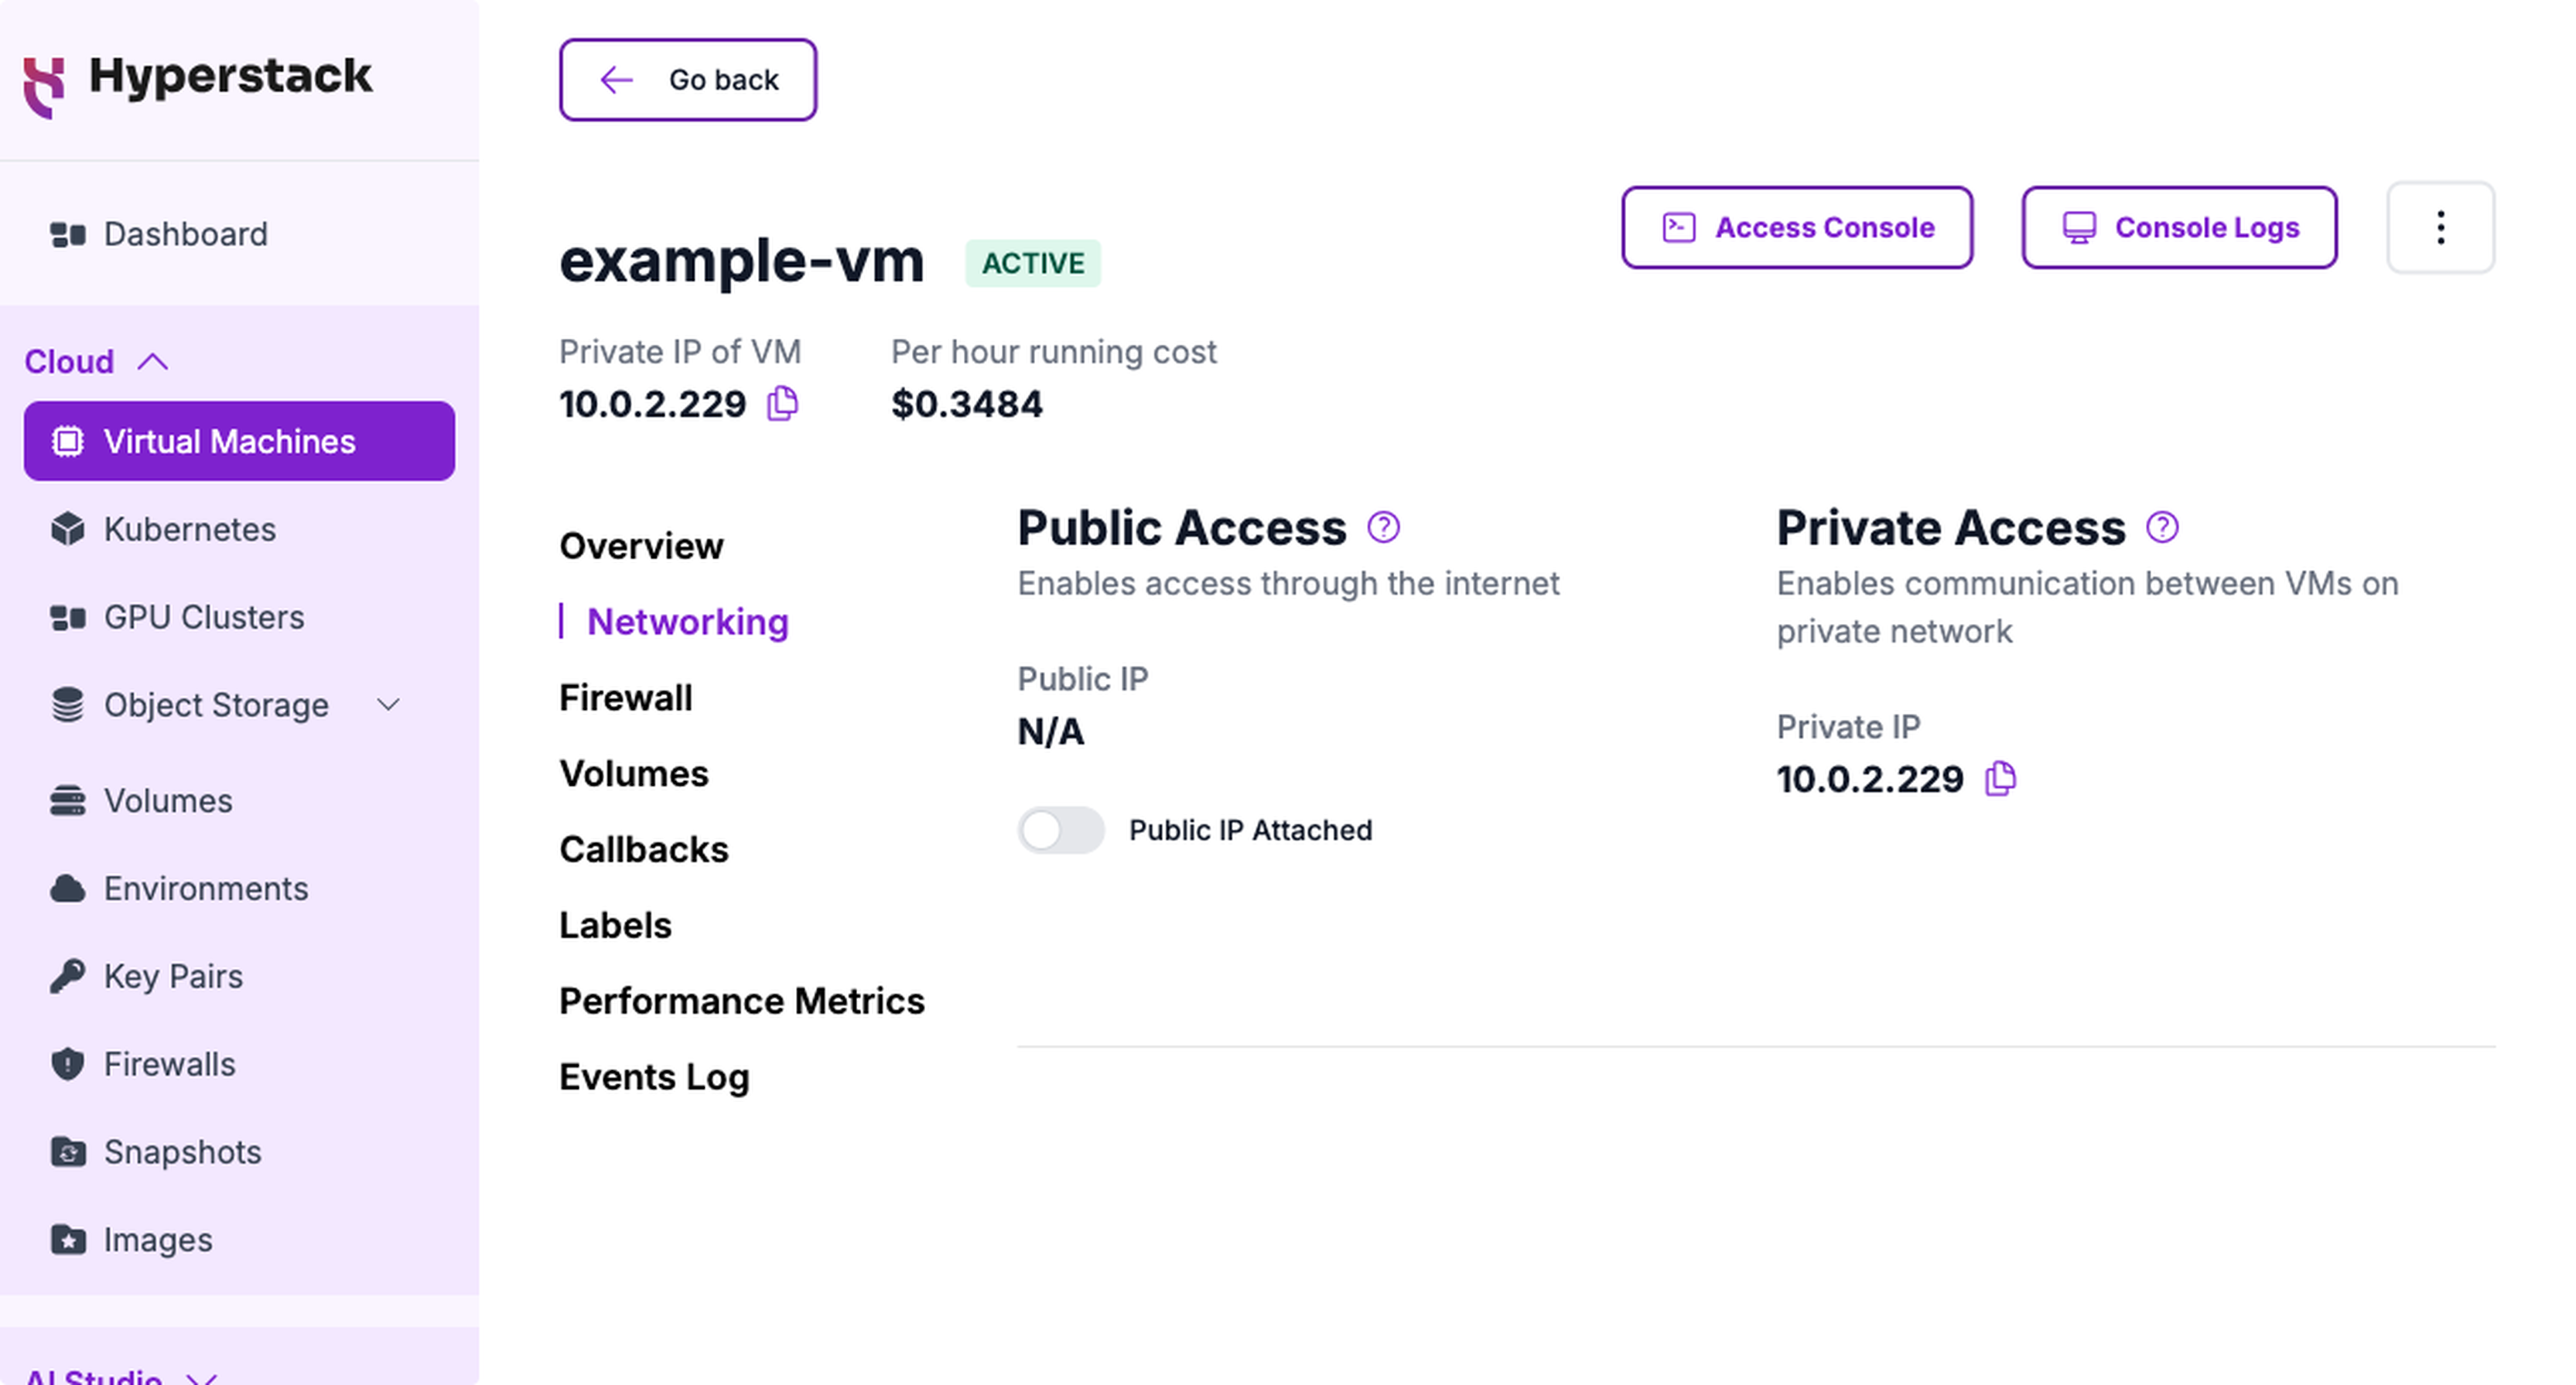
Return to Access your virtual machine via SSH to finish connecting.
Delete a key pair
-
Open the actions menu
Navigate to the Key Pairs page in Hyperstack, then click the ⋮ menu in the Edit column of the key pair you want to remove.
-
Delete the key pair
Click Delete, then confirm.
Deleting a key pair removes it from Hyperstack, so you can no longer select it when you deploy a VM. VMs that already use the key keep their SSH access, because the public key remains on the VM itself. To remove access from a running VM, edit the ~/.ssh/authorized_keys file on that VM.
APIs for creating and managing SSH key pairs
To view the API reference documentation, click on the endpoint names below.
| Endpoint Name | URL | Description |
|---|---|---|
| List key pairs | GET/core/keypairs | Returns a list of your existing SSH key pairs. |
| Import key pair | POST/core/keypairs | Imports an SSH key pair. |
| Update key pair | PUT/core/keypair/{id} | Modifies the name of an existing SSH key pair. |
| Delete key pair | DELETE/core/keypair/{id} | Deletes a key pair. |
The API imports a public key that you already hold. It cannot generate a key pair for you, so use the Key Pairs page when you want Hyperstack to create the pair.