Dedicated Inference
Deploy an open-weight model on dedicated GPUs and get a private, API key-protected inference endpoint.
Dedicated inference runs a single open-weight model on GPUs reserved for your organization, reachable at an HTTPS endpoint that only its API key can call. The Deploy AI wizard handles the parts you would otherwise assemble by hand: it sizes the GPUs from the model's own weights, picks a configuration that is in stock, creates the virtual machine, installs the serving runtime, and issues the endpoint URL and key. This page covers what the wizard creates, how to walk it, how to call the endpoint, and how an inference endpoint differs from an ordinary virtual machine.
Deploying a model on dedicated GPUs requires a Hugging Face access token with Read scope. The token is used once, inside your virtual machine, to download the model weights. Hyperstack does not store it, so you supply it each time you deploy. Generate one from your Hugging Face access tokens page.
Organization owners already have every permission needed to deploy. Organization members need virtual machine, environment, and SSH key permissions in their user role, which an owner or administrator assigns. See Permissions for the exact permissions and the simplest role that grants them.
How Dedicated Inference Works
AI Studio serves models through a shared endpoint billed per token, with nothing to provision. Dedicated inference is the other shape: one model, on hardware reserved for you, billed by the hour for as long as the machine runs. Use it when you need predictable latency, a private endpoint, or a model that the shared catalog does not serve.
What the Wizard Creates
A single Deploy AI run creates all of the following, and you do not configure any of it individually:
| Component | What it is |
|---|---|
| Virtual machine | A GPU VM in the environment and region you choose, sized to hold the model. It appears in your Virtual Machines list marked with a dedicated inference icon, and is named after the model with a random suffix, such as qwen3-14b-e6714e. |
| Public IP address | A public IP address attached to the machine, with SSH, HTTP, and HTTPS open in its firewall so the endpoint is reachable. |
| GPU image | The Ubuntu Server 24.04 LTS image with the NVIDIA driver, CUDA, and Docker preinstalled. The wizard picks it for you; you do not choose an image. |
| Serving runtime | vLLM, pinned to a specific version, running in a container on the machine. |
| Model weights | Downloaded from Hugging Face on first boot, using the token you supply. |
| Hostname and certificate | A generated hostname on a Hyperstack-managed domain, pointed at the machine's public IP address, with HTTPS terminated on the machine. |
| API key | A generated key that every request to the endpoint must present. |
Sizing
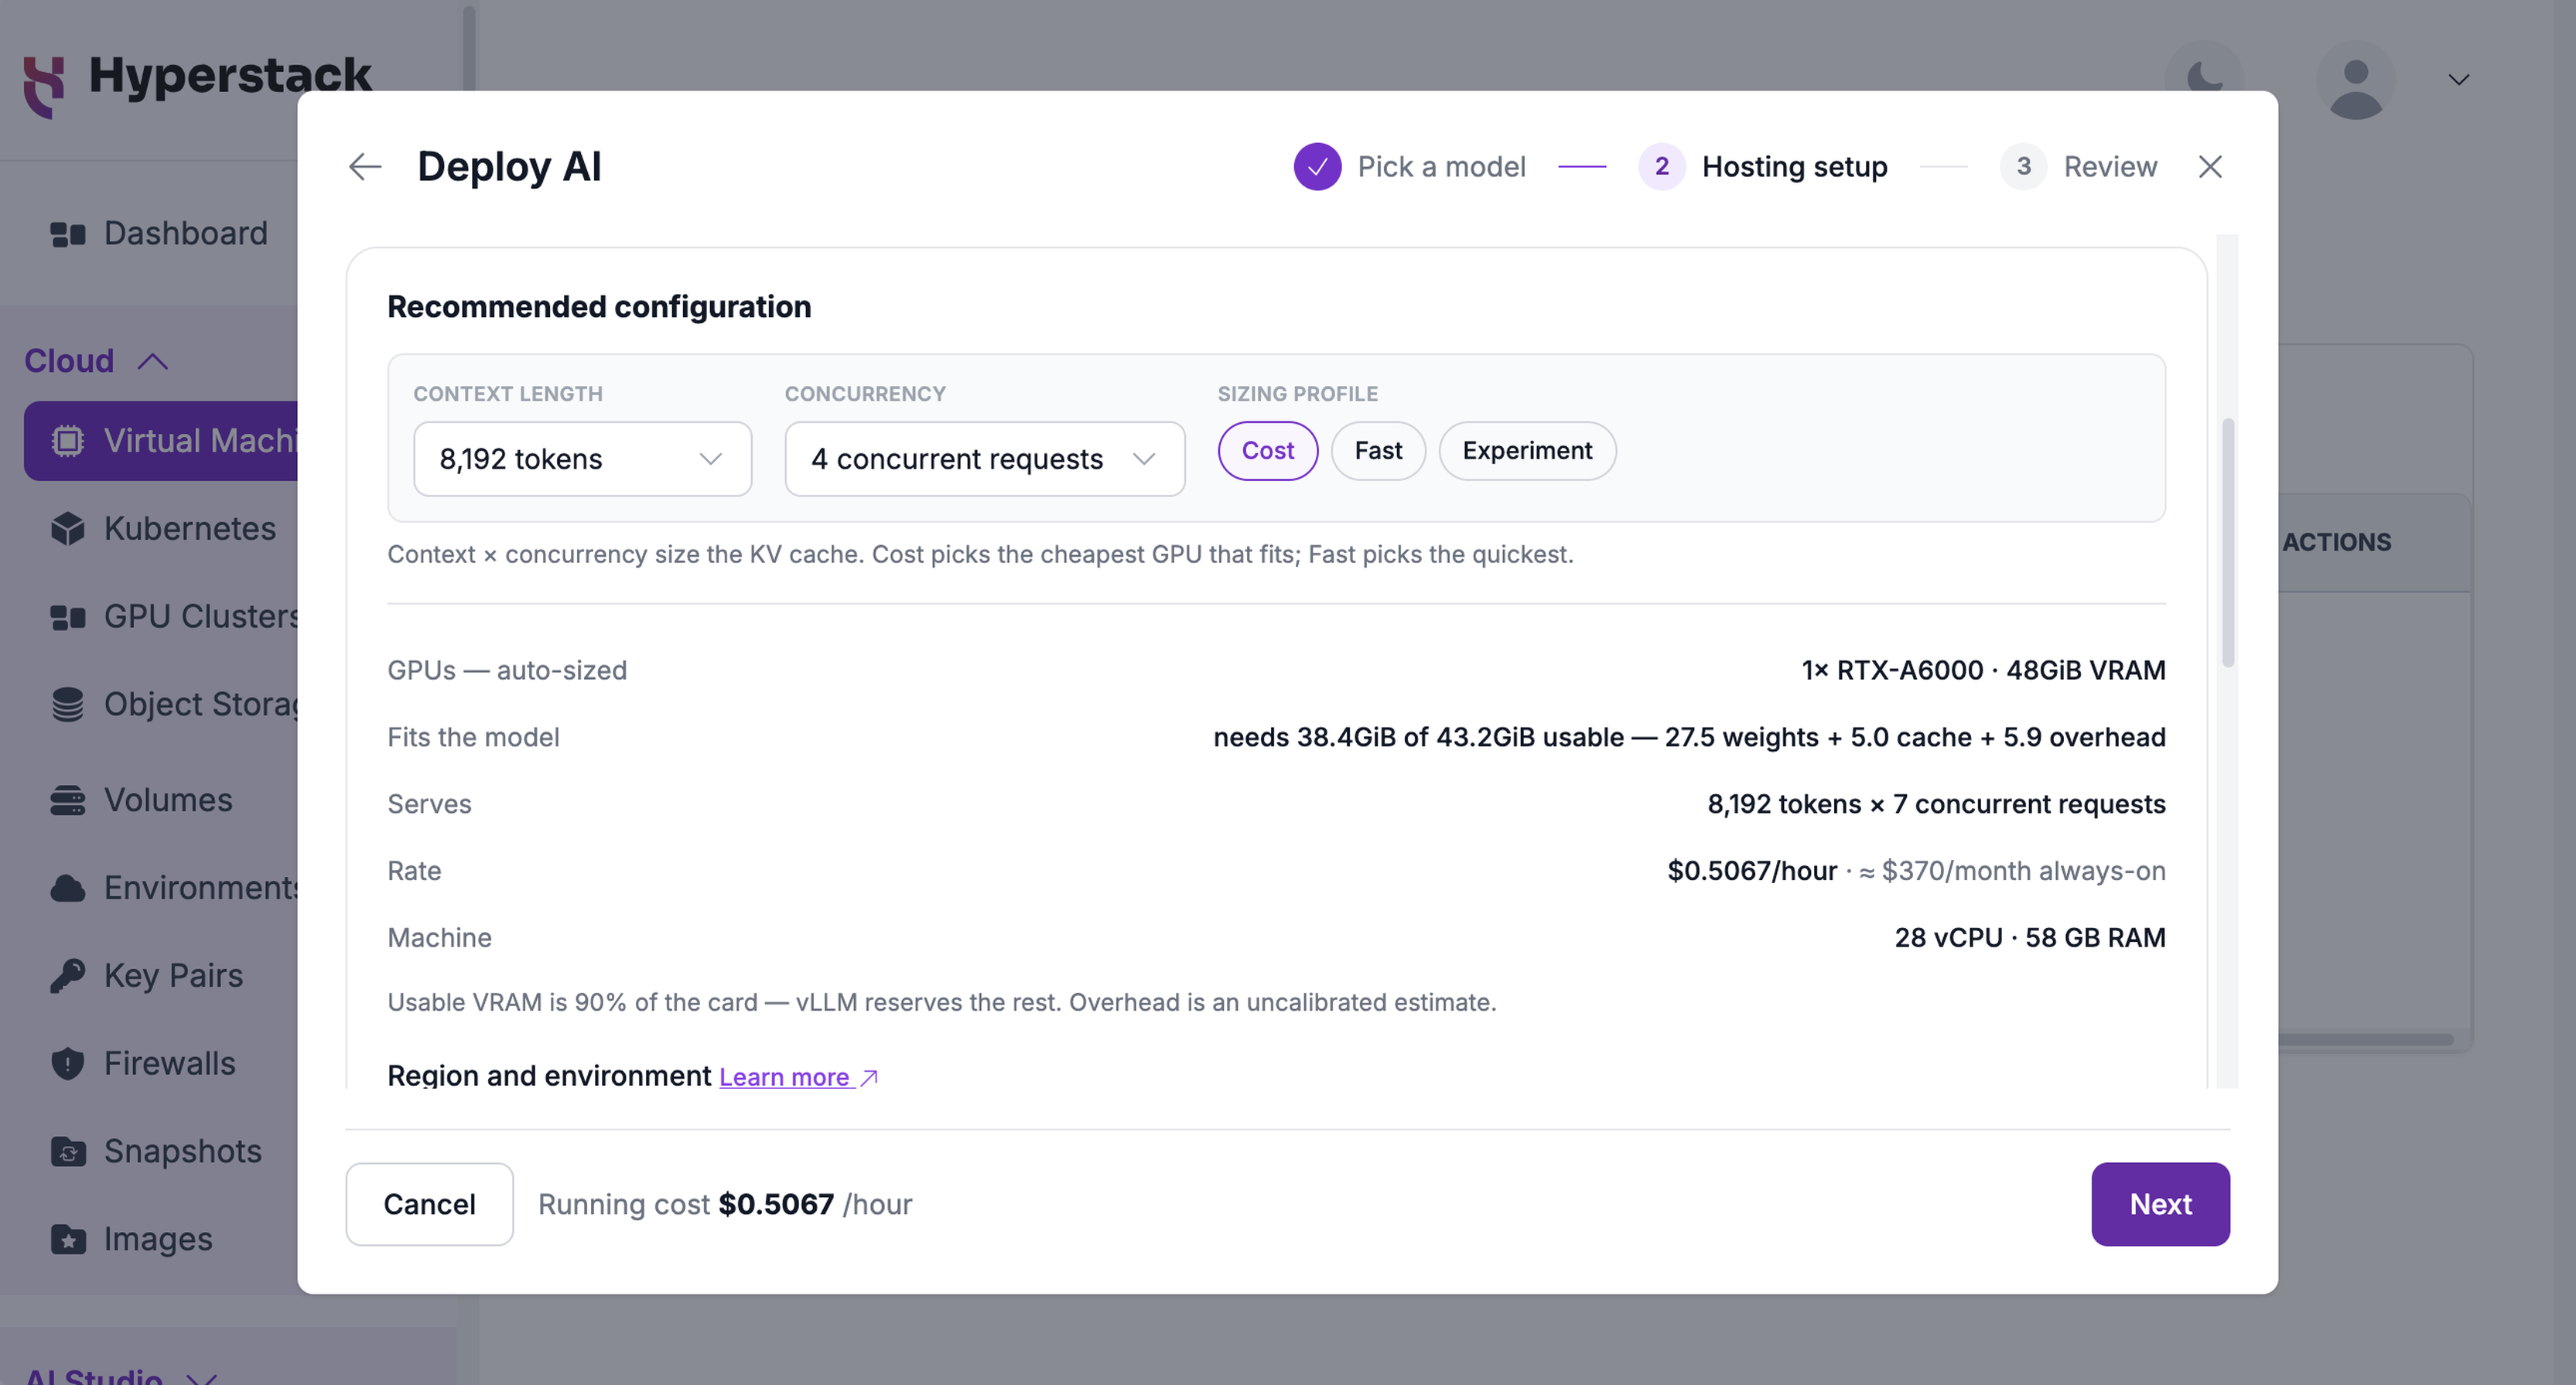
Sizing runs as soon as you pick a model, so an unavailable configuration surfaces before you fill in the rest of the form. The recommendation is derived from the model itself and accounts for three things, which the wizard shows as a single Fits the model line:
- The model weights.
- The KV cache, which is a product of the context length and the number of concurrent requests you ask for.
- Runtime overhead reserved by the serving engine.
The total is fitted against the usable VRAM of a candidate configuration. Usable VRAM is 90% of the card's advertised VRAM, because the serving engine reserves the rest.
Three sizing profiles decide which fitting configuration is recommended:
| Profile | Picks |
|---|---|
| Cost | The cheapest configuration that fits. This is the default. |
| Fast | The quickest GPU class that fits. |
| Experiment | The fewest GPUs that fit, serving a shorter context. |
You set the Context length (4,096 to 32,768 tokens) and Concurrency (1 to 32 concurrent requests) alongside the profile. The wizard reports what the recommended configuration serves, which can exceed the concurrency you asked for. For a larger context or higher concurrency than the wizard offers, contact sales from the link inside either dropdown.
You can override the recommendation by clicking Change the configuration. The list shows every configuration that serves the model at the chosen context and concurrency, ranked by the cost profile, with the flavor, usable VRAM, and hourly rate of each. Only configurations that are in stock can be selected. The rest are listed as unavailable, naming the regions they are out of stock in and offering a Contact sales link in place of a rate. Once you pick one, the GPUs row labels it as your override rather than auto-sized.
Regions and Environments
The Region list in the wizard shows every region where the recommended configuration is in stock today. Regions with no stock are shown but cannot be selected. The machine is created into an environment in that region. An environment belongs to exactly one region, so the region you choose determines which environments and SSH keys you can pick, and you can create a new environment or SSH key from inside the wizard.
Deploy a Model
The Deploy AI wizard opens as a modal over whichever page you started from, and it is the same wizard from all three entry points:
- The Dashboard, using the Deploy AI Model button.
- The Virtual Machines page, using the Deploy AI button next to Deploy New Virtual Machine.
- The Inference page in AI Studio, using the Deploy AI button on the Endpoints tab.
Closing the modal with Cancel or the close control discards the deployment at any step and returns you to the page you started from. Use the Back arrow in the modal header to return to an earlier step.
-
Pick a model
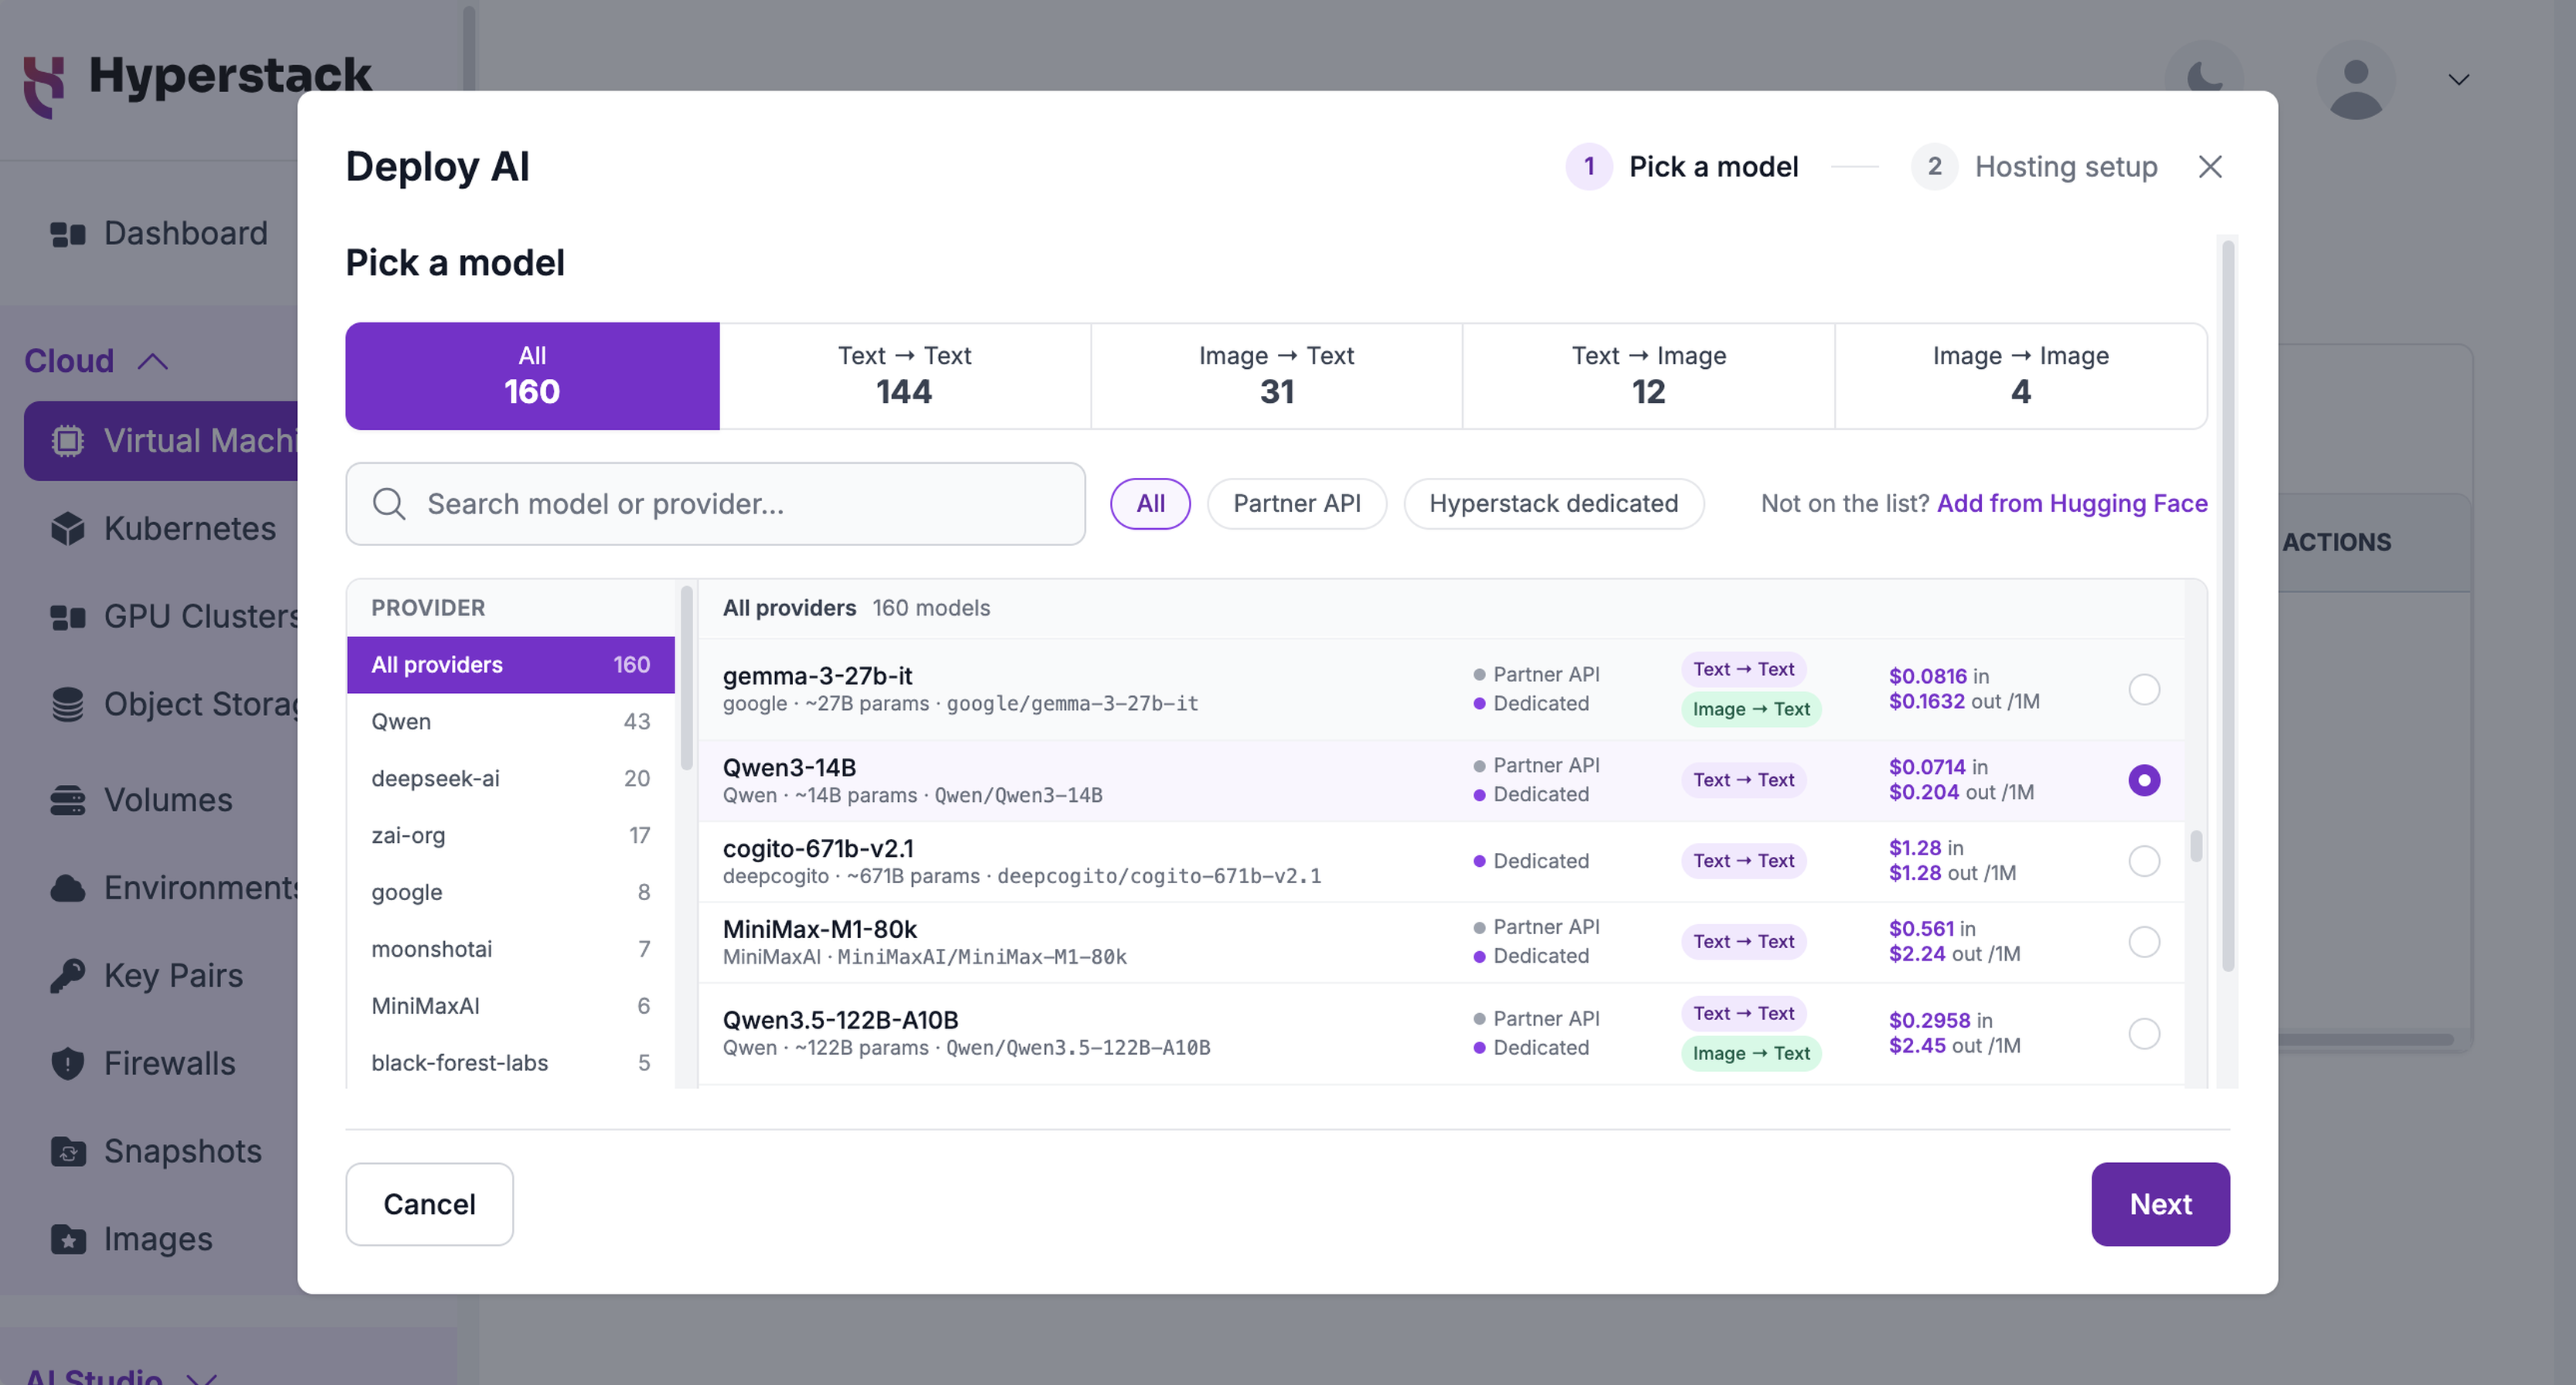
Browse the model catalog by modality, provider, or search, and click the model you want to serve. Each row carries the model's repository id, its approximate parameter count, and the ways it can be served: Partner API for the shared per-token service, Dedicated for your own GPUs. Filter the list with the Hyperstack dedicated chip to see only the models that can run on dedicated GPUs.
If the model you want is not in the catalog, click Add from Hugging Face, enter your Hugging Face token and the exact model repository id, then click Deploy this. The match is exact, not fuzzy. Hyperstack checks that the model exists and that your token can reach it.
-
Hosting setup
Hosting setup offers two cards: Partner API, billed per 1M tokens with nothing to provision, and Hyperstack dedicated, billed per GPU-hour on your own GPUs. Select the Hyperstack dedicated card. For a model that the shared service also serves, the Partner API card is selected by default, so switch to the dedicated card. The wizard then shows the recommended configuration and its cost.
-
Enter your Hugging Face token and click Apply. The token is required for dedicated hosting, and Next stays unavailable until it is applied. The Get a token link opens the Hugging Face page that creates a Read token.
-
Set the Context length and Concurrency you need, and choose a Sizing profile. The wizard starts at 8,192 tokens and 4 concurrent requests on the Cost profile. The panel below updates to show the GPUs picked, how the model fits into the usable VRAM, what the configuration serves, the hourly rate with an always-on monthly estimate, and the machine's CPU and memory.
-
Choose the Region and Environment. Only regions where the configuration is in stock can be selected. To use a new environment, click Create a new environment.
-
Choose an SSH key. The wizard preselects the first key in the environment, and you can create a new one. Reusing an existing key means sharing that key's private half with everyone who holds it.
-
To override the recommendation, click Change the configuration and pick another configuration from the list.
-
-
Review
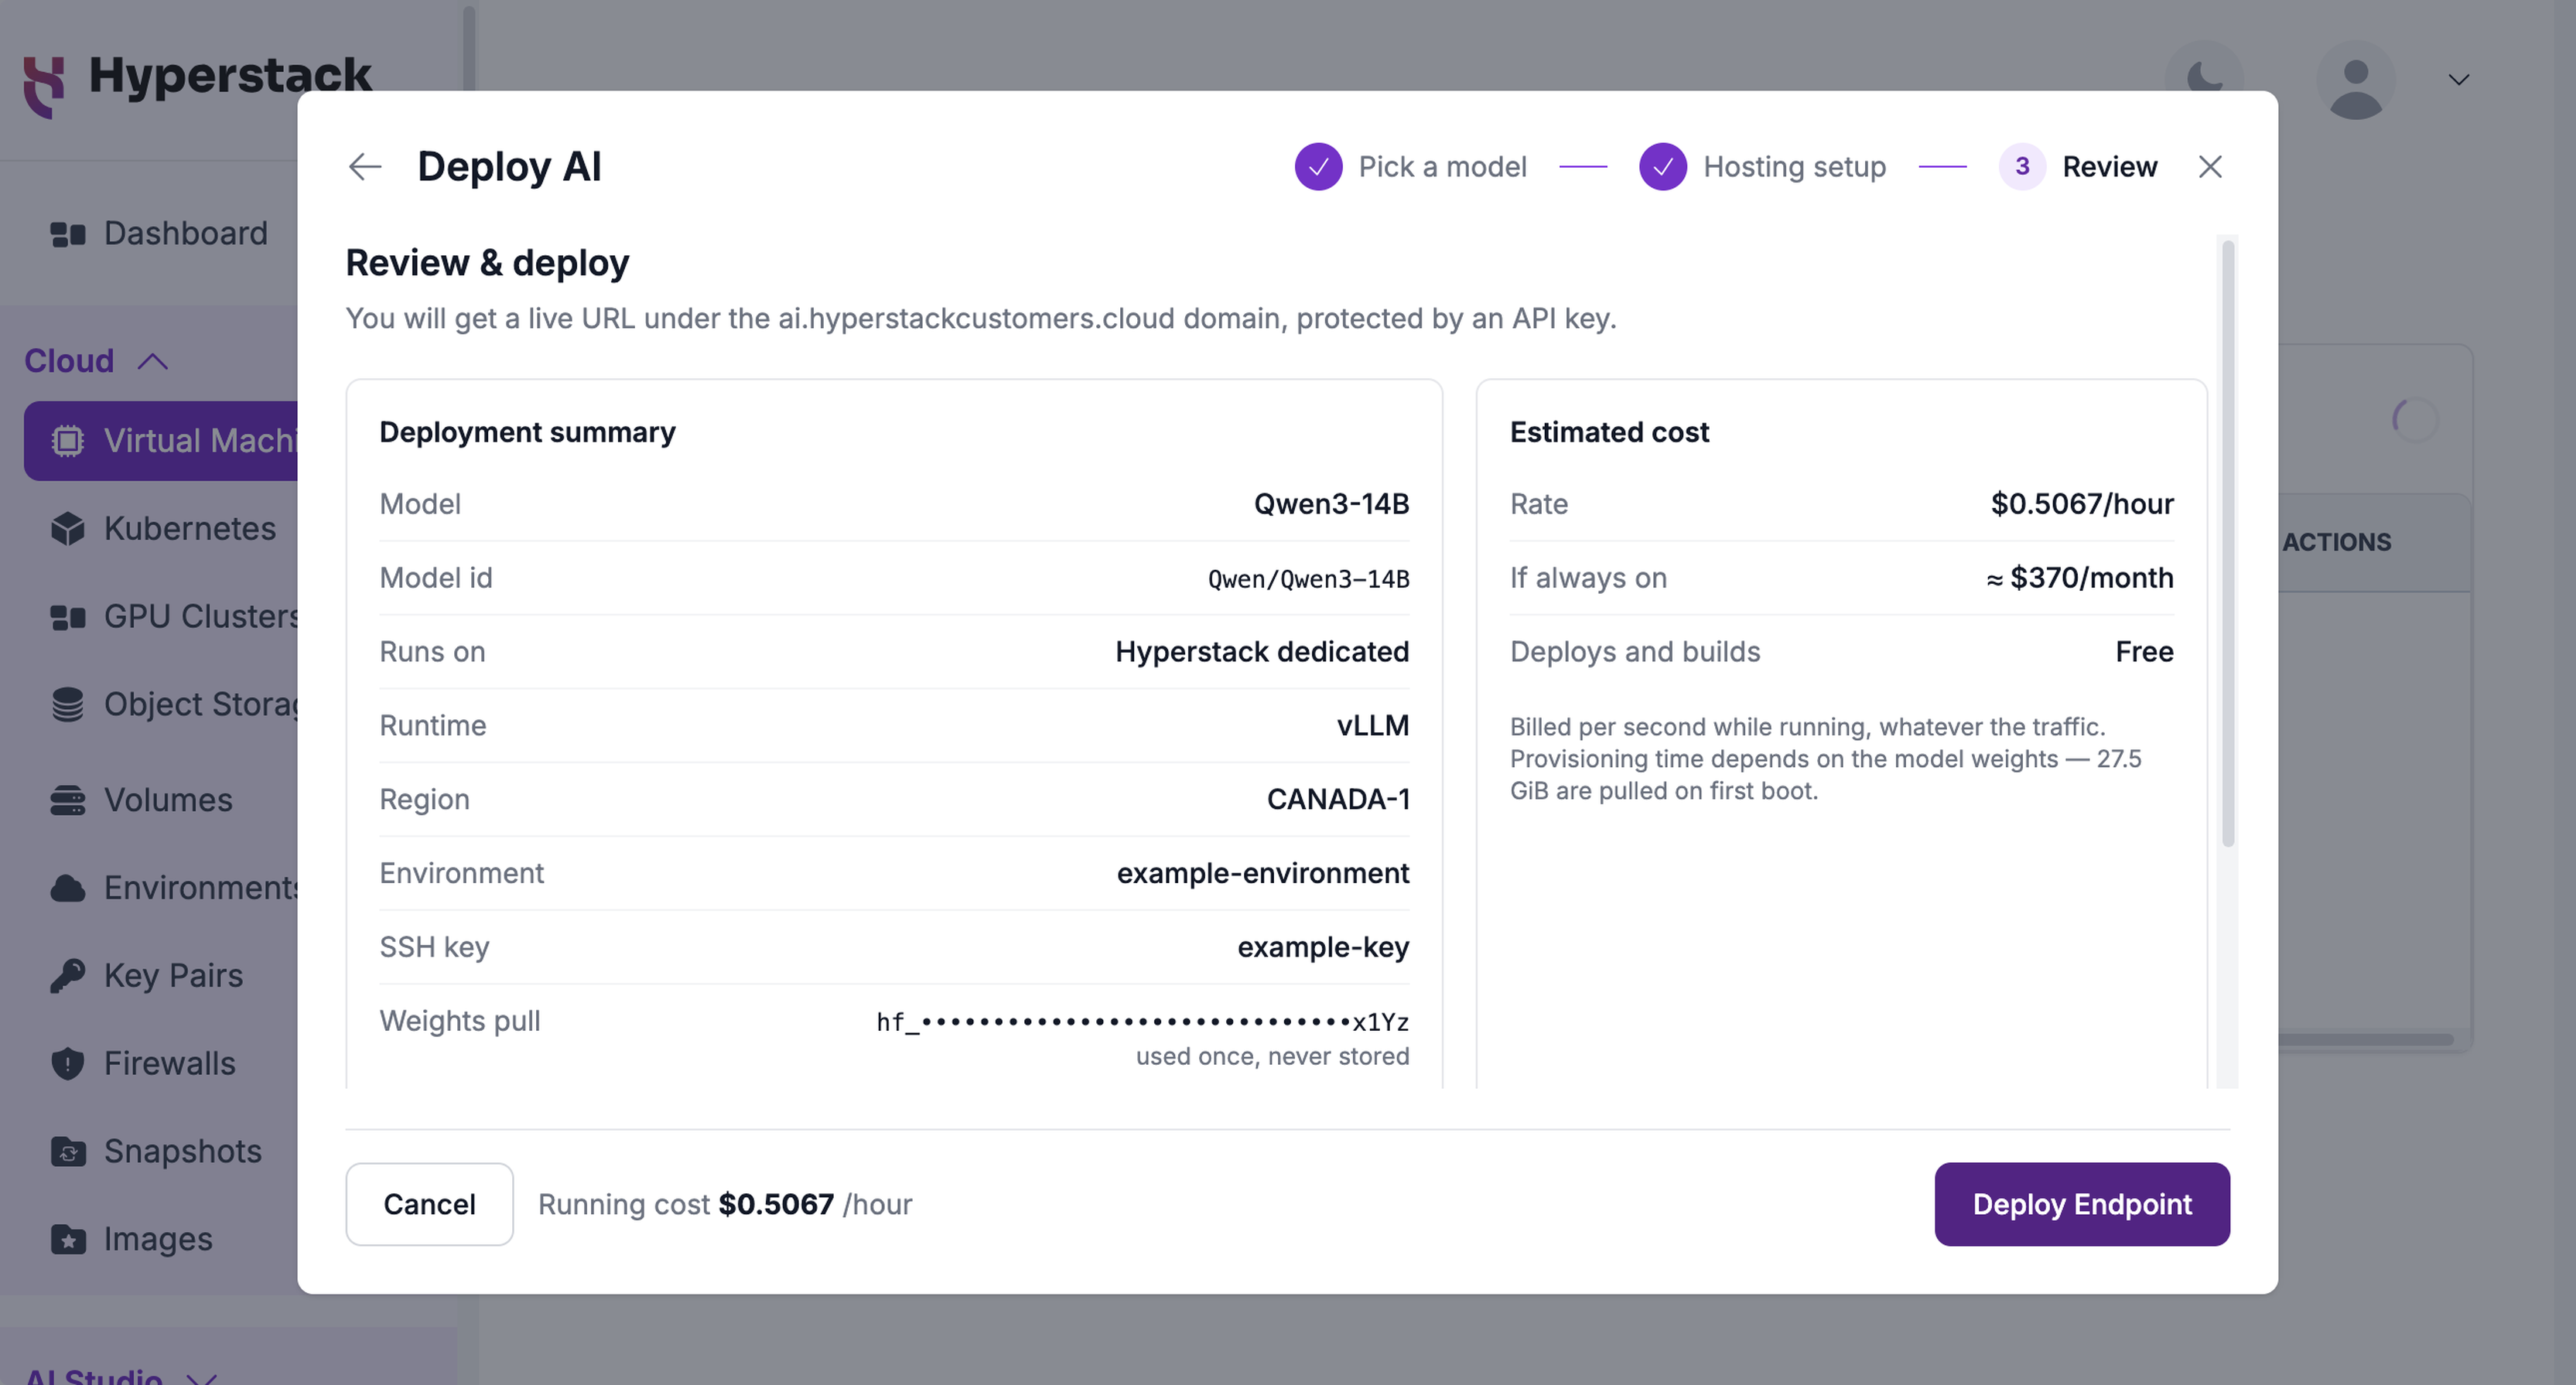
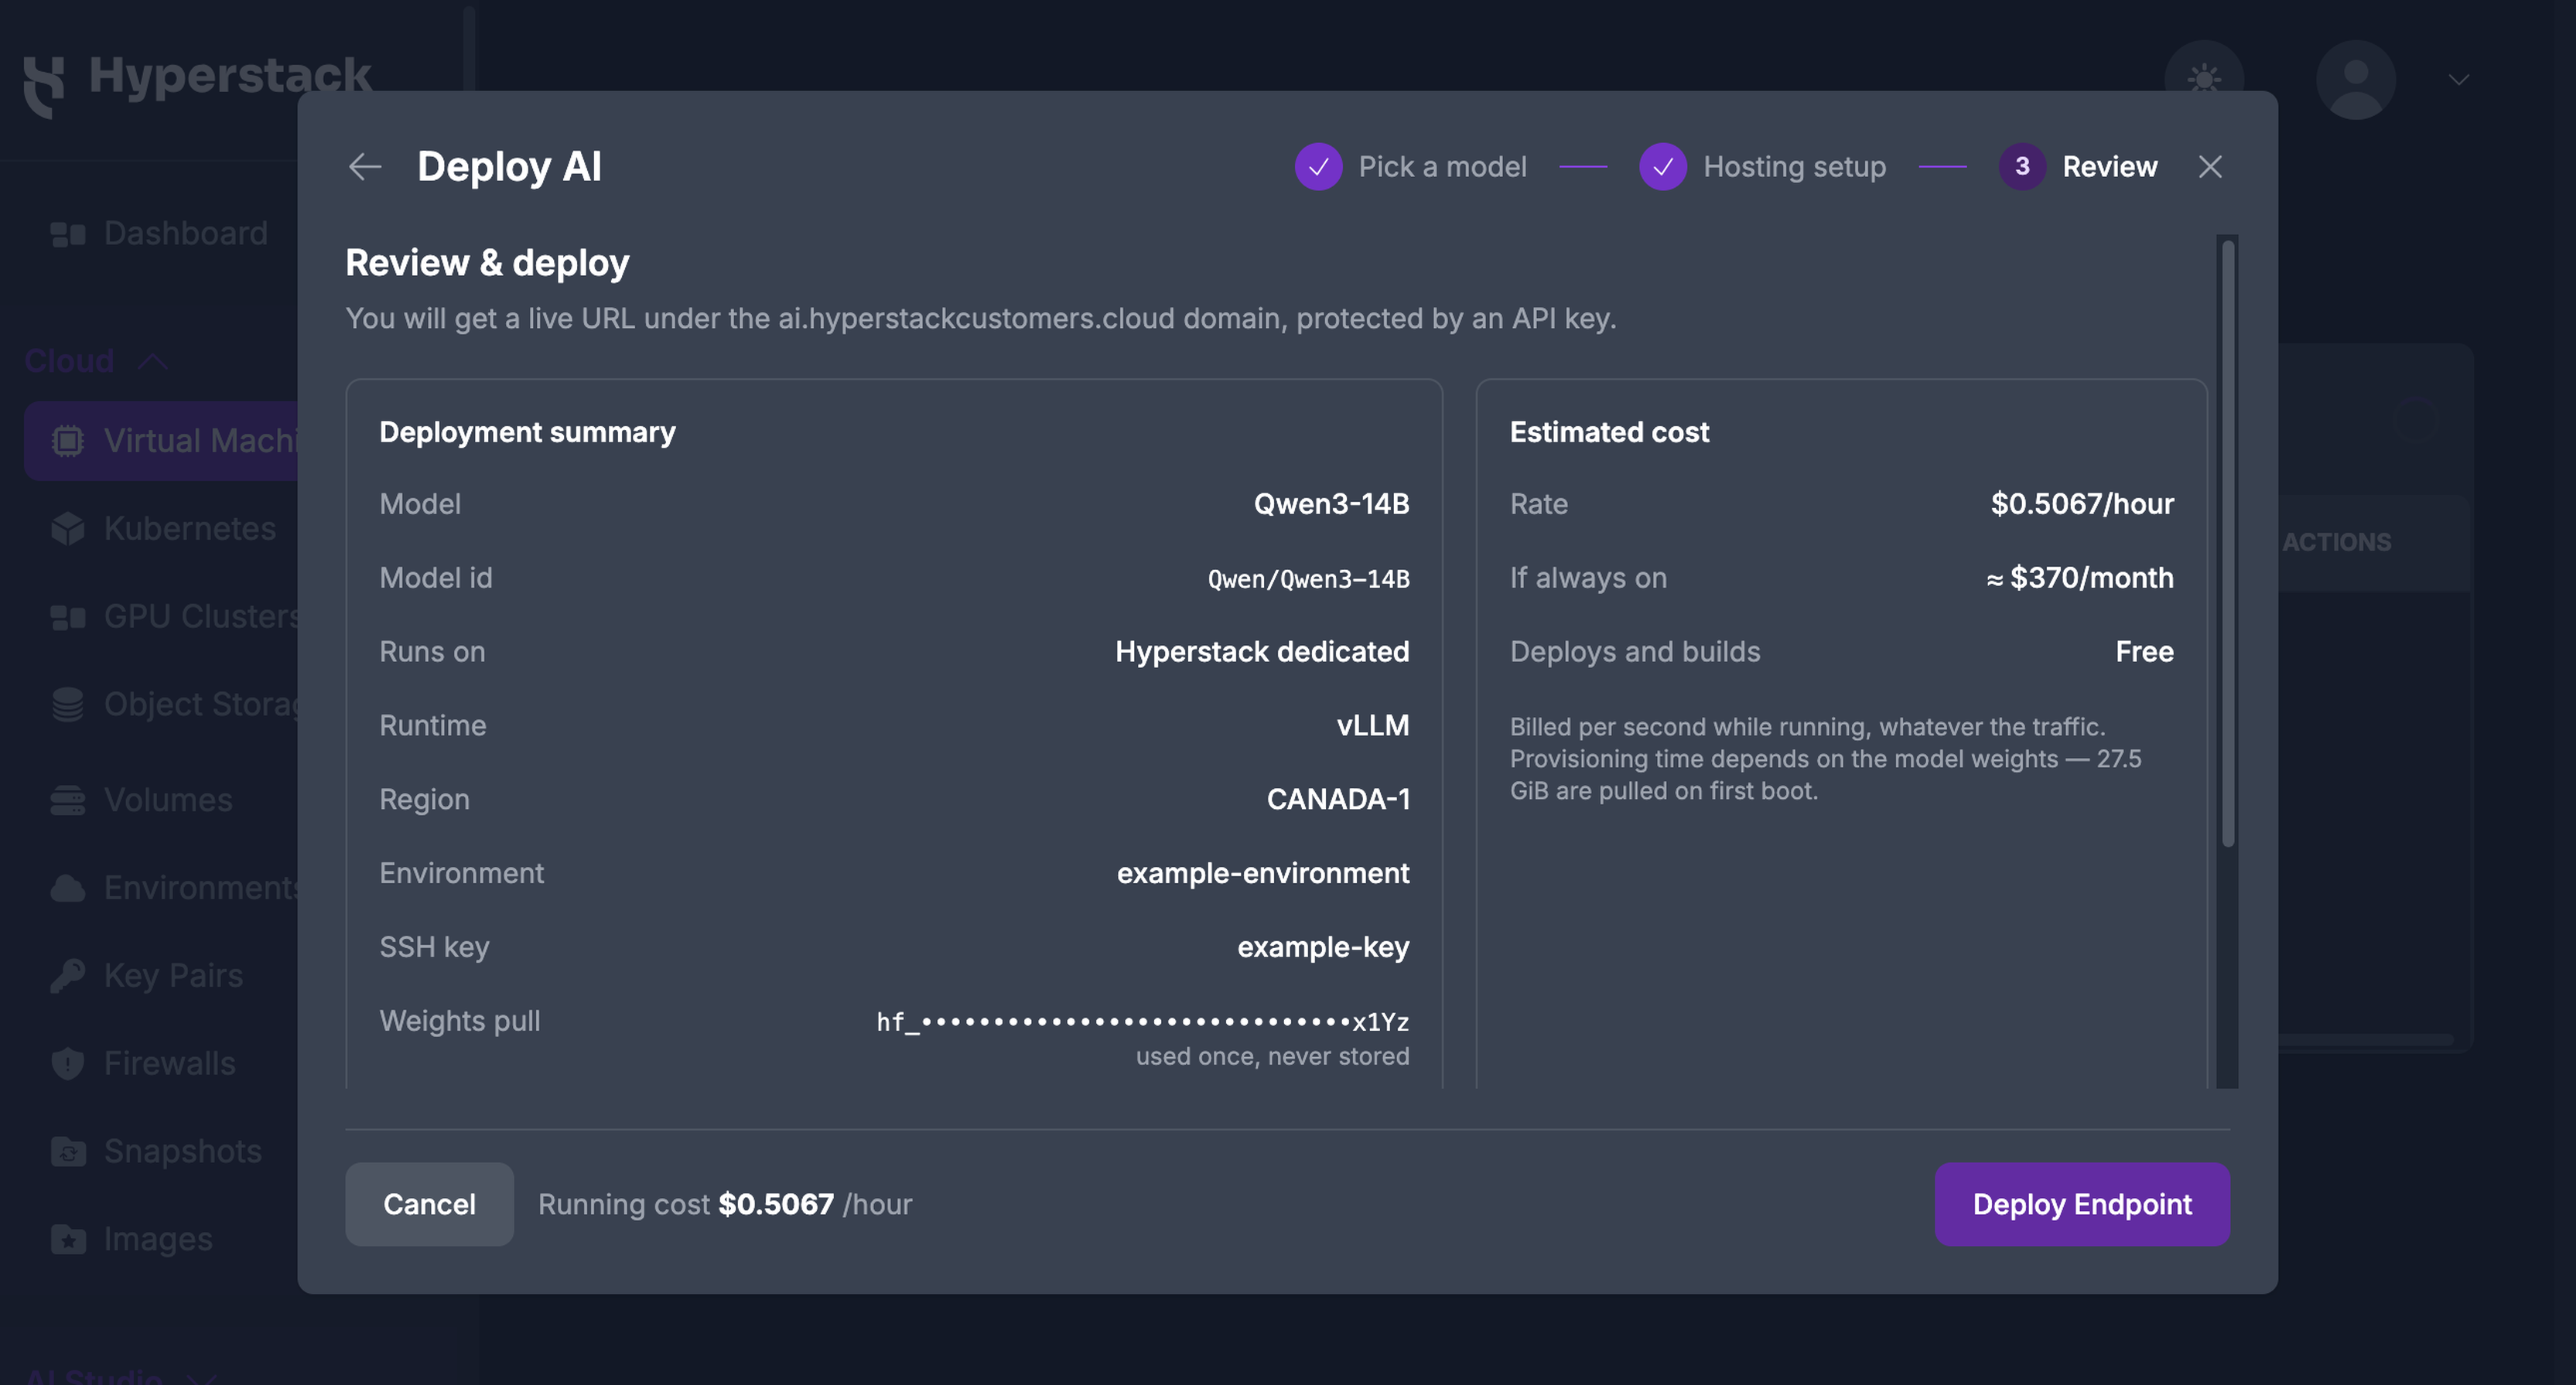
The final step opens the Review & deploy screen. Check the Deployment summary, which lists the model and model id, the runtime, region, environment, SSH key, the token that will pull the weights, the provisioned configuration, and what it was sized for. The Estimated cost panel shows the hourly rate and the always-on monthly estimate. Click Deploy Endpoint.
After you deploy, the wizard shows the endpoint name and the provisioning stages as they complete: the GPUs reserved, the machine active, the endpoint address published, and the engine serving. It also shows the endpoint URL once DNS is published, the model id, the API key, the full authorization header, the provisioned configuration, and the running cost. Click Done to close it. Everything on this screen is also on the endpoint's page, described below.
Provisioning time depends on the size of the model weights, because they are downloaded to the machine on first boot. You receive an email when the endpoint is live, and another if the deployment fails or times out. The API key is never included in an email.
Connect to Your Endpoint
Every endpoint exposes an OpenAI-compatible chat completions API at its own hostname and is protected by the API key generated for it. The endpoint's page in the console carries a Quick start request that you can copy with the URL and model id already filled in.
Send the key as a bearer token and the model id as the model field:
curl -X POST "https://<endpoint-host>.ai.hyperstackcustomers.cloud/v1/chat/completions" \
  -H "Content-Type: application/json" \
  -H "Authorization: Bearer YOUR_API_KEY" \
  -d '{
  "model": "<model-id>",
  "messages": [{"role": "user", "content": "Hello"}]
}'
Replace <endpoint-host> with the generated host label shown as your endpoint URL, YOUR_API_KEY with the endpoint's API key, and <model-id> with the model id shown on the endpoint's page, such as Qwen/Qwen3-14B.
The API key is shown on the endpoint's page and on the deployment screen, masked until you click the eye control, with a copy control beside it. Keep it private: anyone holding it can use the model, and the machine bills whether or not anyone does.
The key that protects a dedicated endpoint is issued with that endpoint and covers only that endpoint. It is not one of your API keys, and it does not call the shared AI Studio service.
Manage Your Endpoints
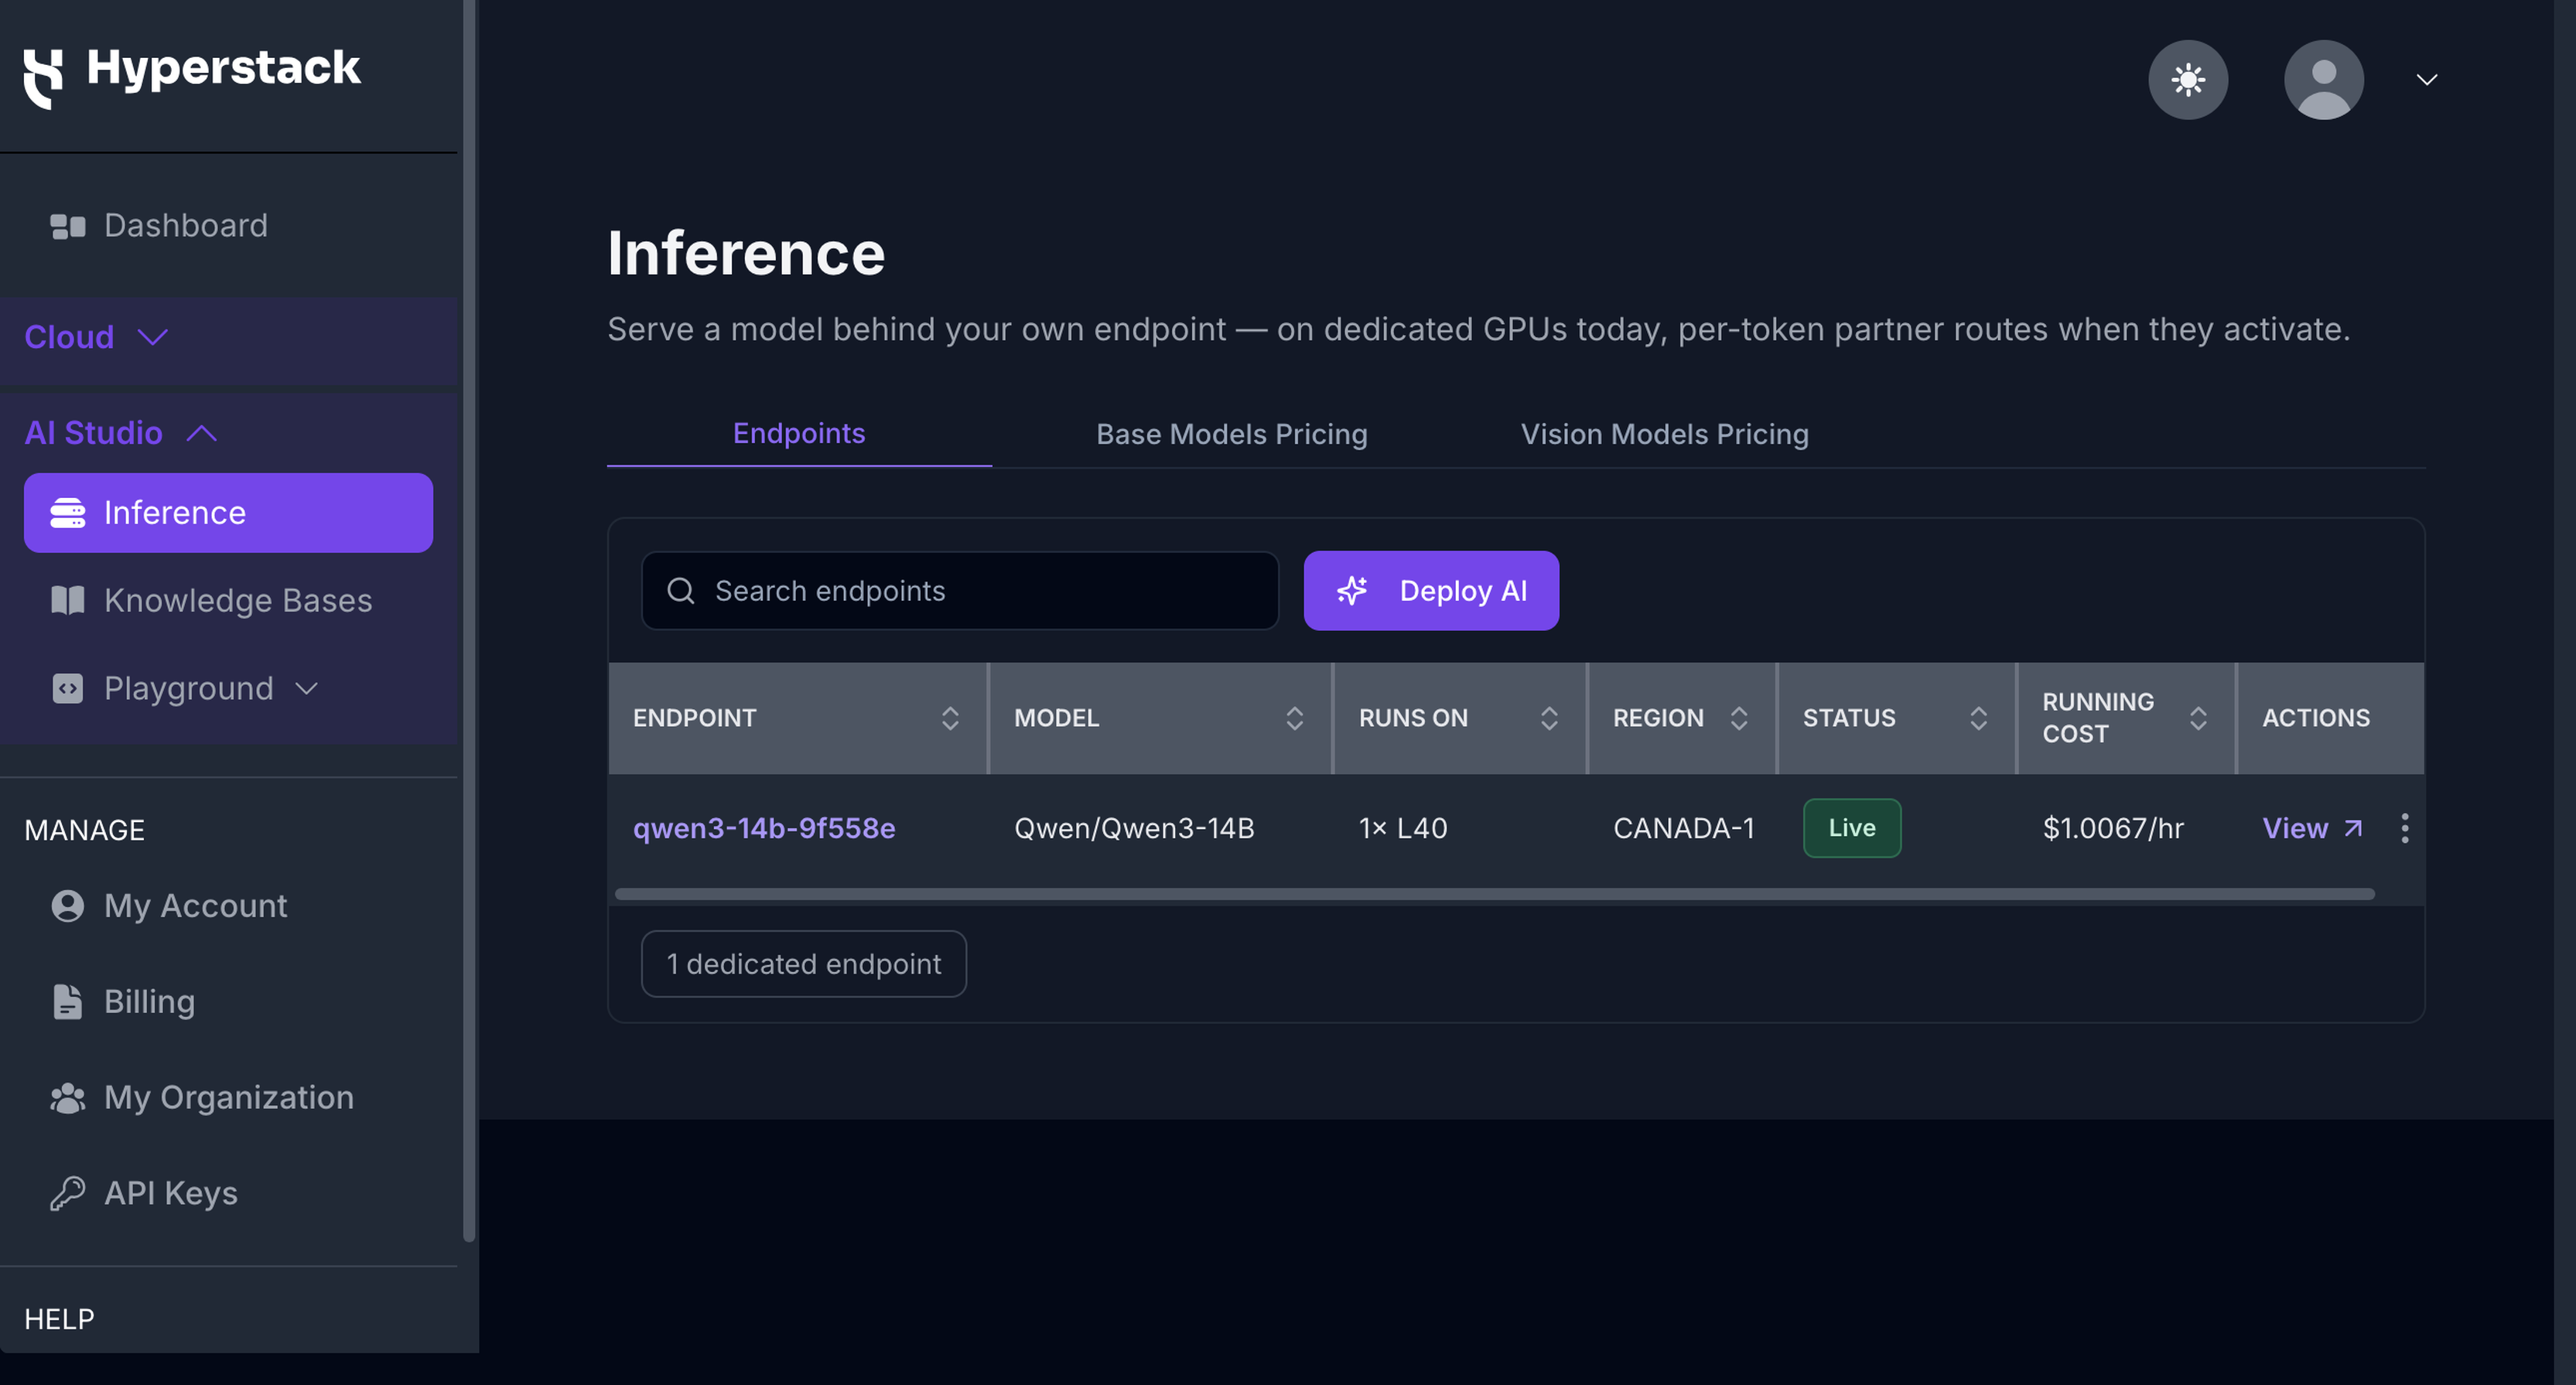
Your dedicated endpoints are listed on the Endpoints tab of the Inference page in AI Studio, alongside the Base Models Pricing and Vision Models Pricing tabs. The list shows each endpoint's name, model, the GPUs it runs on, region, status, and running cost.
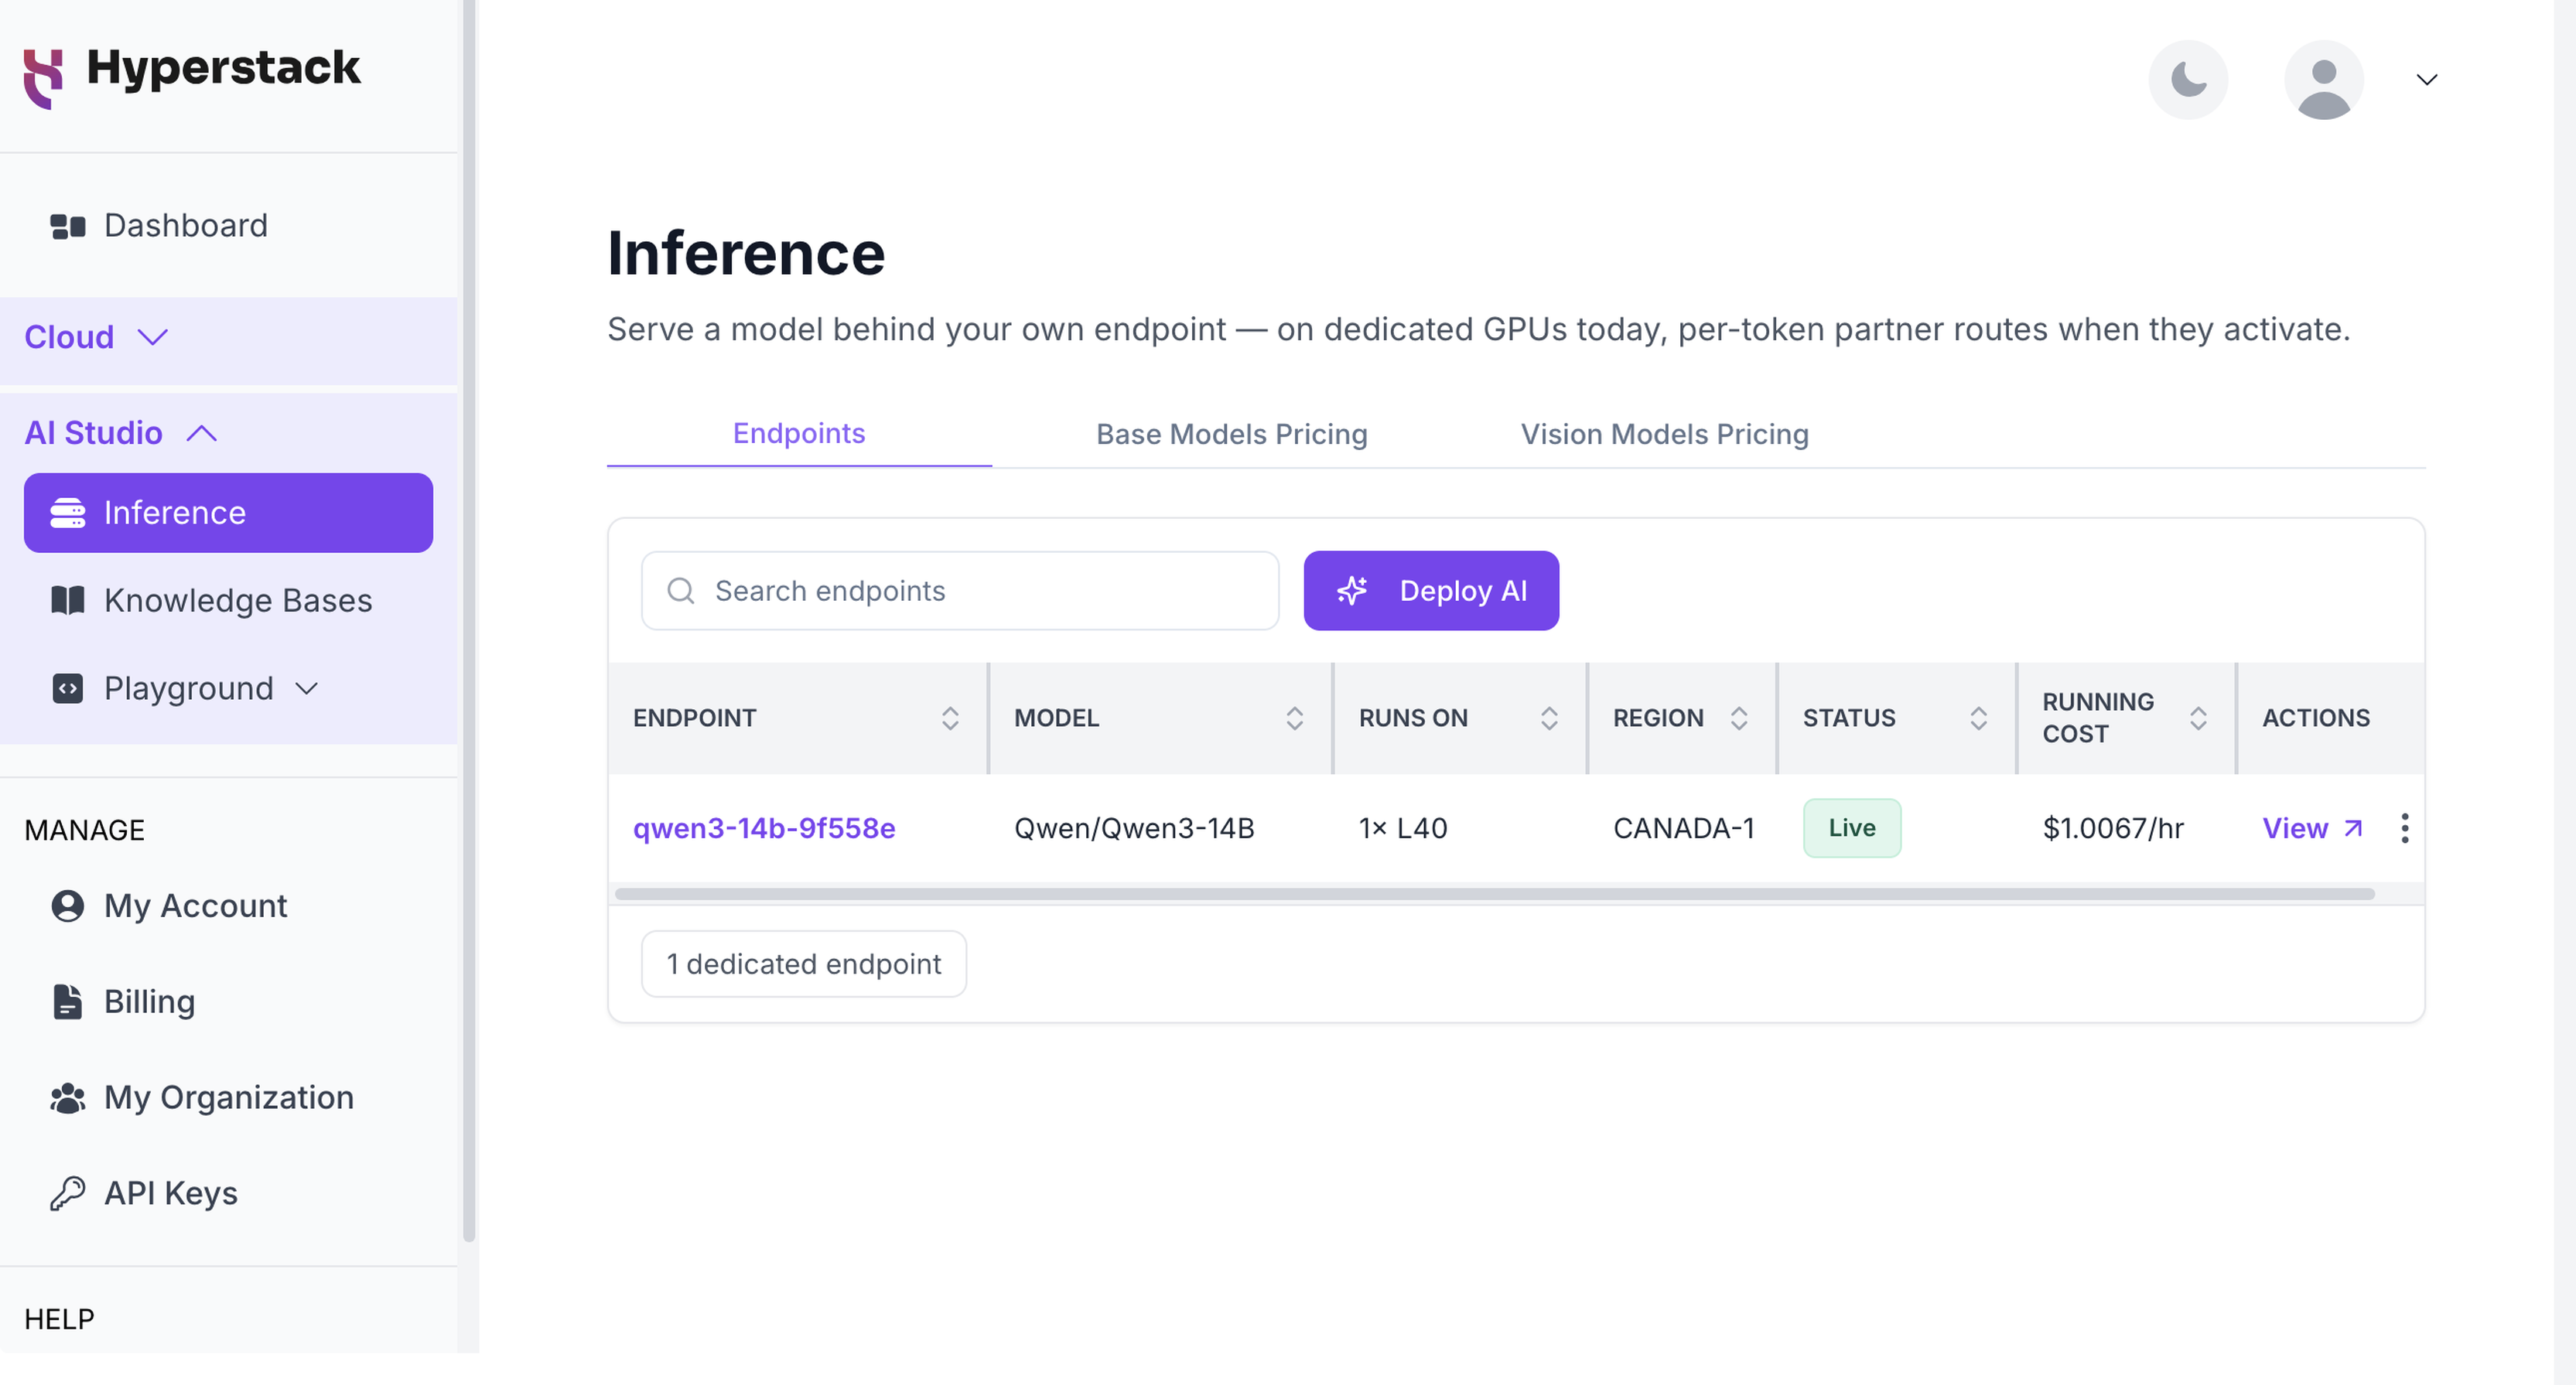
Click an endpoint's name, or View, to open its page. The Connection section carries the endpoint URL, model id, API key, provisioned configuration, and running cost, followed by the Quick start request.
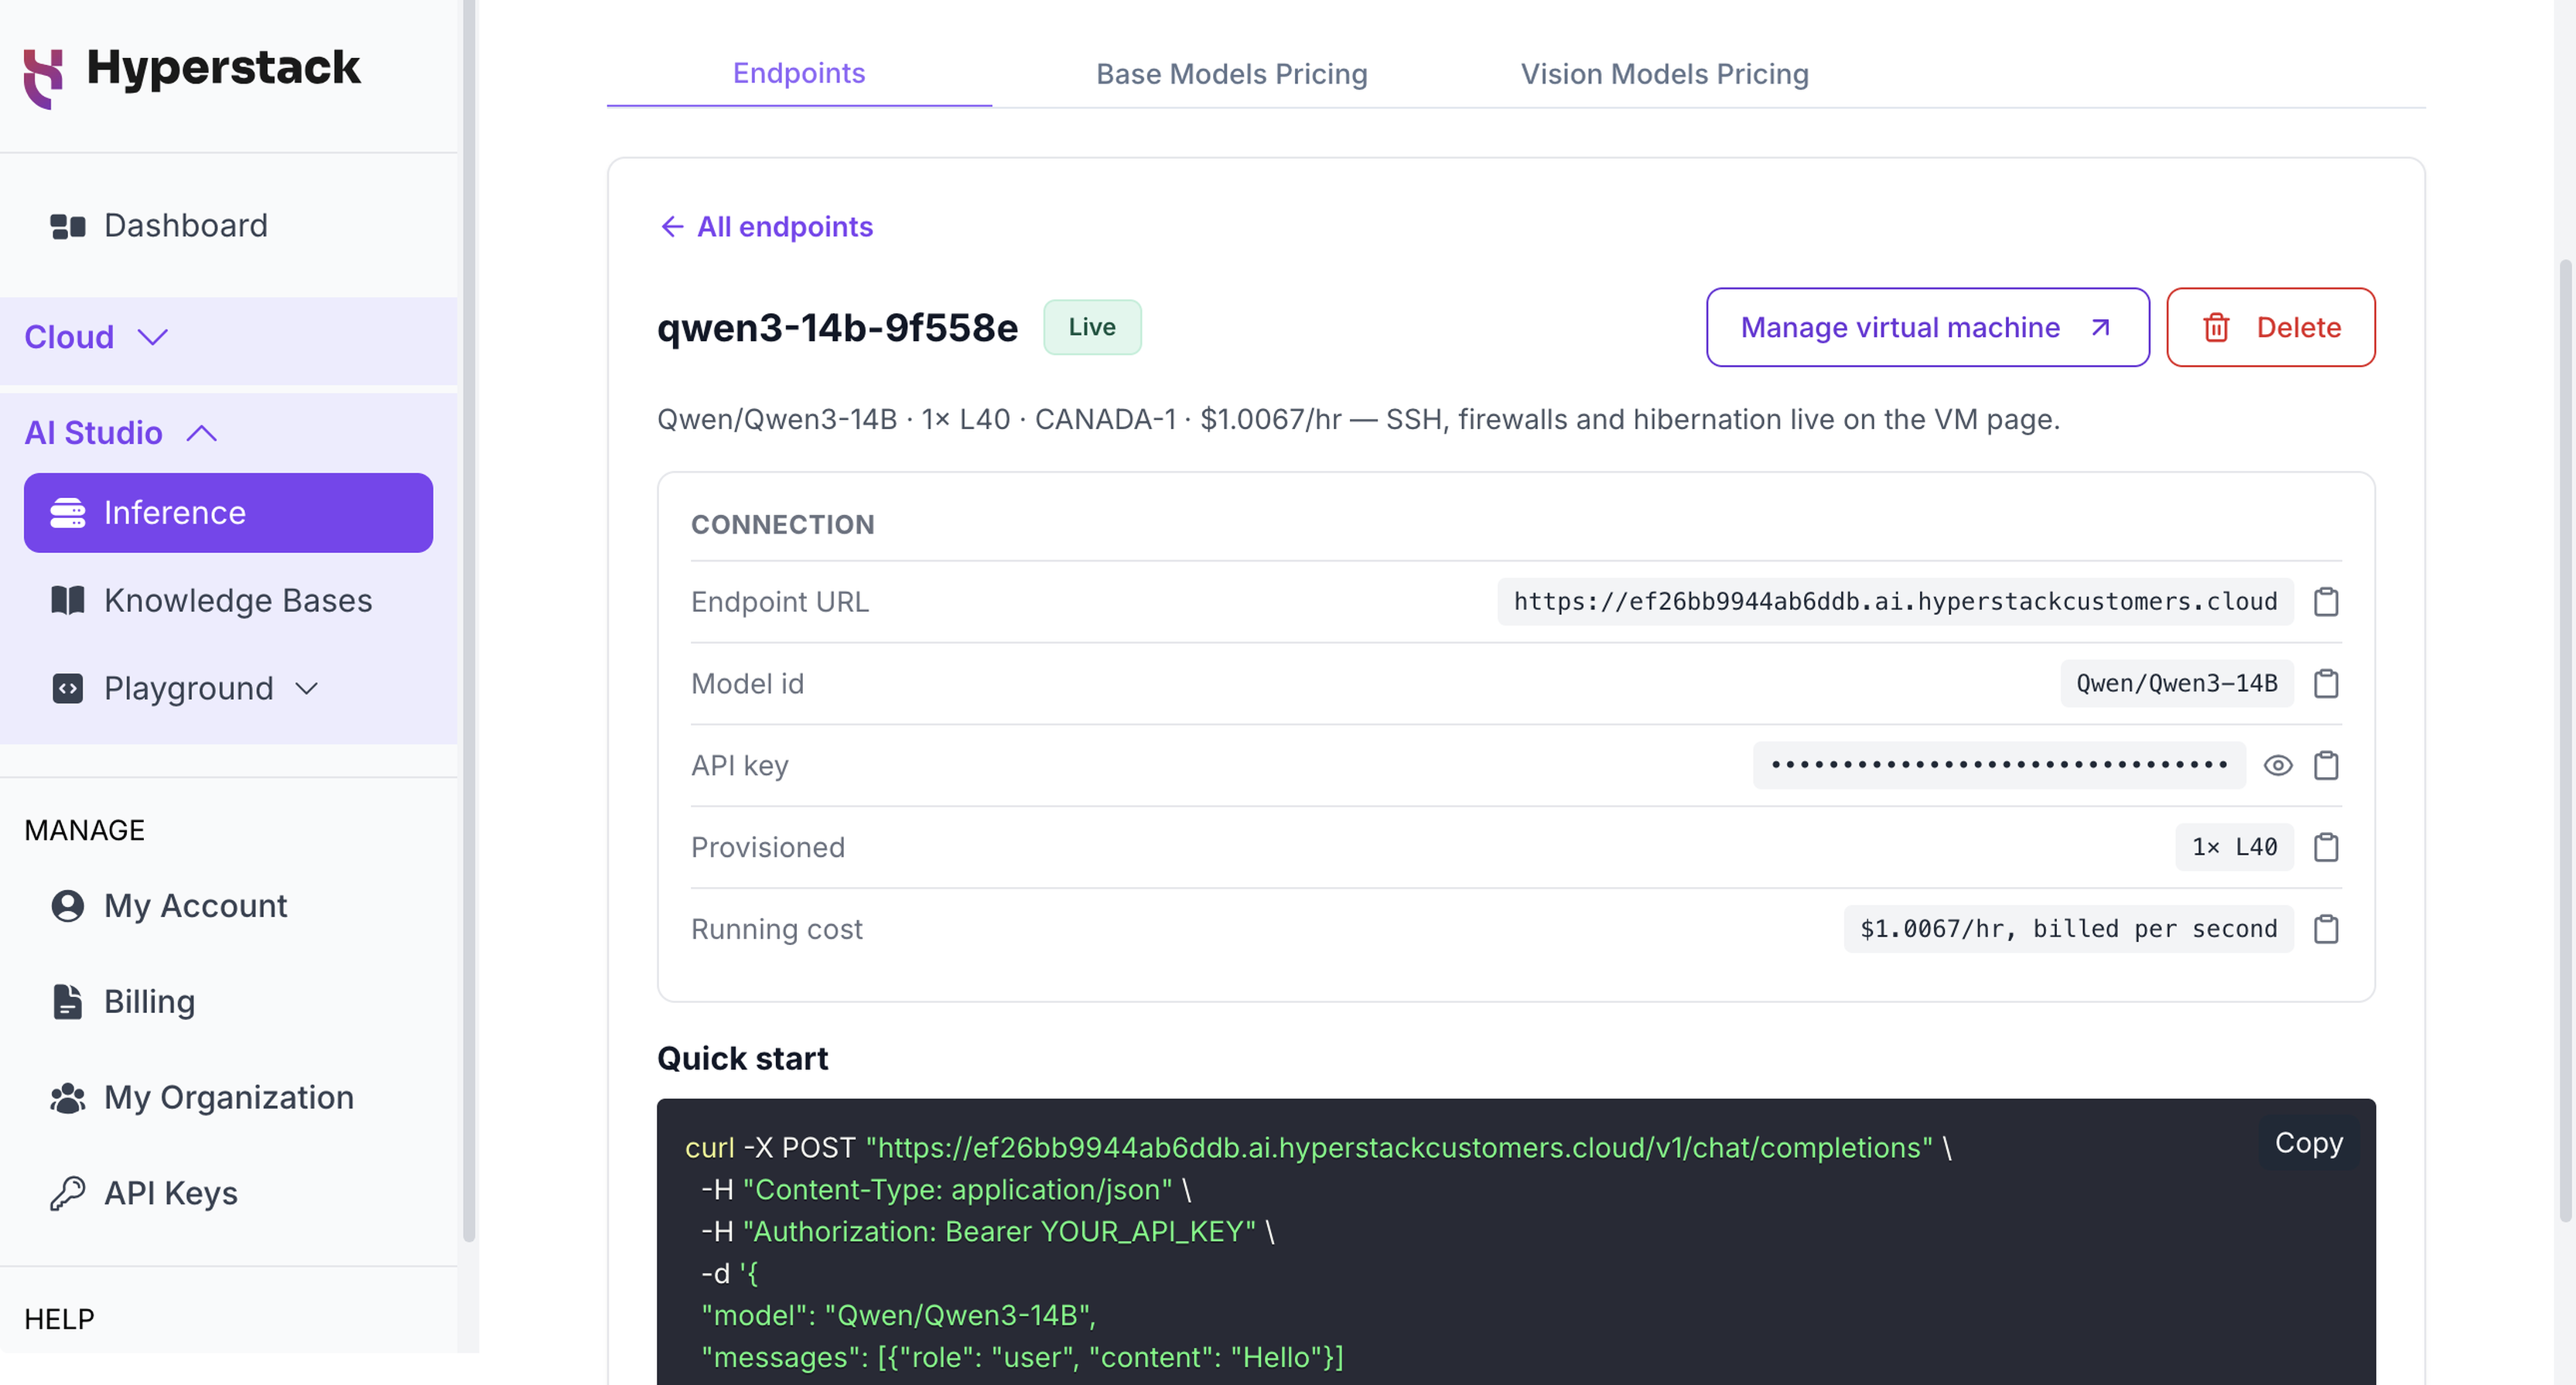
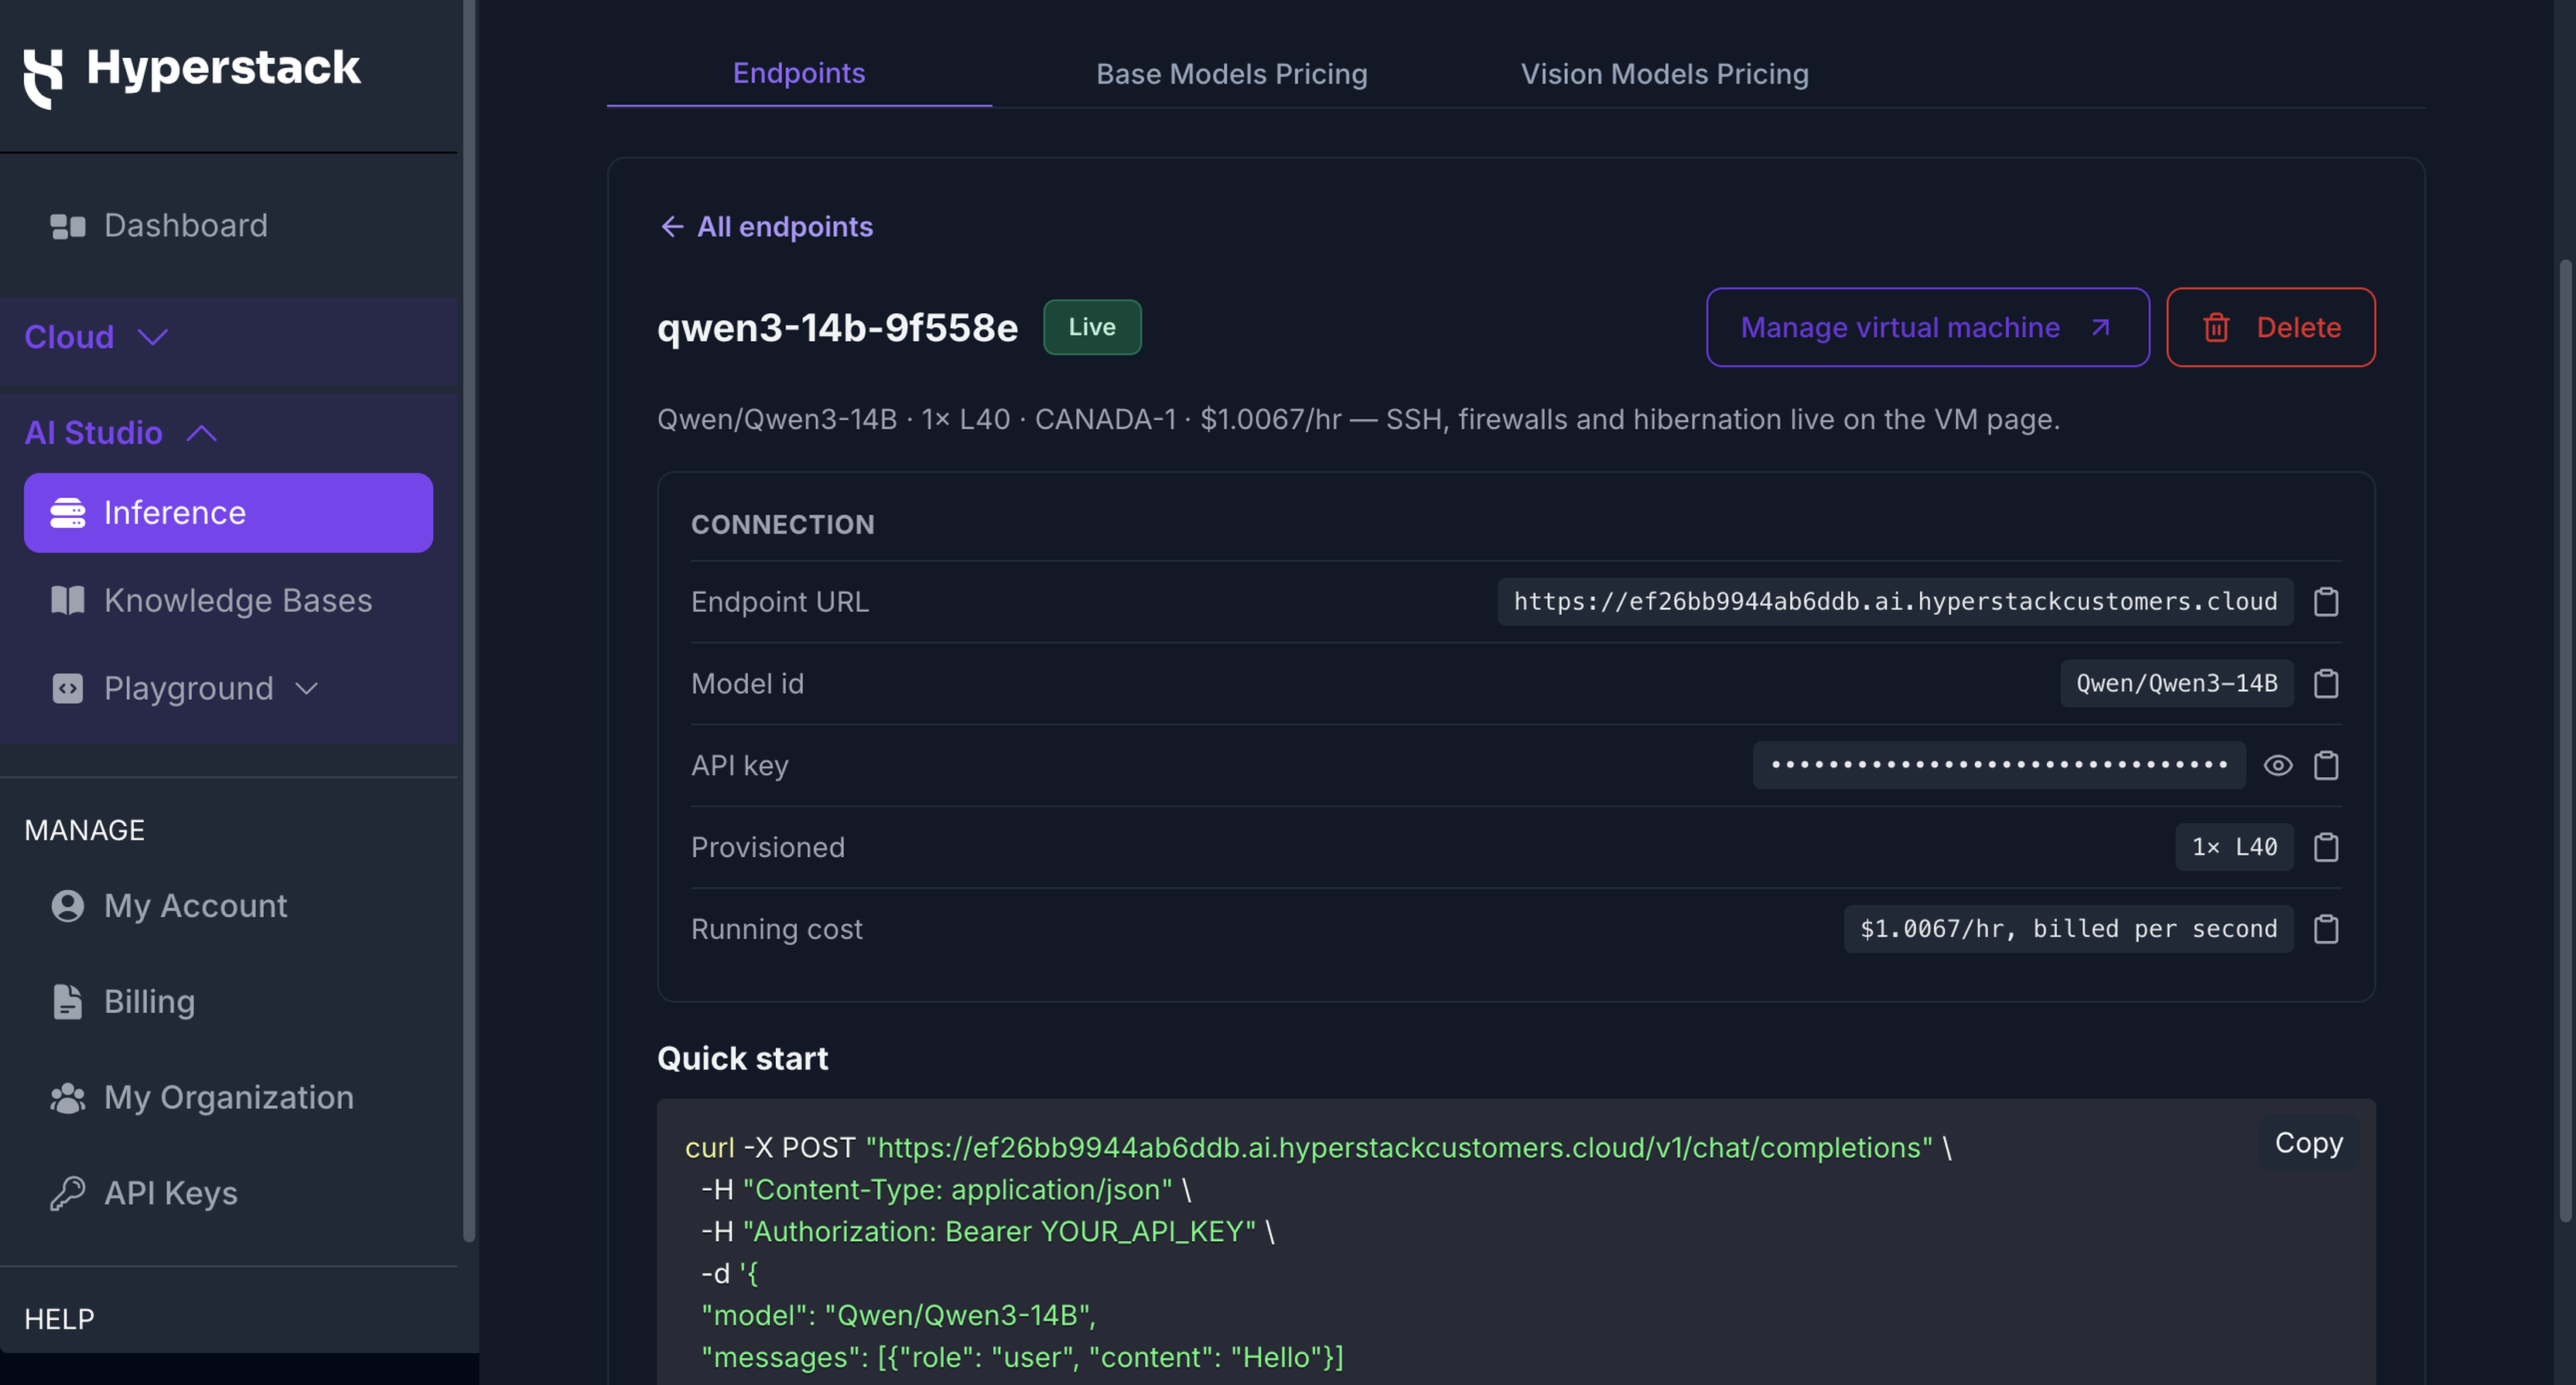
The endpoint and its virtual machine link to each other:
- Manage virtual machine on the endpoint's page opens the VM's page, where SSH access, firewall rules, console access, and metrics live.
- The Dedicated Inference tab on the VM's page shows the endpoint it serves, its status, and the date it was deployed, and Go to inference endpoint links back to the endpoint's page.
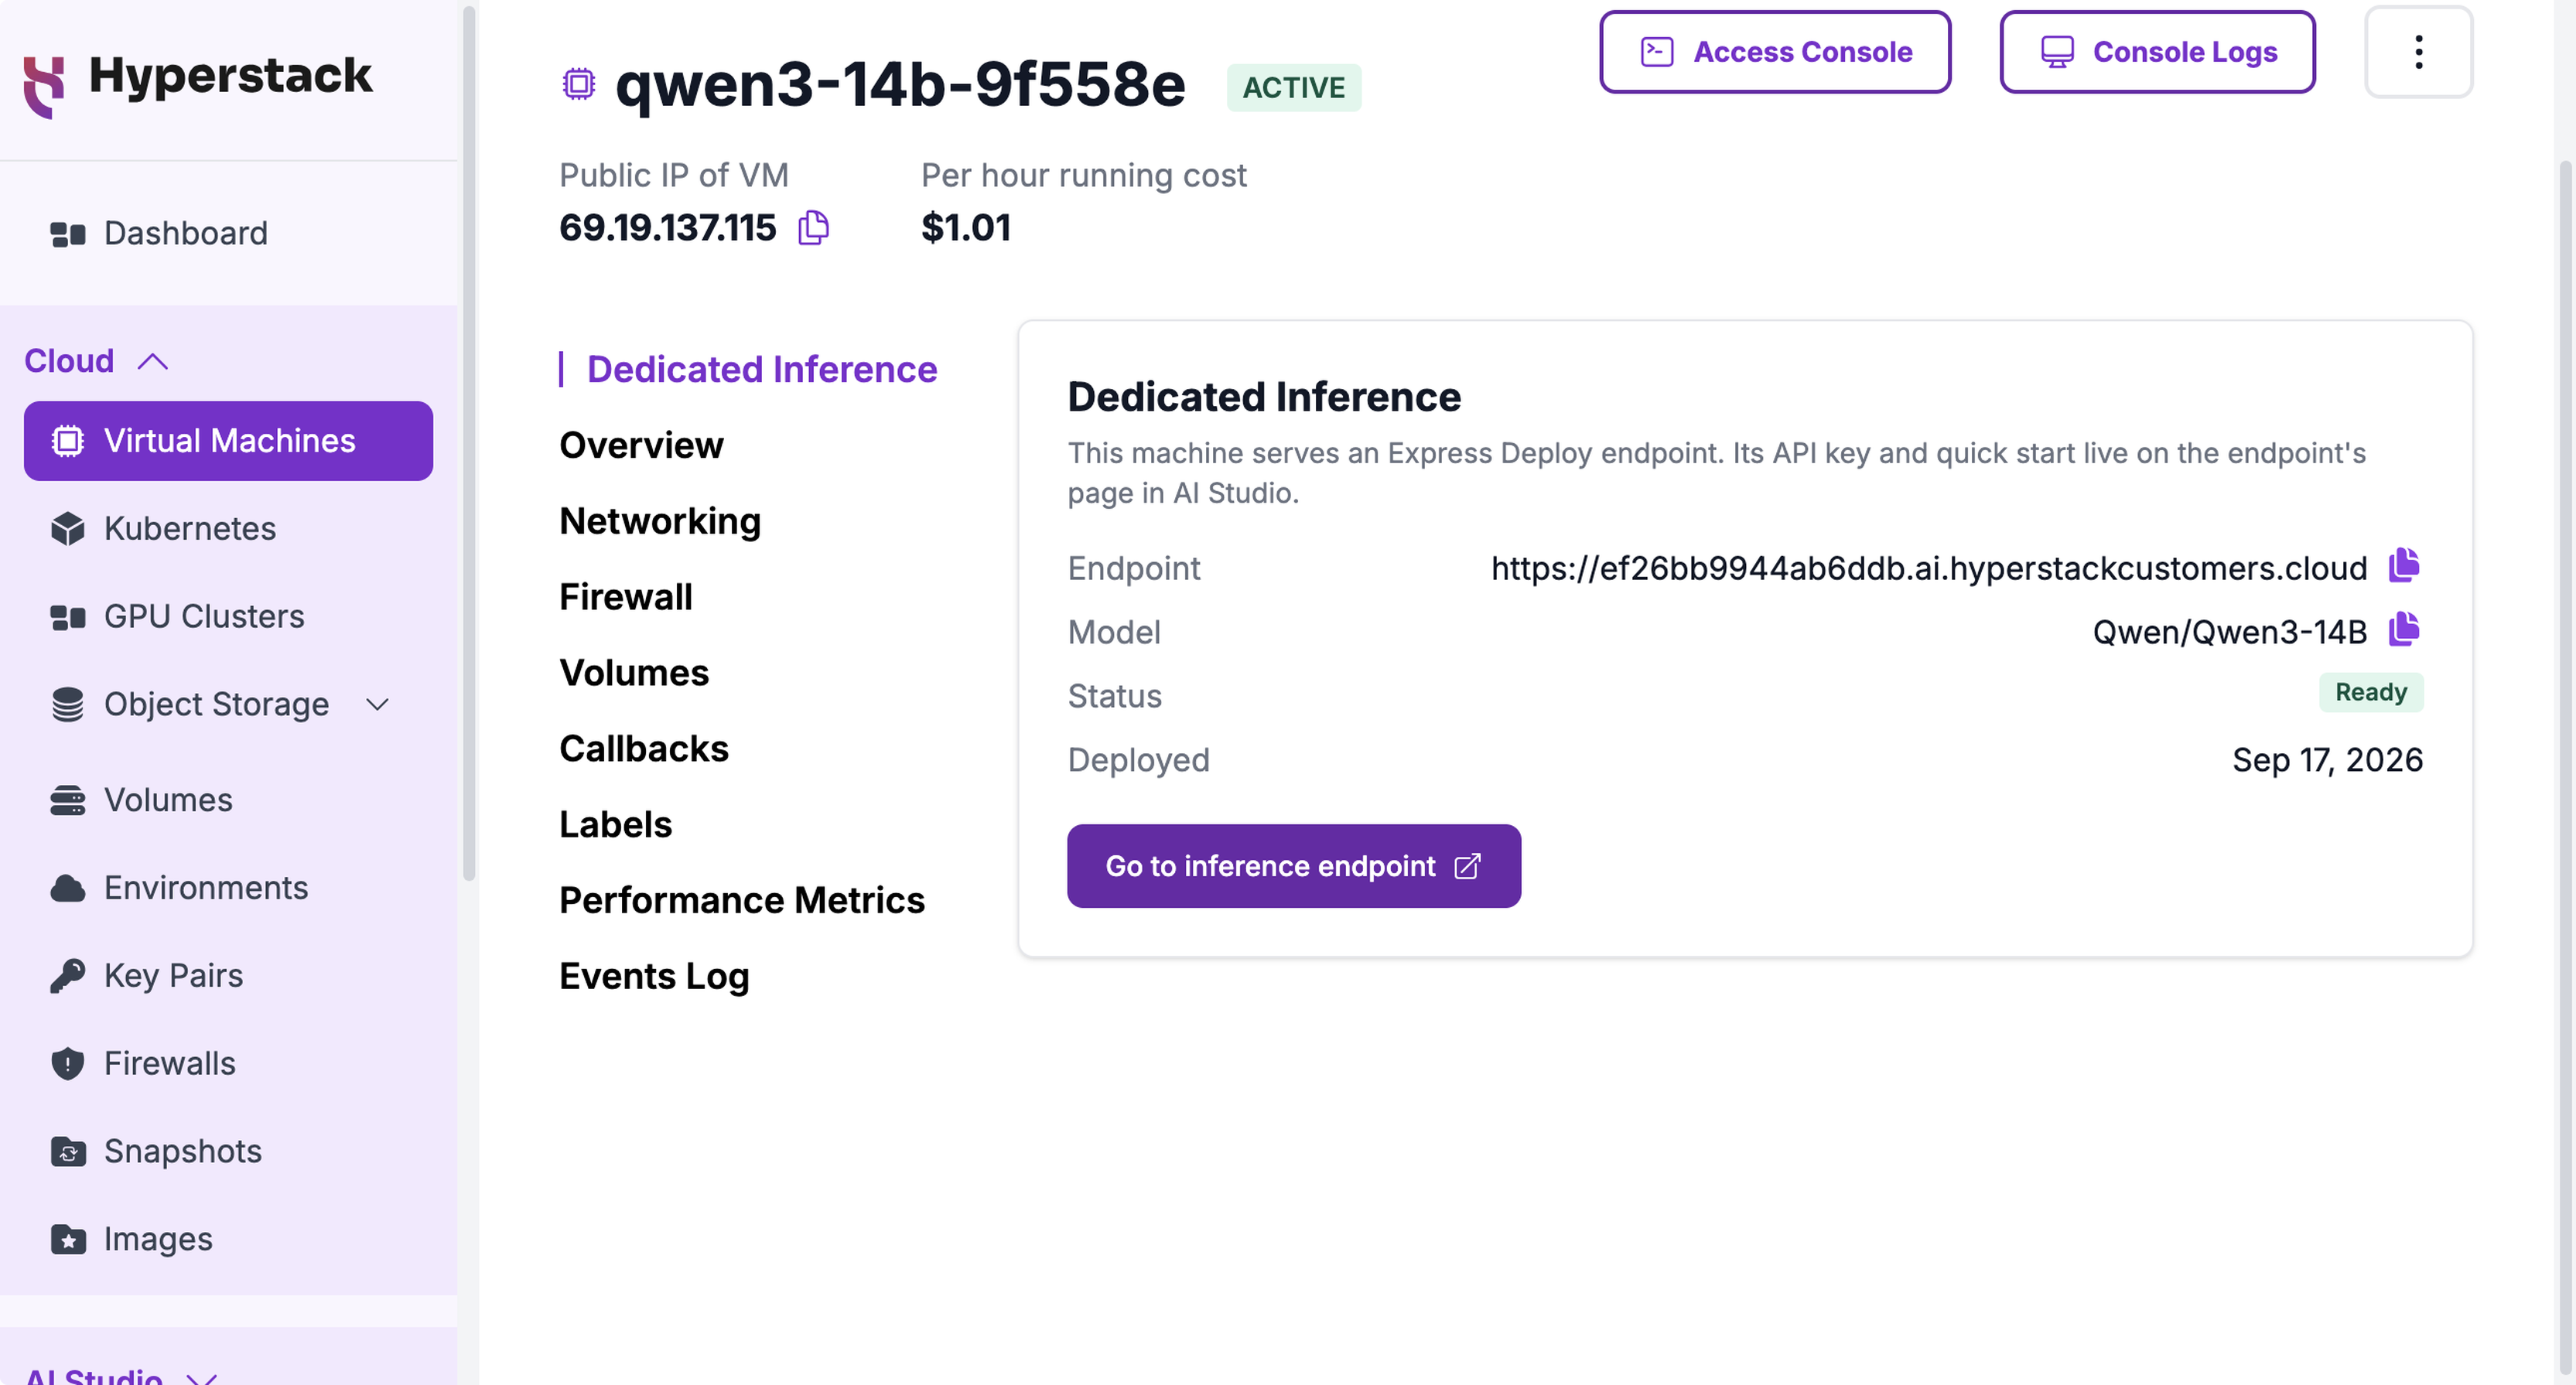
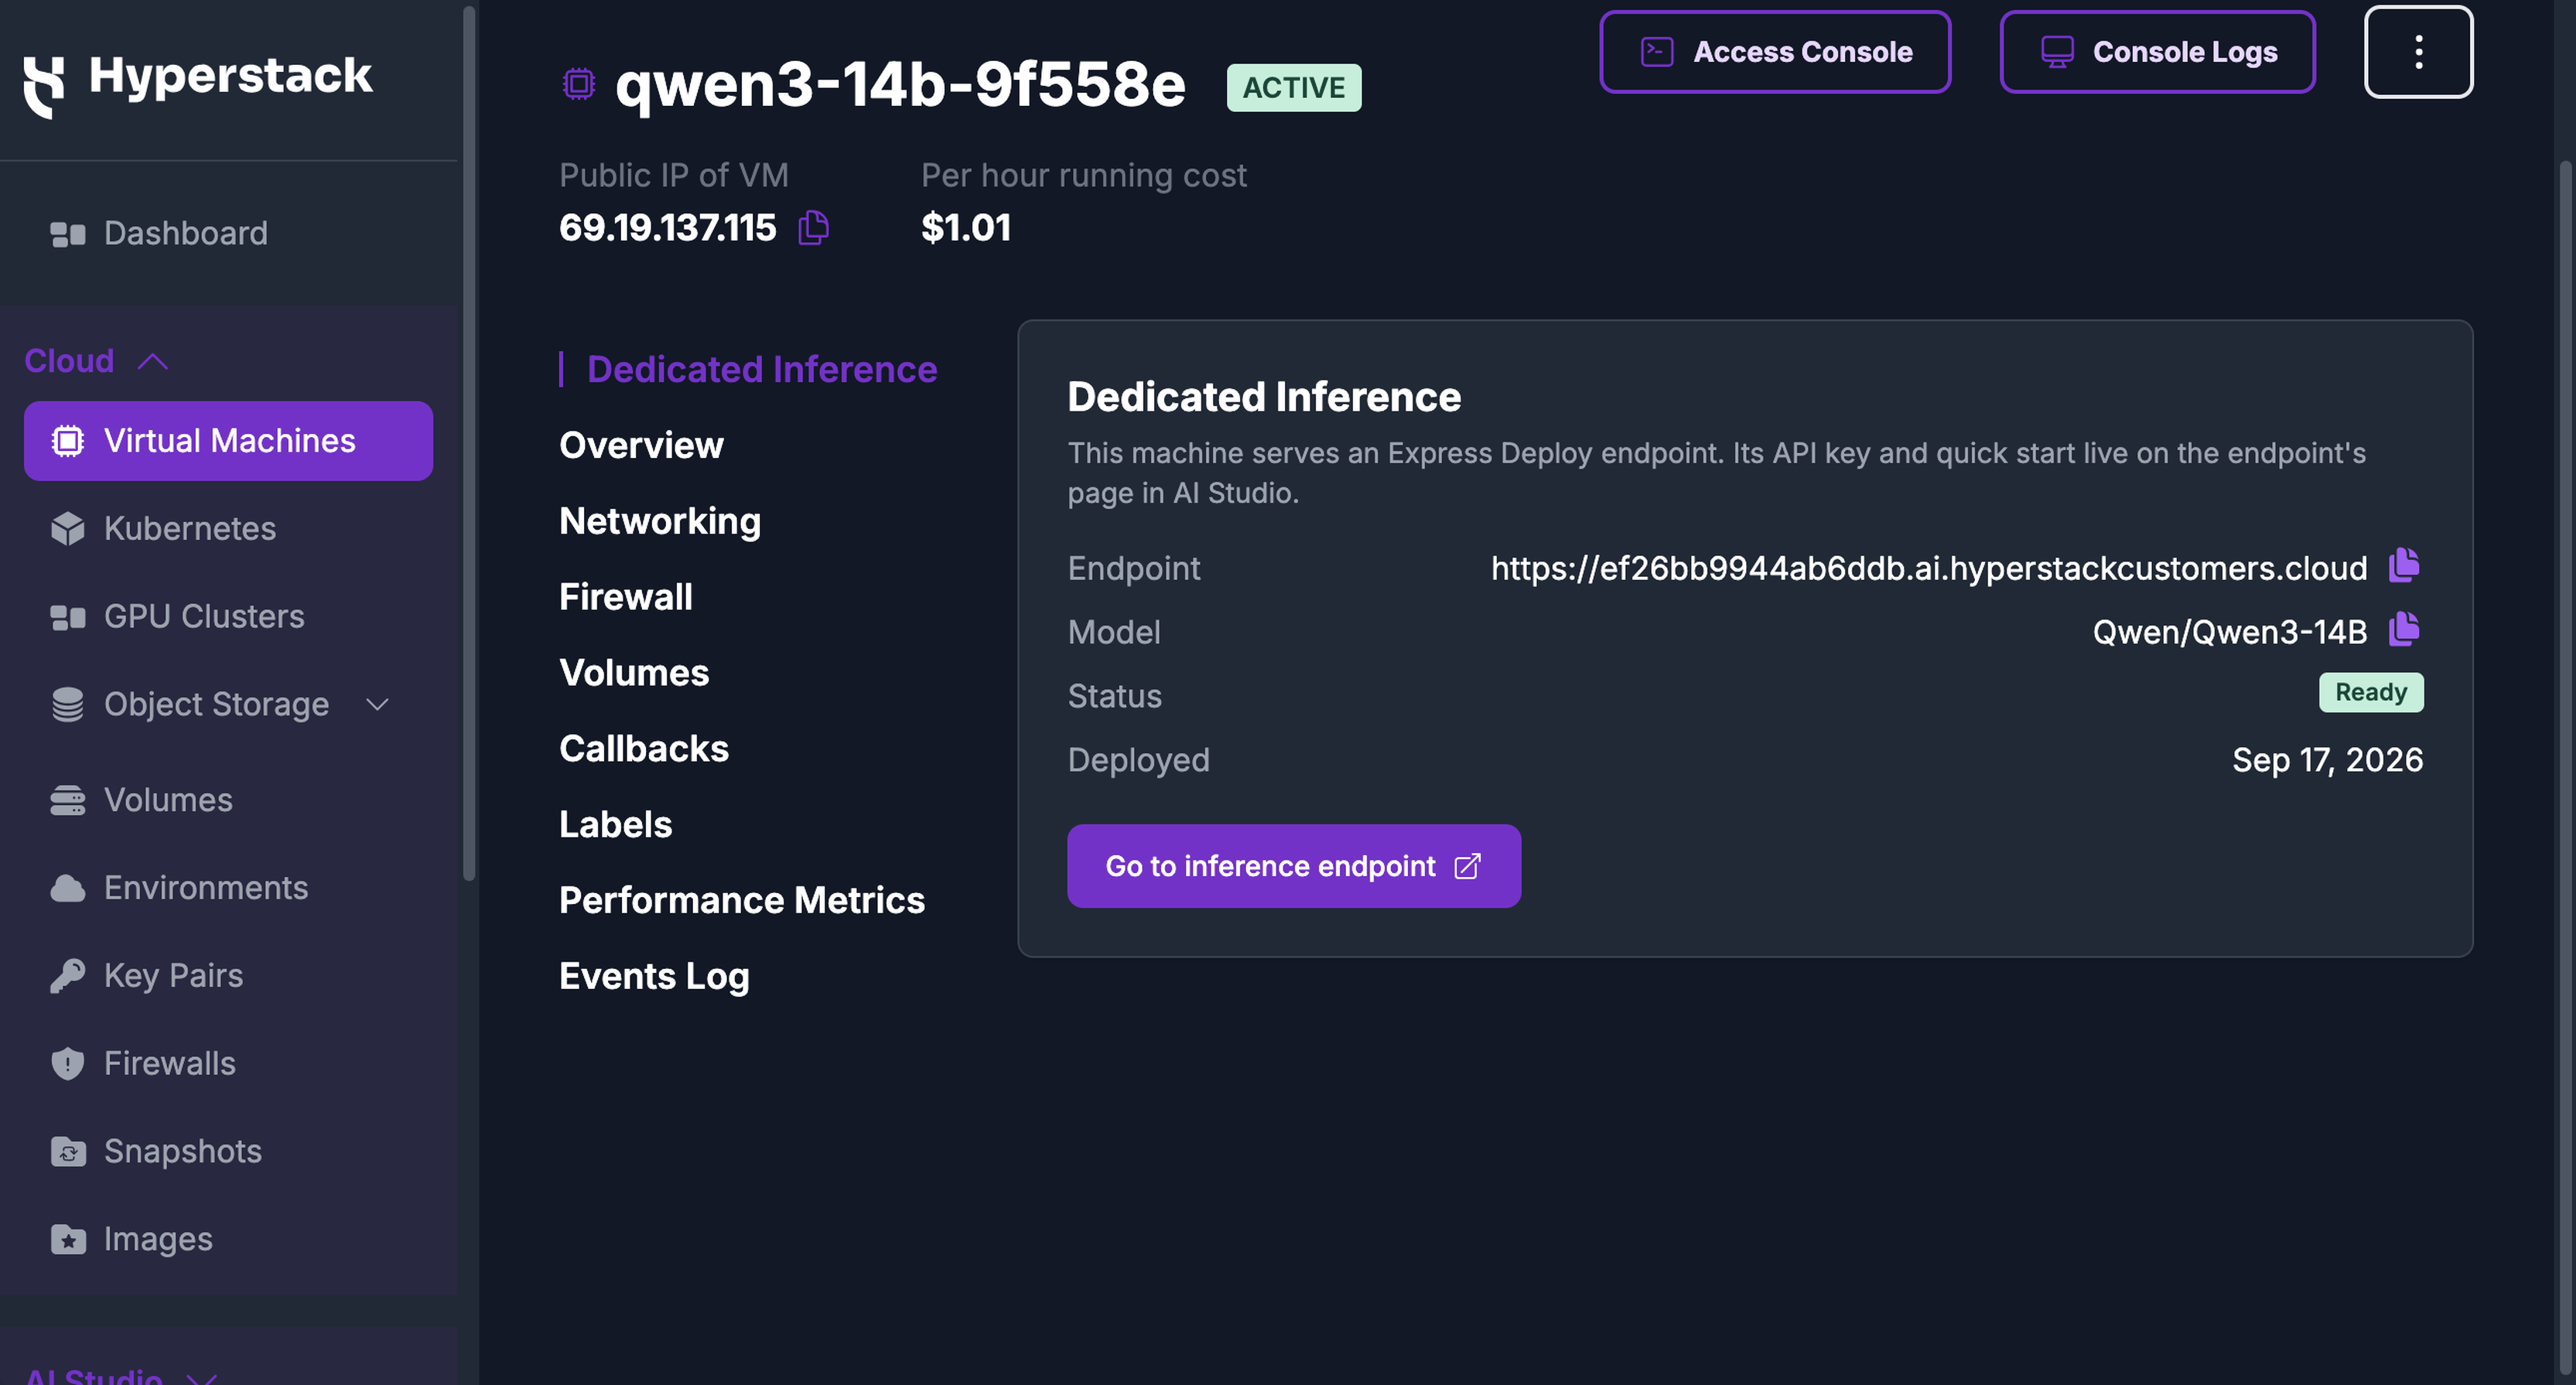
In the Virtual Machines list, a machine that serves an endpoint carries a dedicated inference icon before its name.
Virtual Machine Operations on Inference Machines
An inference endpoint and its virtual machine are one resource with two views. The machine exists to serve the endpoint, so a few operations are refused on it:
| Operation | Availability on an inference machine |
|---|---|
| Console access, console logs, metrics, events | Available |
| SSH access and firewall rules | Available |
| Enhanced Monitoring | On by default, with a Dedicated Inference tab of serving metrics |
| Hibernation | Not supported |
| Snapshots | Not supported |
In the Virtual Machines list, the action menu on the machine's row shows Hibernate this VM and Snapshot as unavailable, each with an information icon explaining why. The API refuses both for the same reason.
Enhanced Monitoring is enabled when the machine is created, so serving metrics are collected without any setup and there is no agent to install. The machine's Performance Metrics tab carries a Dedicated Inference sub-tab reporting the model served, requests running and waiting, key-value cache usage, token throughput, error rate, and time to first token.
Deleting the virtual machine deletes the endpoint with it. The machine, its public IP address, and the endpoint record are released together, so nothing is left running or reserved. You can delete from either side: the action menu on the machine's row, or the Delete control on the endpoint's own page in AI Studio, which confirms that the virtual machine behind the endpoint goes with it and that its API key stops working.
Permissions
A dedicated endpoint runs on a virtual machine in one of your environments, so deploying one uses your virtual machine, environment, and SSH key permissions. Organization owners have every permission. An organization member needs a user role that grants the following:
| Permission | What it allows in the wizard |
|---|---|
virtual-machine:create | Creating the endpoint's virtual machine. |
environment:list | Choosing the environment to deploy into. |
keypair:list | Choosing the SSH key. |
environment:create | Creating a new environment from inside the wizard. |
keypair:create | Creating a new SSH key from inside the wizard. |
The simplest role that grants all of them is the VirtualMachinePermissions policy plus two individual permissions, environment:create and keypair:create:
- The policy grants
virtual-machine:create,environment:list, andkeypair:list. It does not grantenvironment:createorkeypair:create, so add those two separately. - The policy also grants every other virtual machine permission, so the member can manage the endpoint's machine after it is deployed, such as opening its console, editing its firewall rules, and deleting it.
When a Configuration Is Not Available
If every configuration that matches the recommendation is out of stock, the wizard says so on the Hosting setup step and hides the region and environment controls. Under Try a different size you can shorten the context, lower the concurrency, or switch the sizing profile. A smaller KV cache usually lands on a smaller GPU that is in stock.
Where nothing fits, click Contact support. The request opens with the model already filled in, so you only add what you need.
Pricing
A dedicated endpoint is billed at the hourly rate of the flavor it runs on, for as long as the machine is running, regardless of how many requests it serves. The wizard shows the hourly rate and an always-on monthly estimate before you deploy, and the Endpoints tab shows the running cost of each endpoint. Rates follow the standard virtual machine rates in the Pricebook, and billing follows the billing policies that apply to any virtual machine.