Deploy Dedicated Inference
Deploy an open-weight model on GPUs reserved for your organization and send your first request to its private, API key-protected endpoint. The Deploy AI wizard sizes the GPUs, creates the virtual machine, and issues the endpoint URL and API key for you.
See the full Dedicated Inference guide for more details.
Before you begin
You'll need:
- A Hyperstack account: create an account or sign in using email or SSO.
- Your account billing activated.
- Credit added to your account.
- A Hugging Face access token with Read scope, which downloads the model weights inside your virtual machine. Hyperstack does not store it, so you supply it each time you deploy. Generate one from your Hugging Face access tokens page.
- If you are an organization member rather than the owner, the
policy:DedicatedInferencePermissionspolicy in your user role. See Permissions.
Deploy and call a model
-
Open the Deploy AI wizard
On the Inference page in AI Studio, open the Endpoints tab and click Deploy AI. The same wizard also opens from Deploy AI Model on the Dashboard and Deploy AI on the Virtual Machines page.
-
Pick a model
Browse the model catalog by modality, provider, or search, and click the model you want to serve. To see only the models that run on dedicated GPUs, select the Hyperstack dedicated filter chip. The model weights download to the machine on first boot, so a smaller model is live sooner.
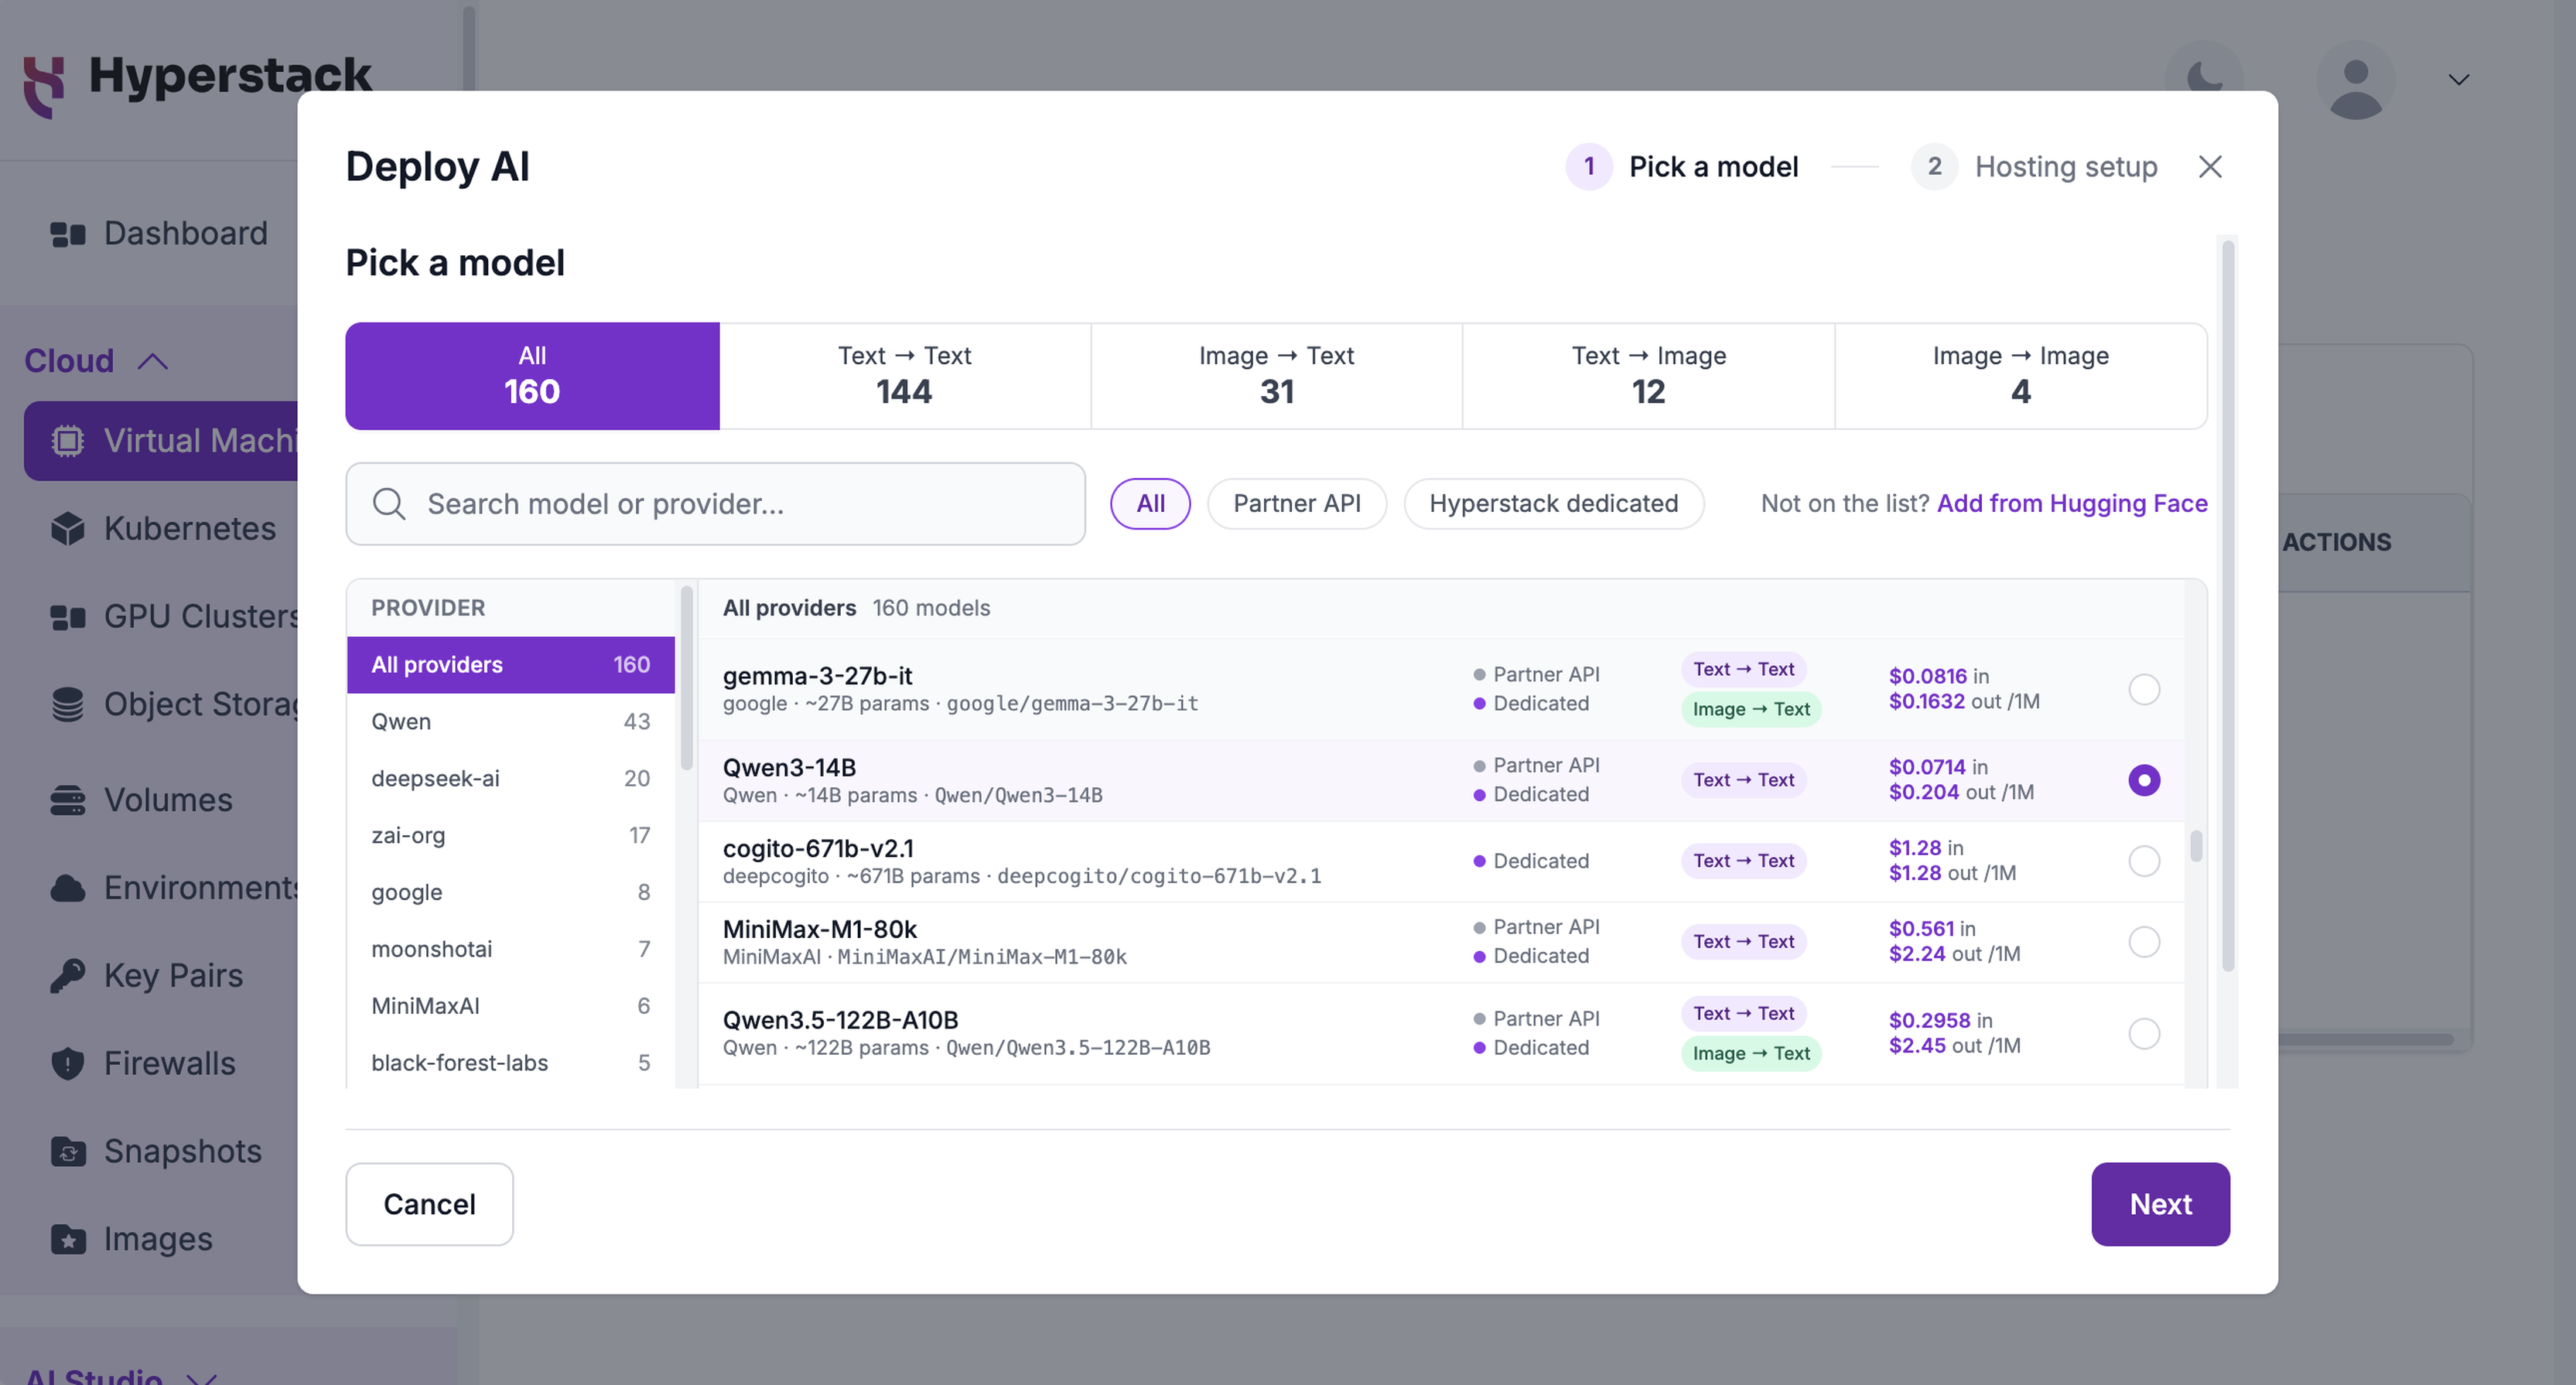
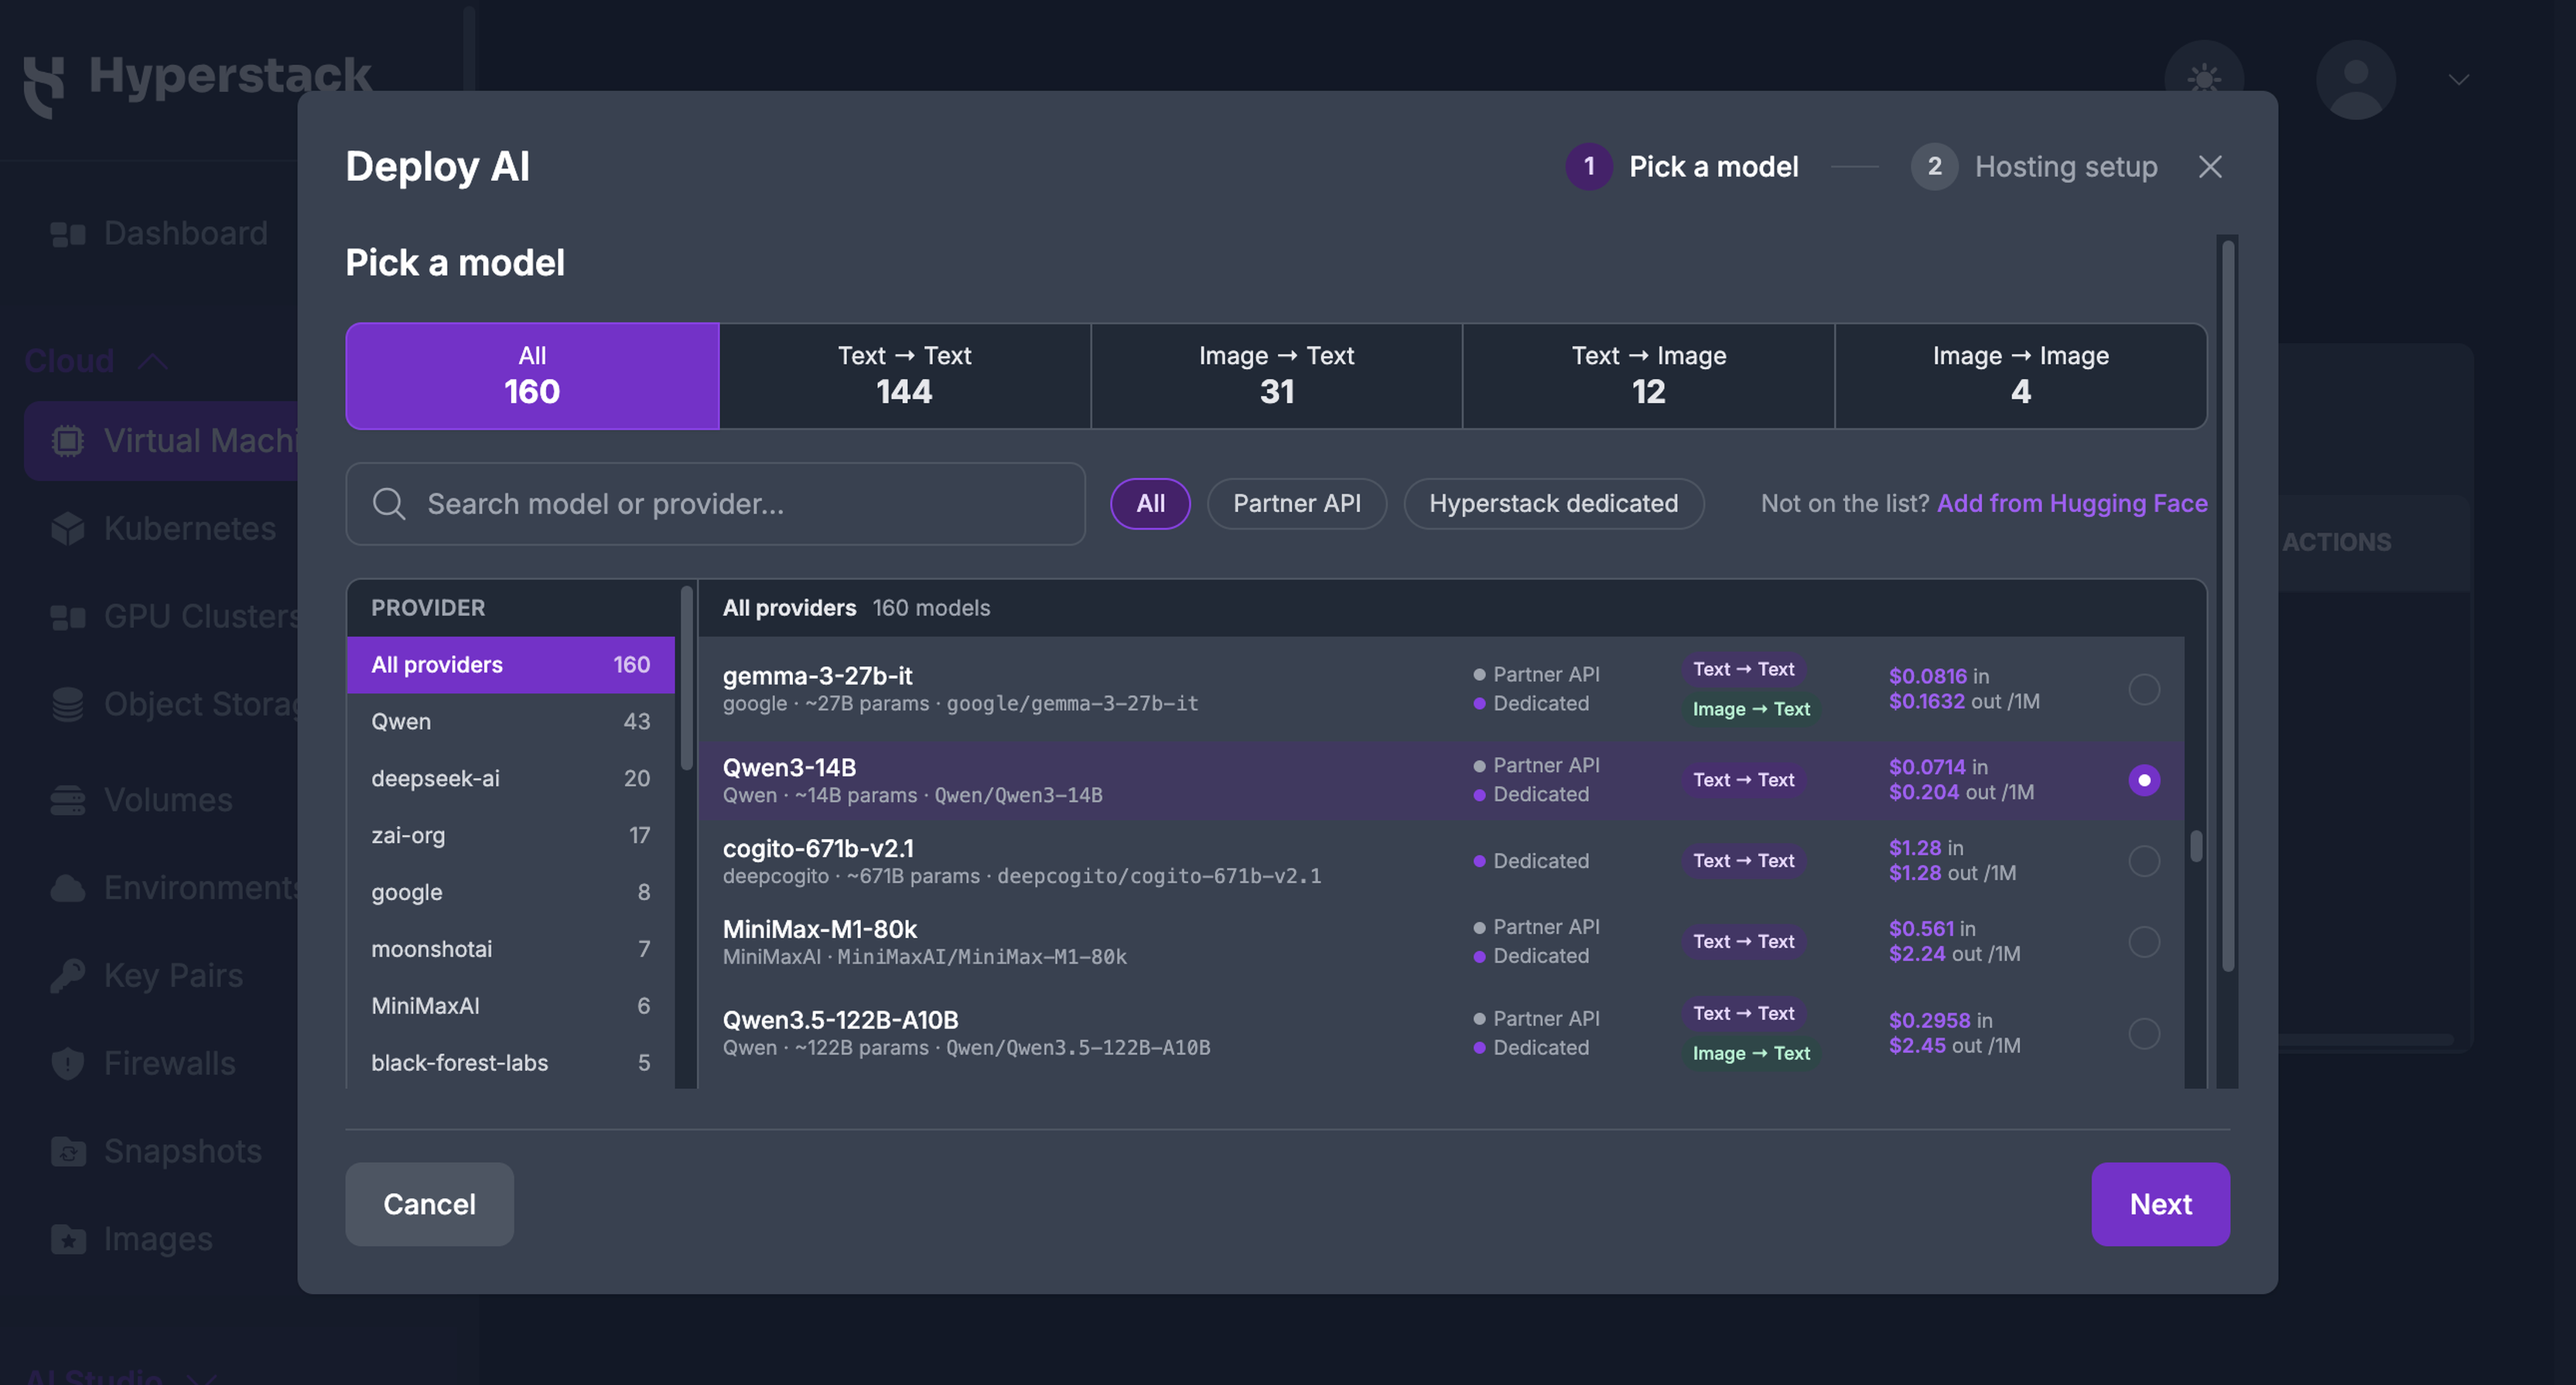
To serve a model that is not in the catalog, see Pick a model in the full guide.
-
Choose dedicated hosting
On the Hosting setup step, select the Hyperstack dedicated card, which is billed per GPU-hour on your own GPUs. For a model that the shared service also serves, the Partner API card is selected by default, so switch to the dedicated card. Enter your Hugging Face token and click Apply. Next stays unavailable until the token is applied.
-
Size the deployment
The wizard starts at a context length of 8,192 tokens and 4 concurrent requests on the Cost sizing profile, which recommends the cheapest configuration that fits the model. Keep these defaults for a first deployment. The panel below shows the GPUs picked, the hourly rate with an always-on monthly estimate, and the machine's CPU and memory.
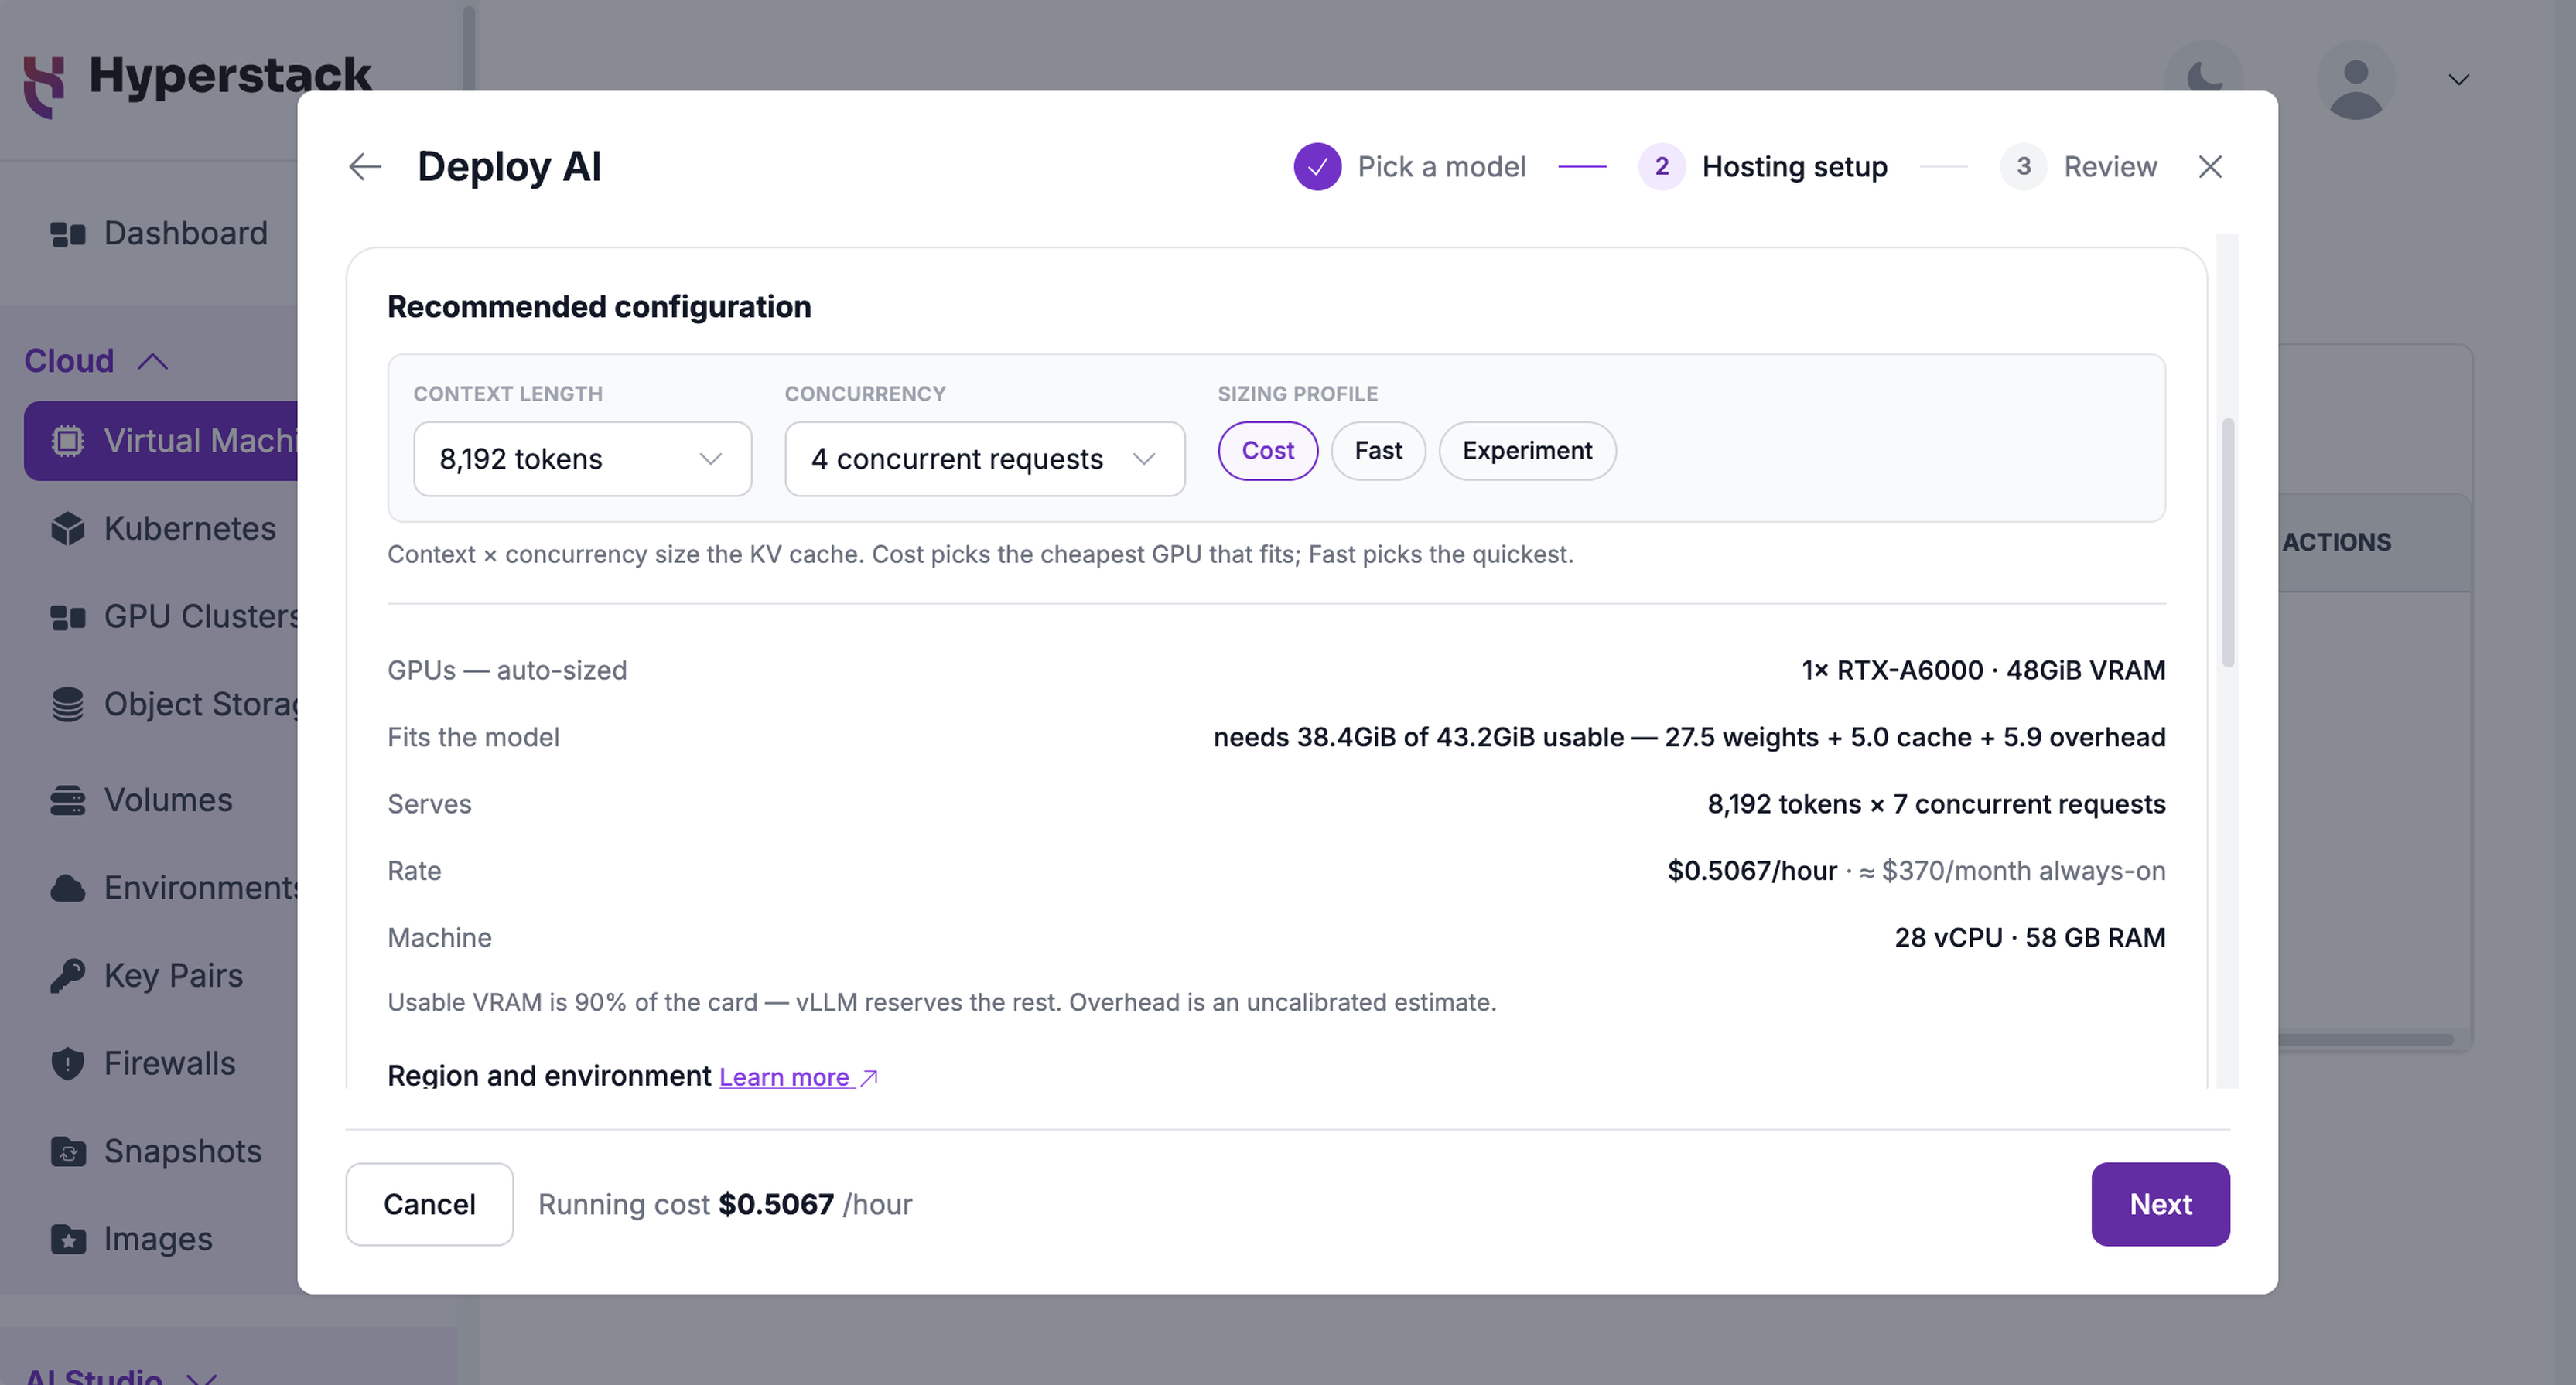
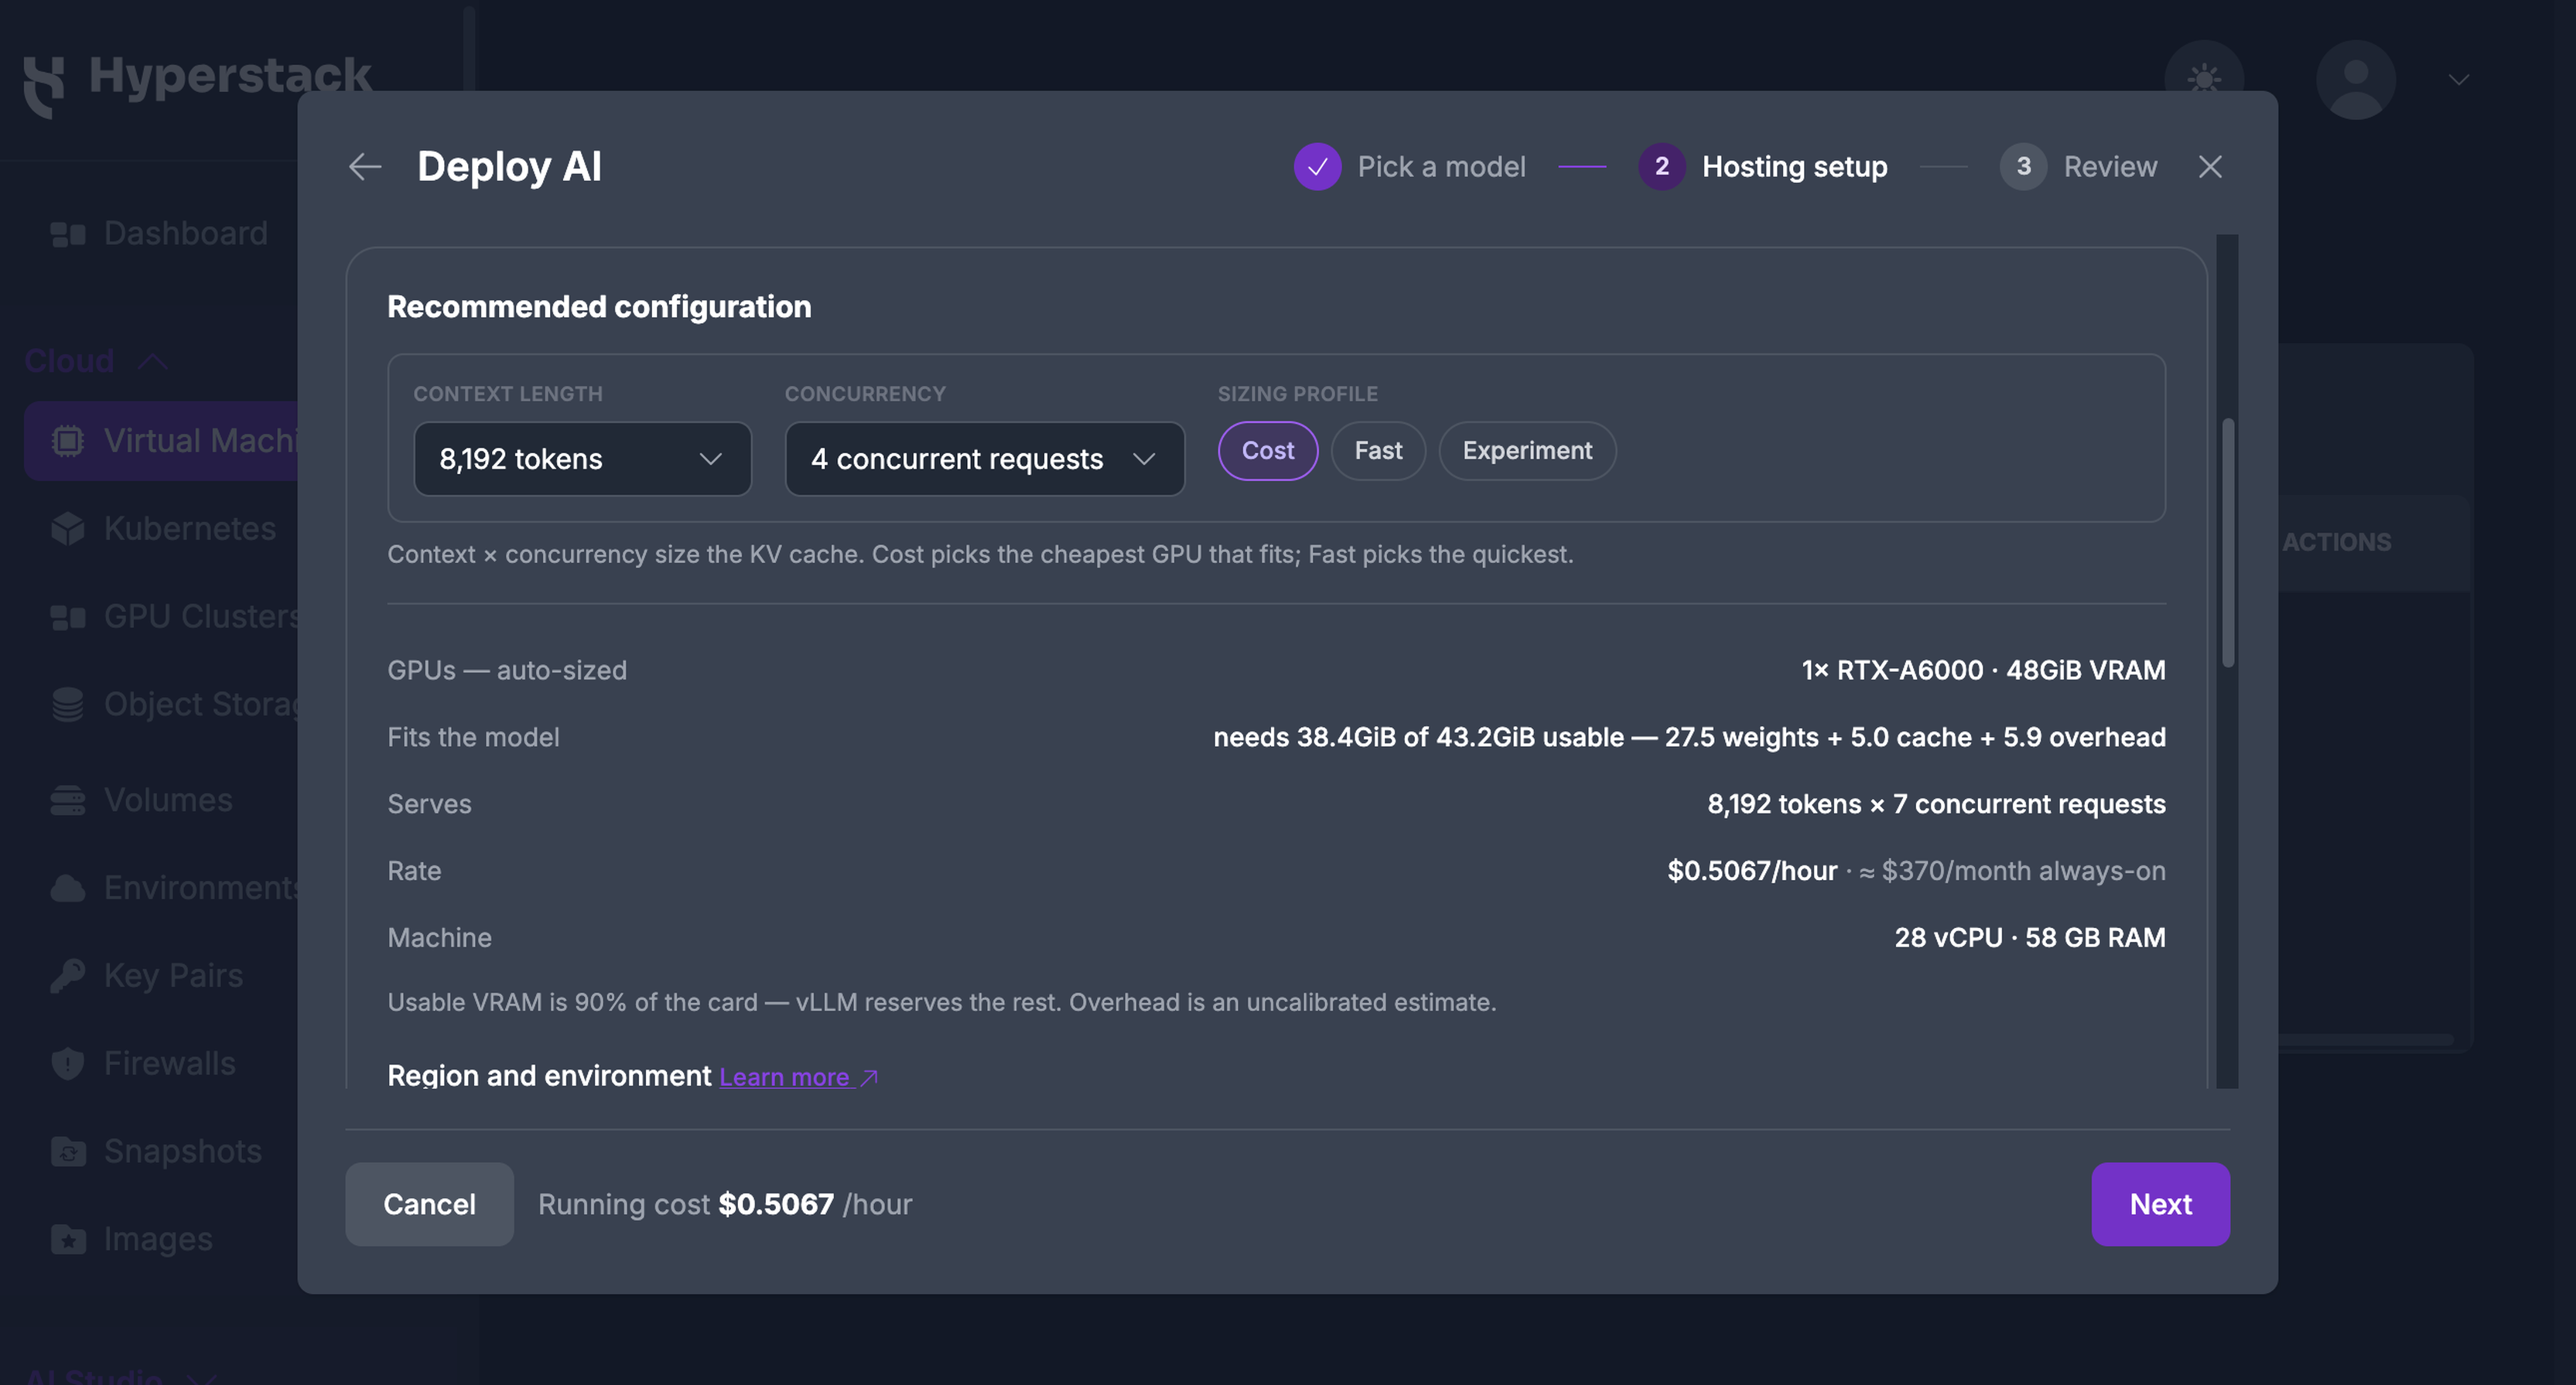
To serve a longer context or more concurrent requests, see Sizing.
-
Choose a region, environment, and SSH key
Choose the Region and Environment. Only regions where the configuration is in stock can be selected. To use a new environment, click Create a new environment. The wizard preselects the first SSH key in the environment, and you can create a new one.
-
Review and deploy
Click Next to open the Review & deploy screen. Check the Deployment summary and the Estimated cost, then click Deploy Endpoint.
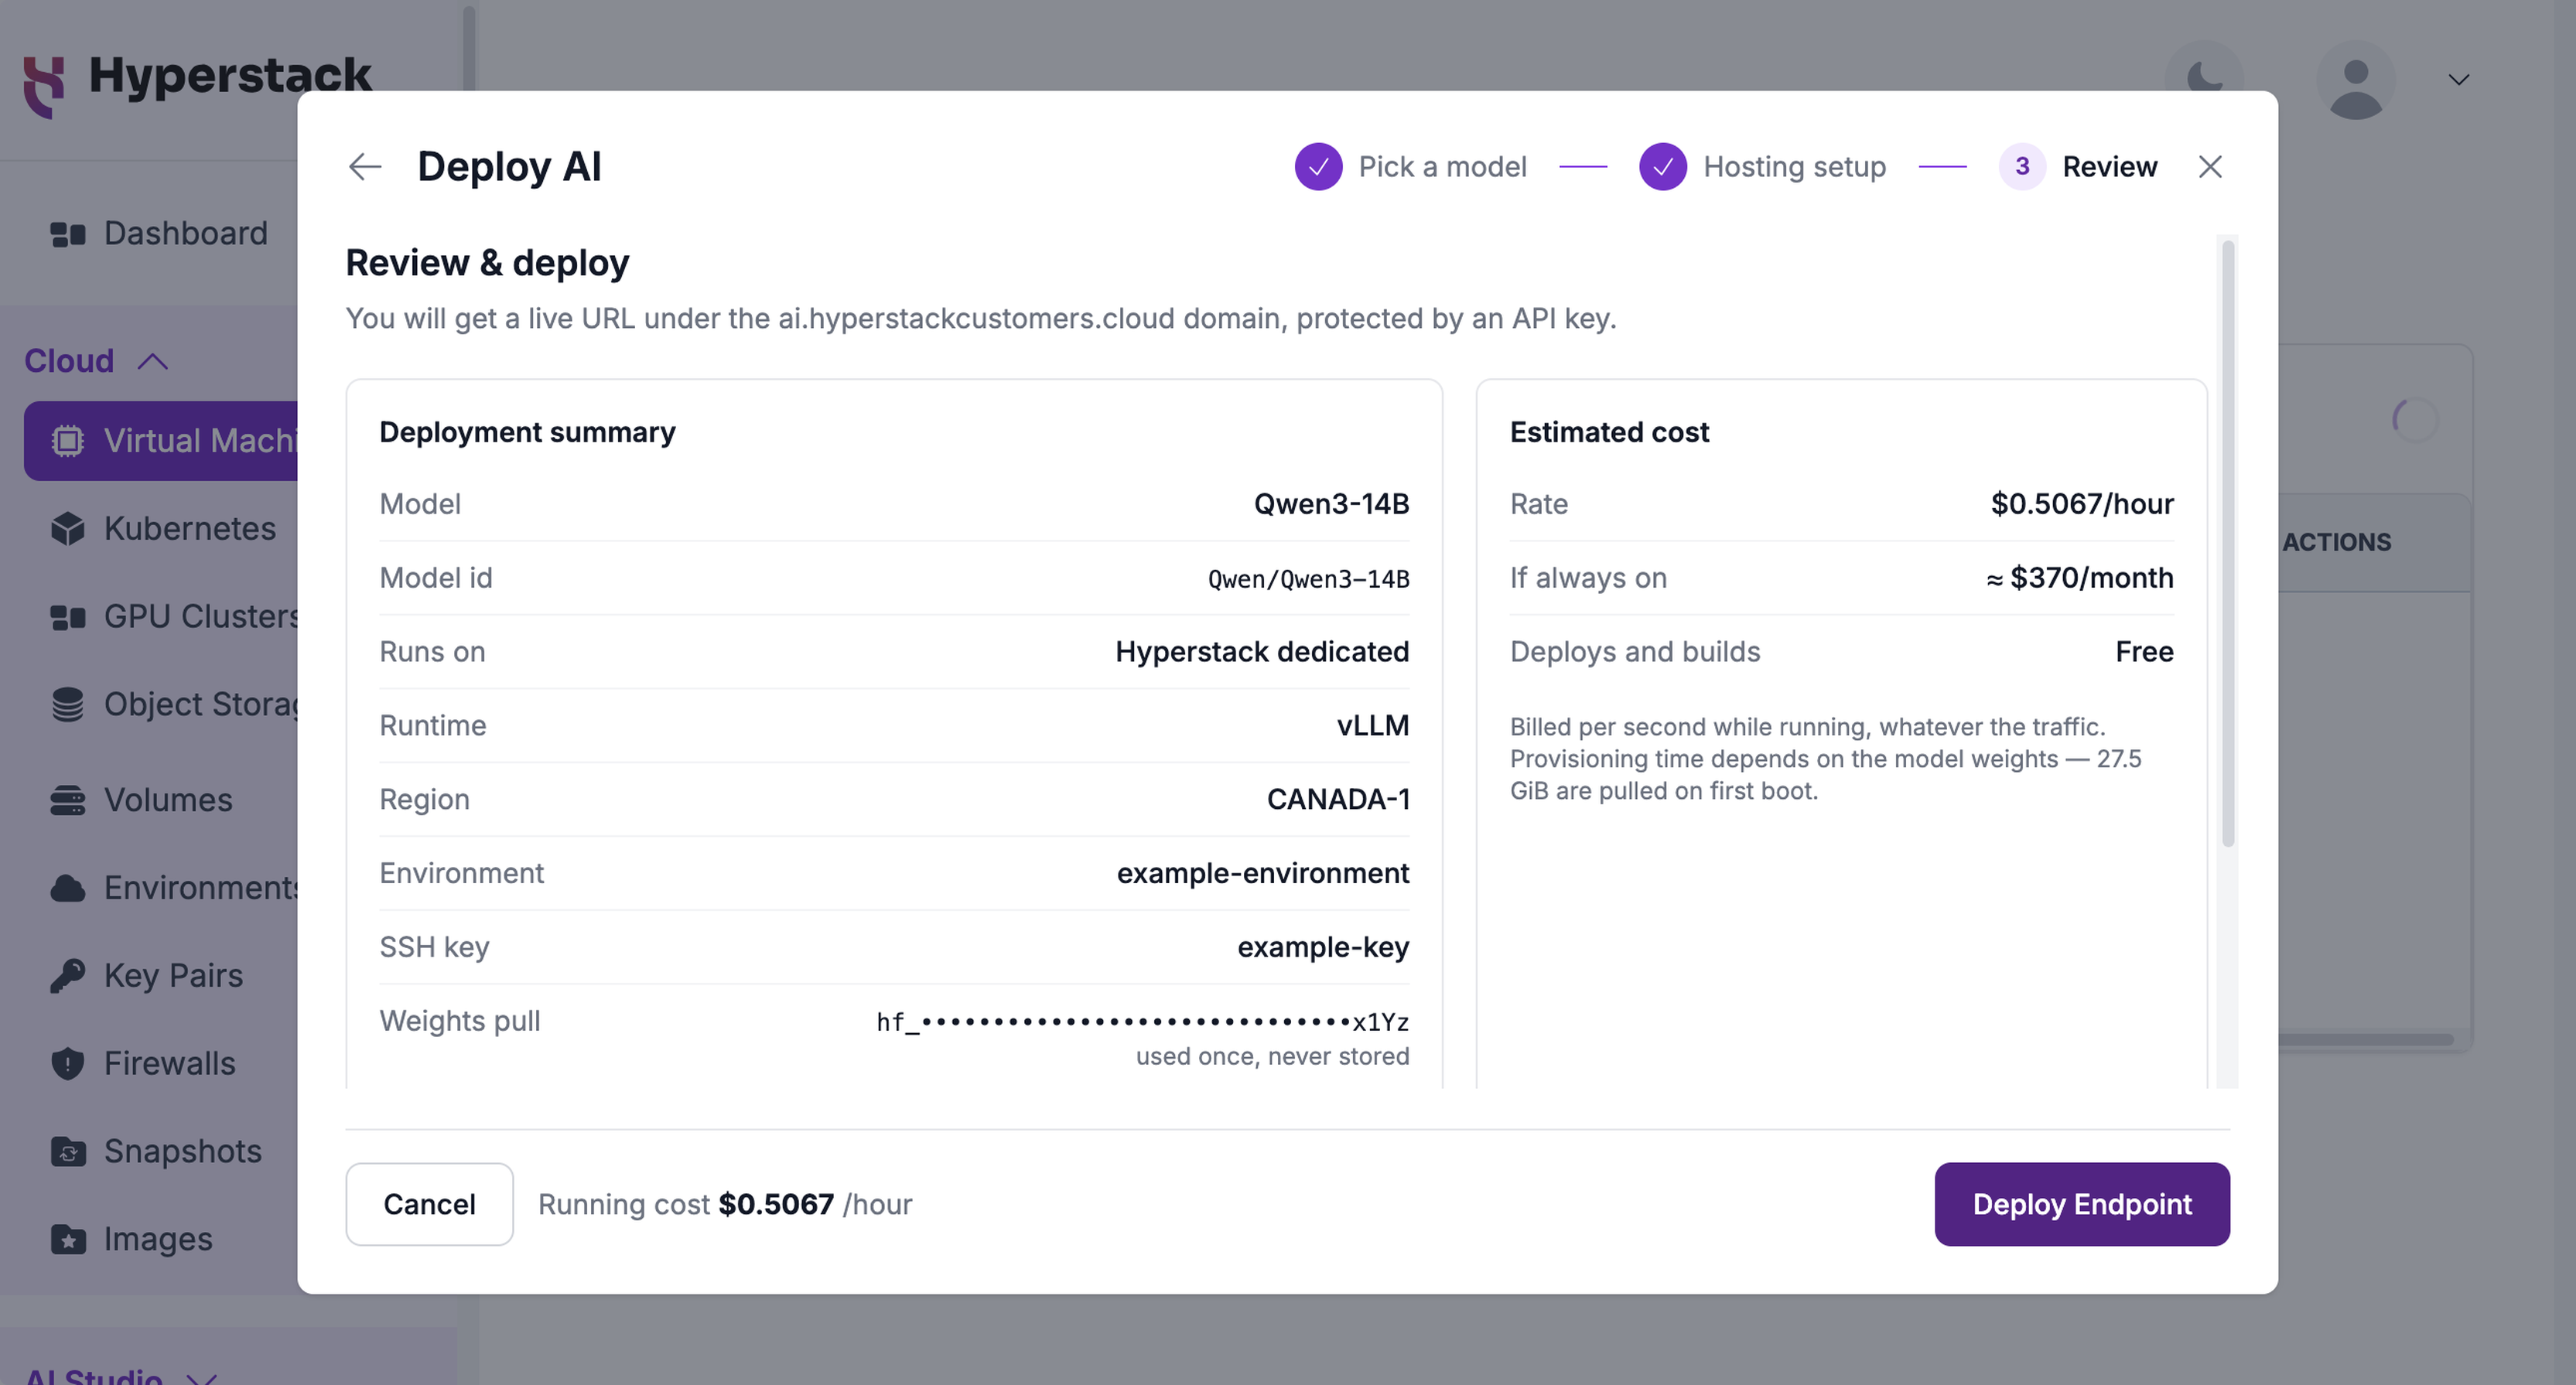
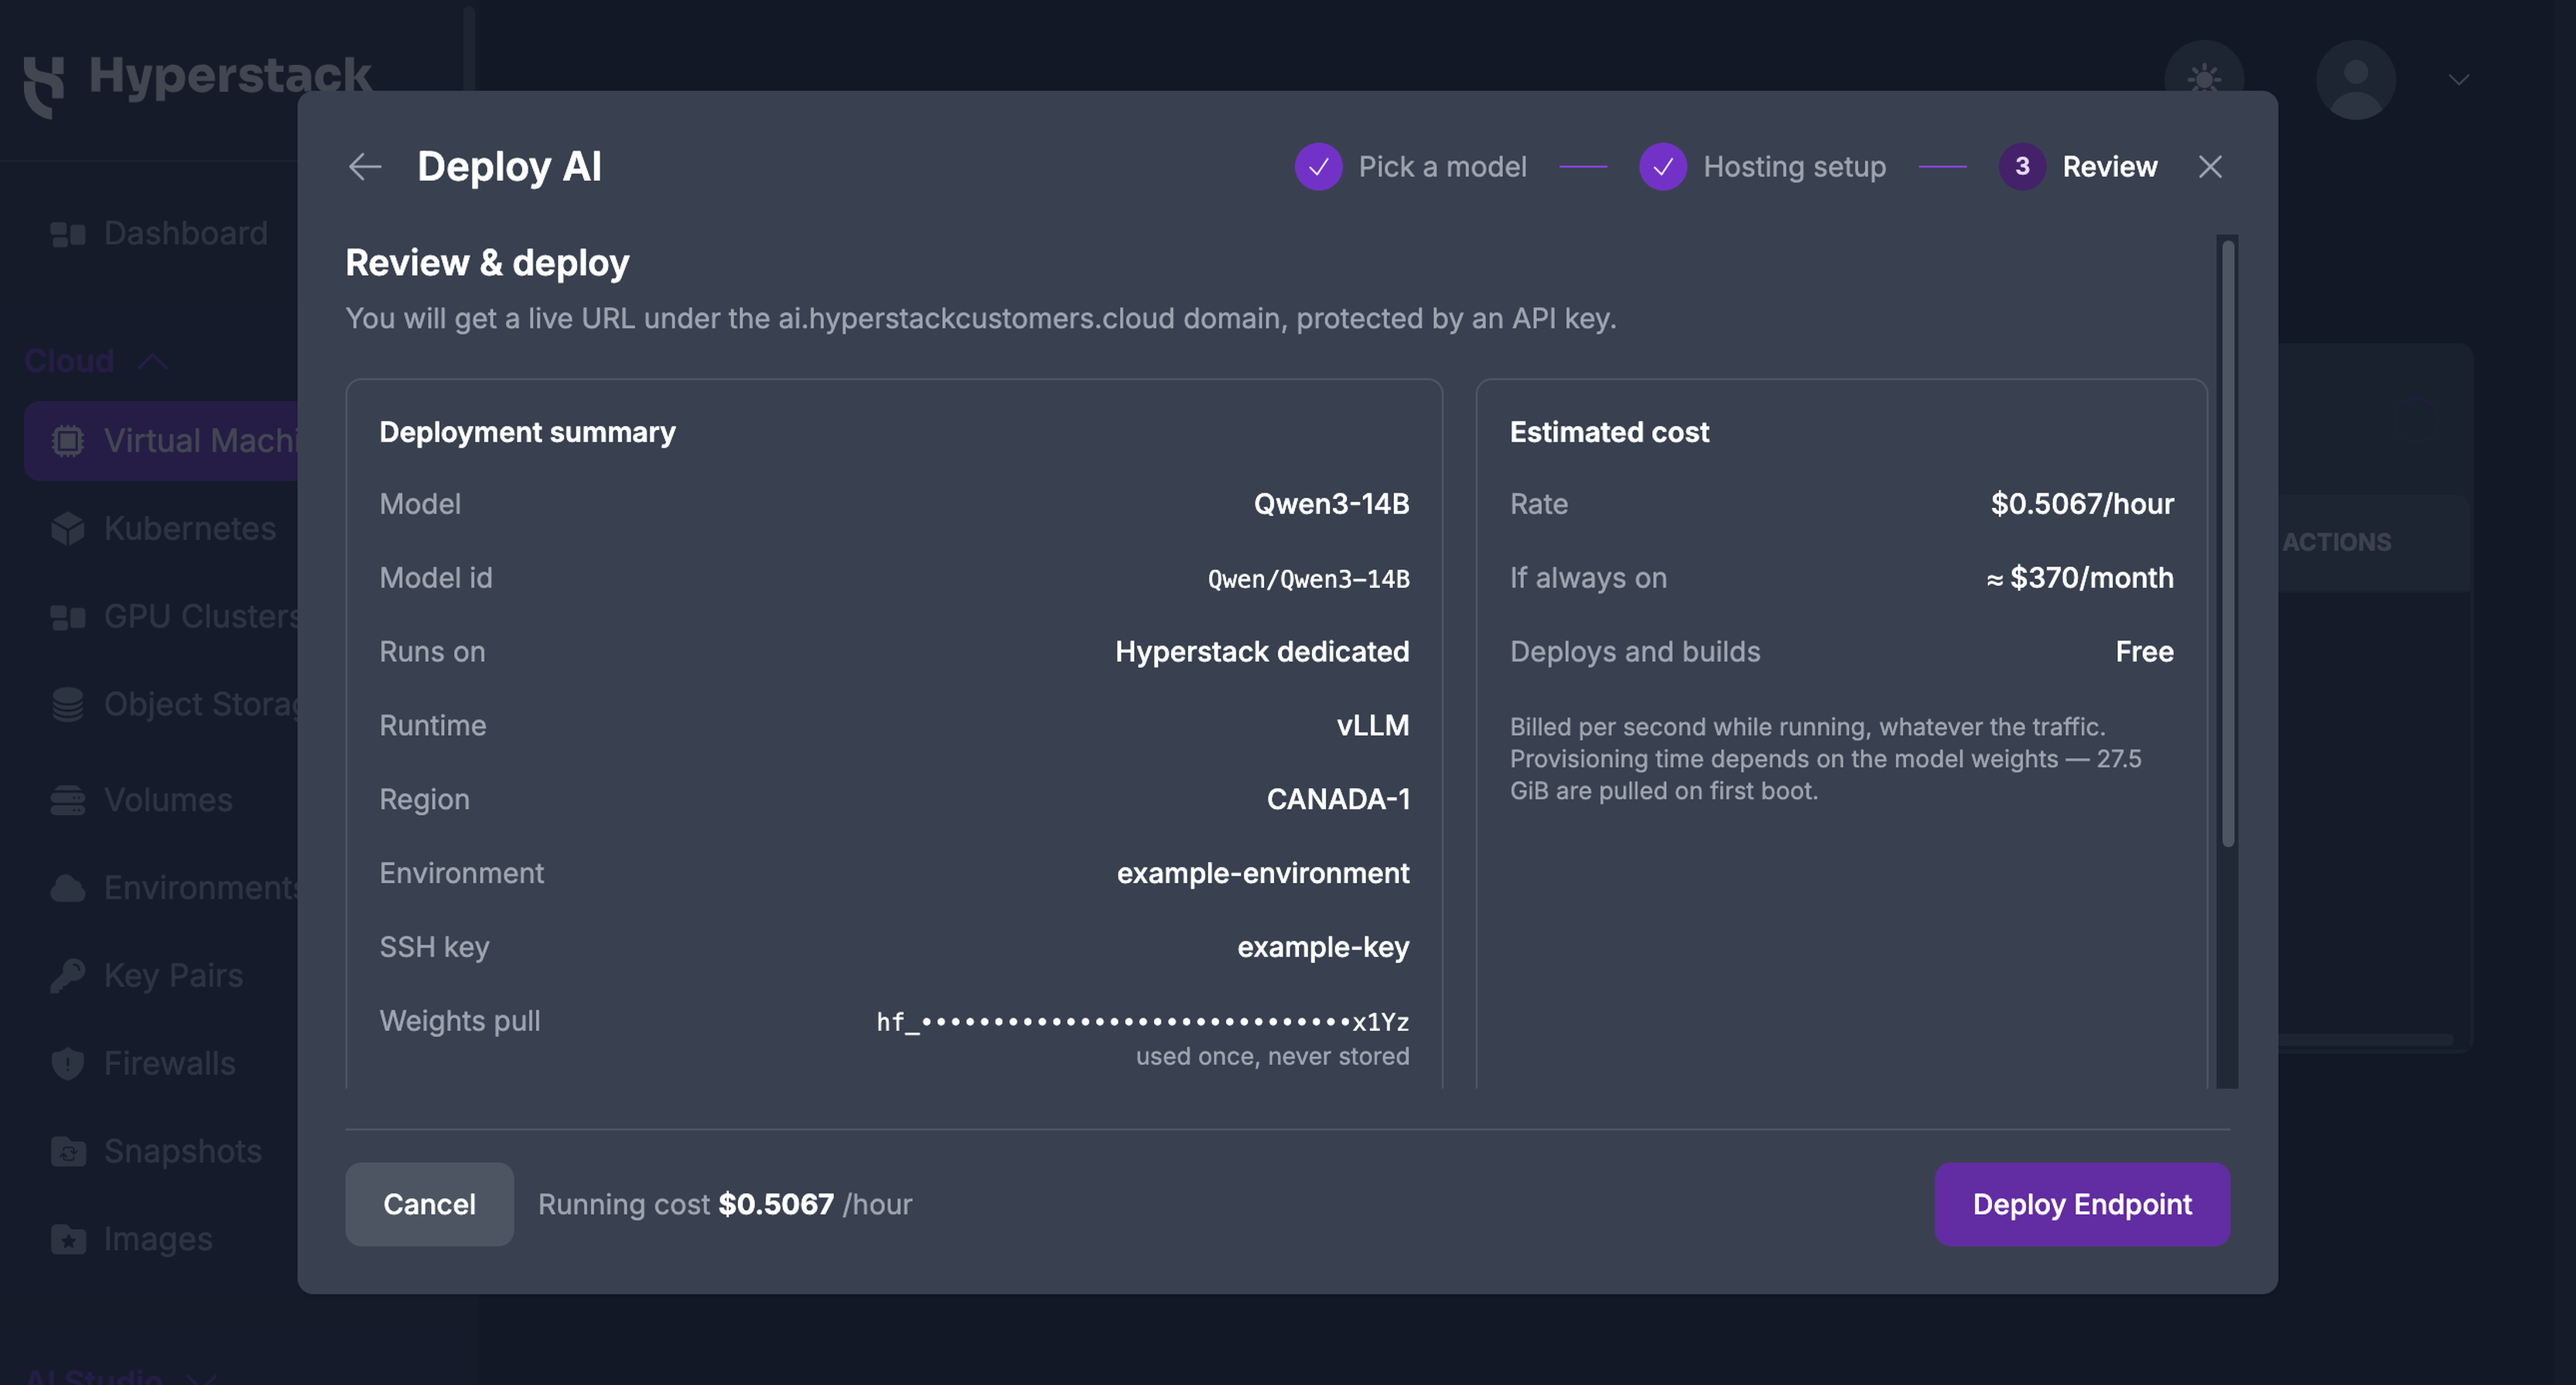
The wizard shows the provisioning stages as they complete, then the endpoint URL, model id, and API key. You receive an email when the endpoint is live. Click Done to close the wizard.
-
Send your first request
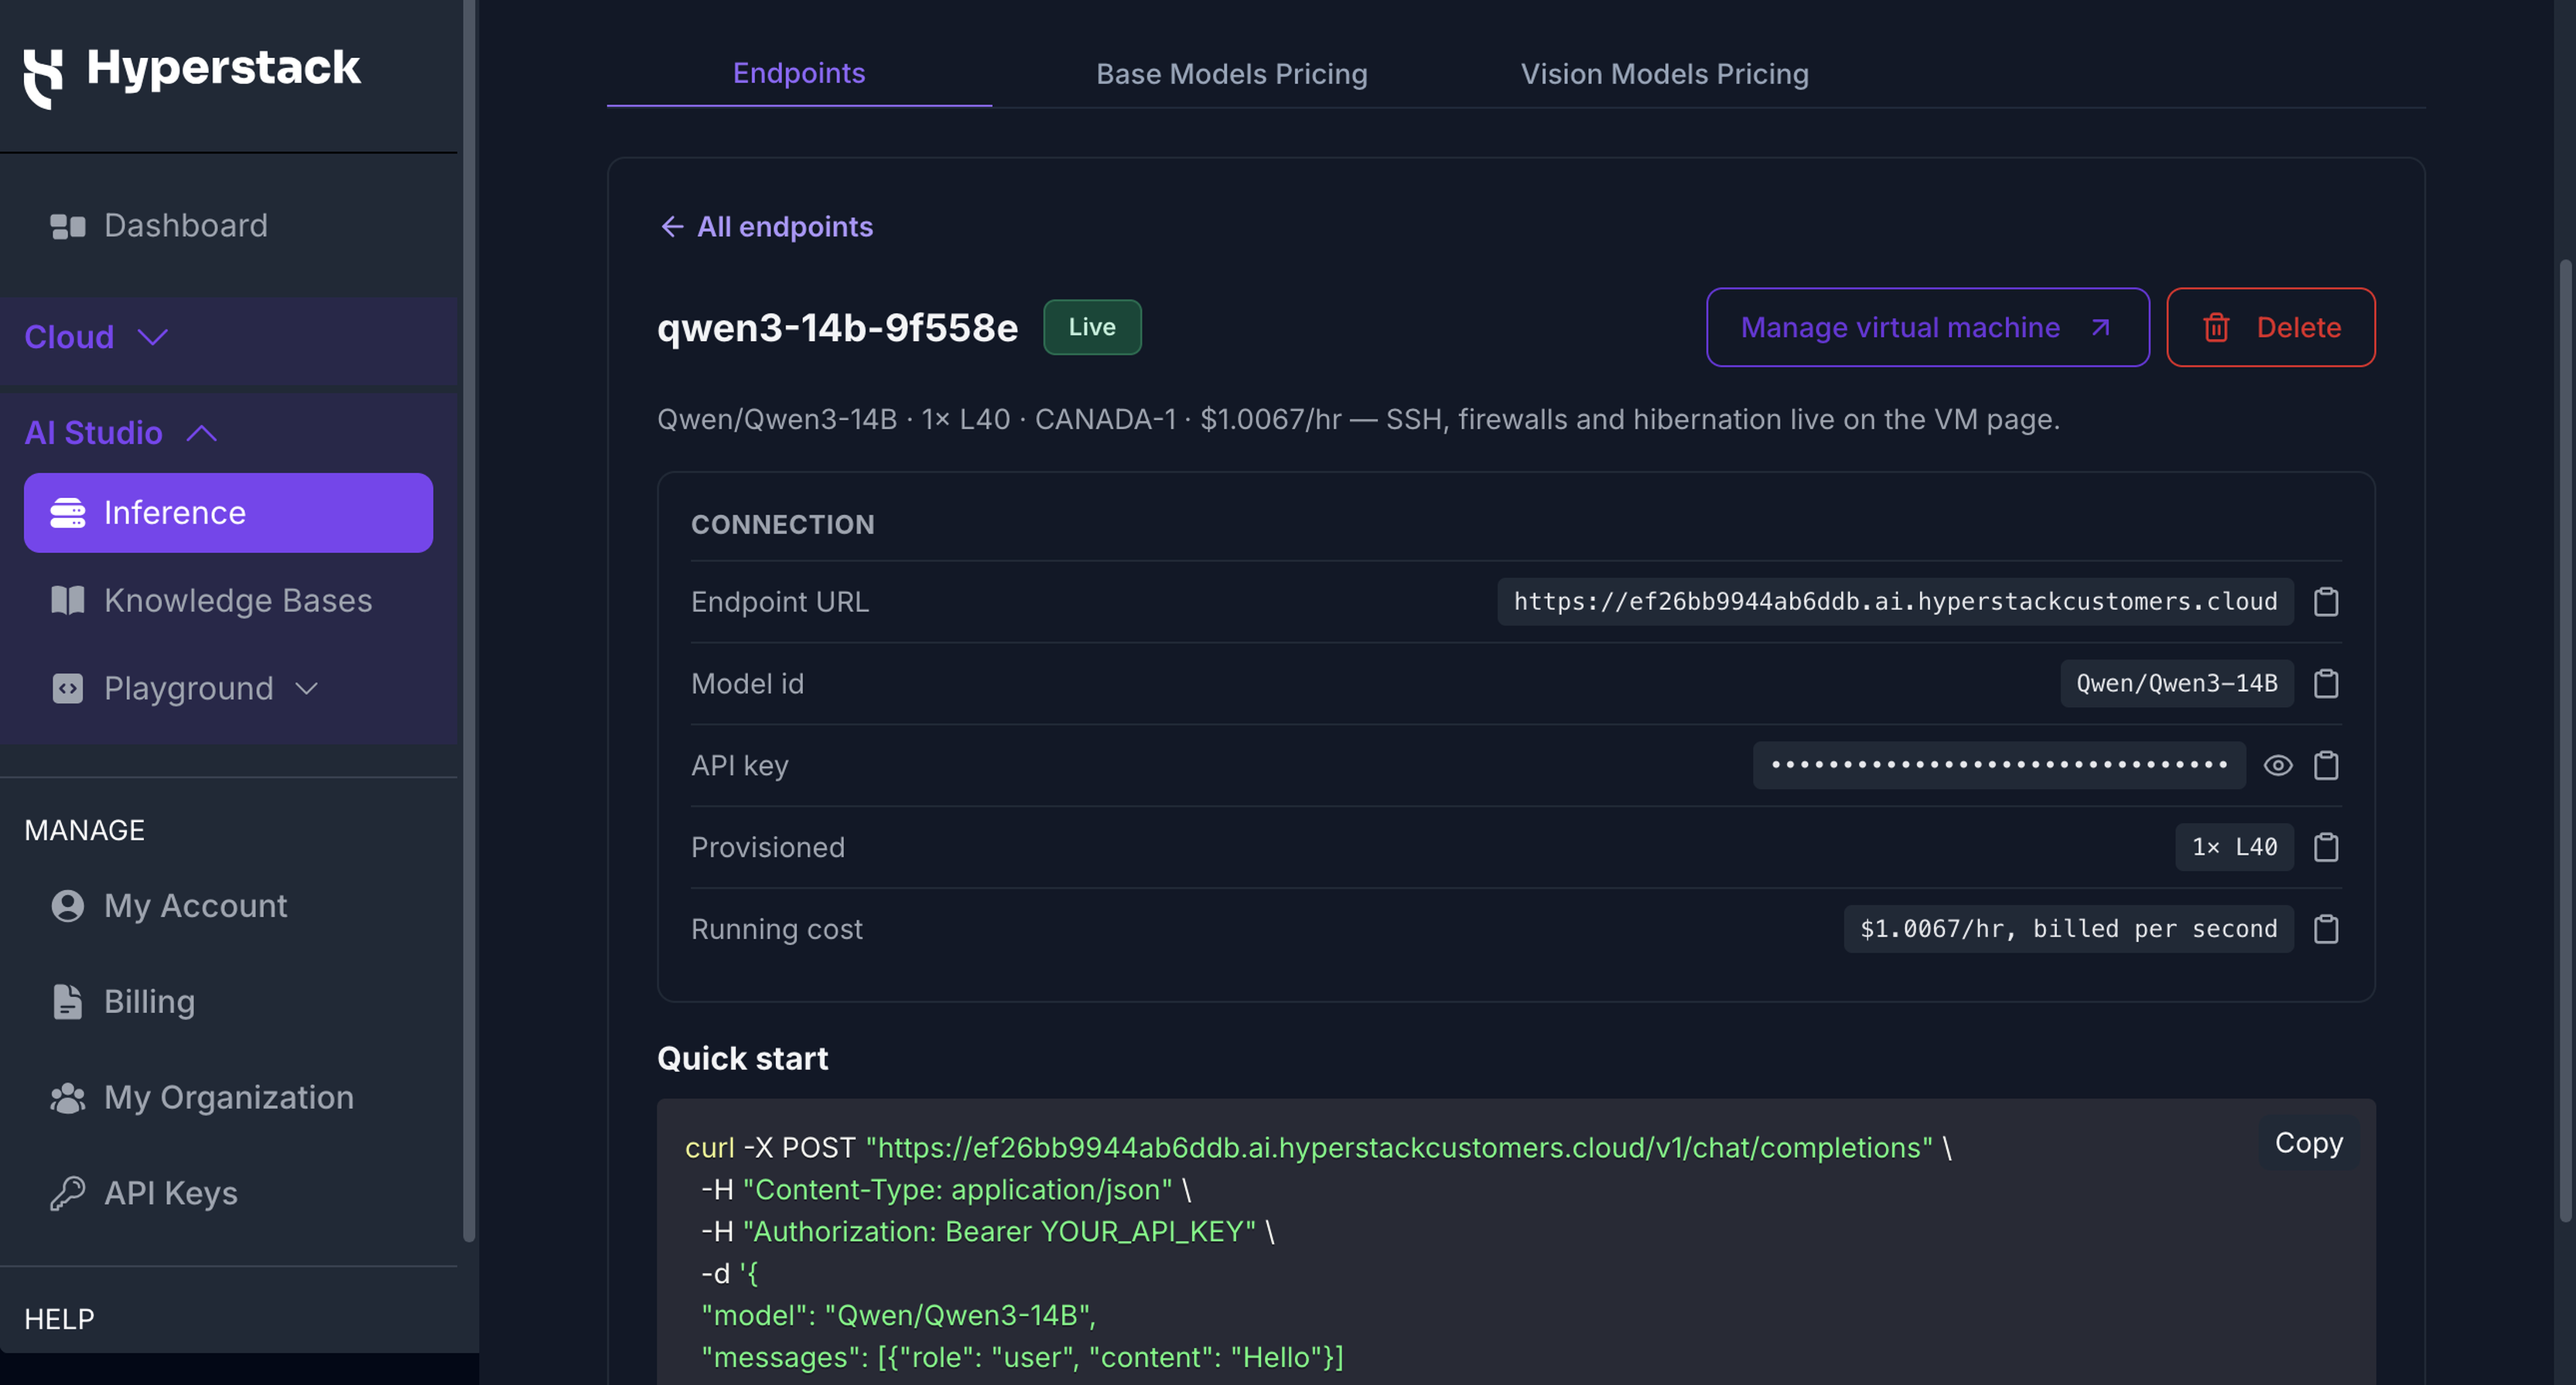
Open the Endpoints tab on the Inference page and click your endpoint's name. The Connection section shows the endpoint URL, the model id, and the API key, which stays masked until you click the eye control. Below it, the Quick start request is ready to copy with the URL and model id filled in.
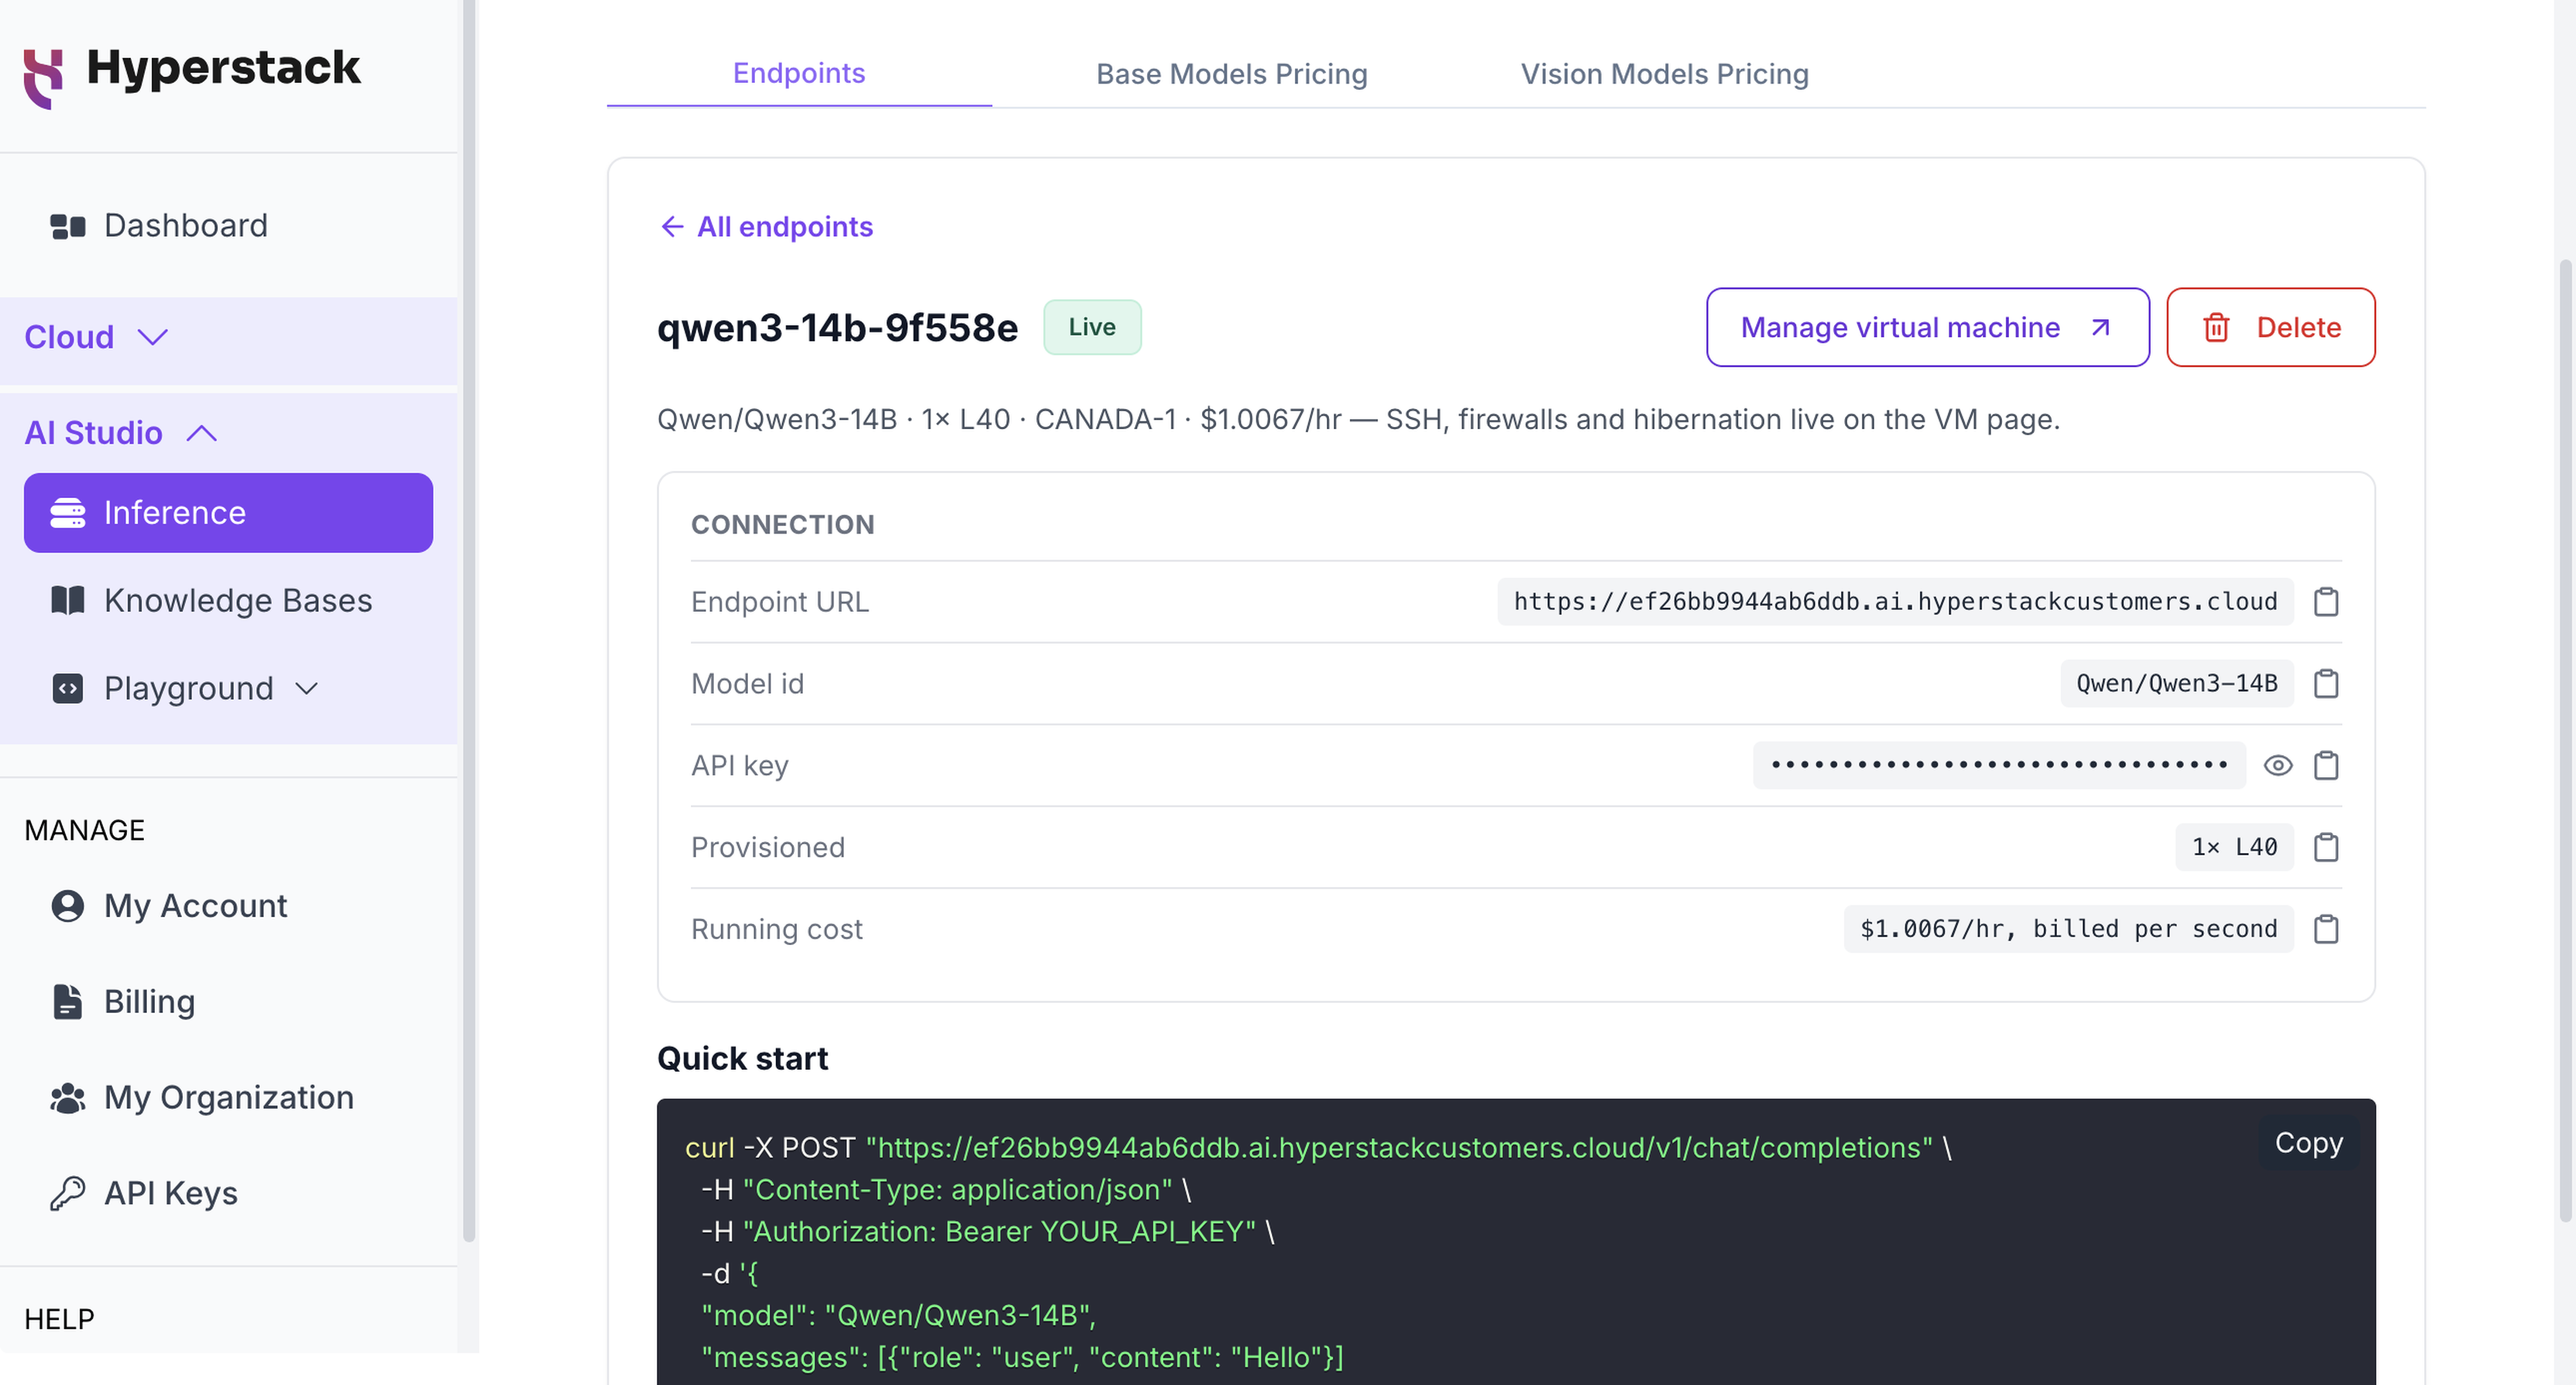
Send the API key as a bearer token and the model id as the
modelfield:terminalCall your dedicated endpointcurl -X POST "https://<endpoint-host>.ai.hyperstackcustomers.cloud/v1/chat/completions" \
-H "Content-Type: application/json" \
-H "Authorization: Bearer YOUR_API_KEY" \
-d '{
"model": "<model-id>",
"messages": [{"role": "user", "content": "Hello"}]
}'Replace
<endpoint-host>with the host label in your endpoint URL,YOUR_API_KEYwith the endpoint's API key, and<model-id>with the model id from the endpoint's page. The endpoint exposes an OpenAI-compatible chat completions API, so the model's reply comes back in that format.
Point any OpenAI-compatible client at your endpoint URL with its API key to serve the model from your own application.
The endpoint bills at the hourly rate of its configuration for as long as its machine runs, whether or not it serves requests. When you no longer need it, click Delete on the endpoint's page. The virtual machine behind the endpoint is deleted with it, and its API key stops working.
Next steps
Dedicated Inference guide
Sizing profiles, permissions, and how an inference machine differs from an ordinary virtual machine.
Monitor your endpoint
Track throughput, queued requests, and time to first token on the machine serving your model.
Try serverless inference
Use hosted models billed per token when you don't need GPUs reserved for you.
Pricing
Hourly rates for the GPU configurations that serve dedicated endpoints.