OpenCode
Integrate OpenCode with AI Studio to run models from the command line or OpenCode Studio.
This quickstart guide shows you how to integrate OpenCode with Hyperstack AI Studio using minimal configuration. You’ll install OpenCode, authenticate with AI Studio, and run a model from the command line or OpenCode Studio. This setup enables you to use models from the AI Studio catalog inside your OpenCode workflows.
For the complete guide that includes setup theory, agent design, and workflow demos, see Integrating Hyperstack LLM API with OpenCode.
Why Integrate OpenCode with Hyperstack AI Studio
OpenCode is a cross-platform CLI and interactive studio for building AI agents and prompt workflows. It supports OpenAI-compatible providers and allows developers to connect the models of their choice with minimal setup.
Hyperstack AI Studio acts as a managed backend for model inference. It serves a catalog of text and image models accessible via an OpenAI-compatible API. Together, OpenCode and Hyperstack let you:
- Use custom LLMs from Hyperstack inside OpenCode with no code changes.
- Combine agentic workflows in OpenCode with powerful inference from AI Studio models.
- Rapidly test prompts, execute tasks, and build AI applications.
To learn more about how this integration works, see the full guide.
This integration gives you full control of the frontend (OpenCode agents and prompts) and the backend (AI Studio models).
How to Set Up and Connect OpenCode to AI Studio
-
Install OpenCode
Install the CLI tool for building and running LLM-powered workflows. For more installation options and details, see the full guide.
Option A: via Homebrew (macOS/Linux)
terminalbrew install sst/tap/opencodeOption B: via npm (Cross-Platform)
terminalnpm install -g opencode-ai -
Get API Credentials from Hyperstack AI Studio
Retrieve the base URL, model ID, and API key from Hyperstack. For more information about selecting models and generating credentials, see the full guide.
- Log in to the Hyperstack Console
- Open the AI Studio Playground and select a model (e.g.
openai/gpt-oss-20b) - Open the API tab to copy the Base URL and Model ID
- Go to API Keys and generate a new key
- Copy and securely store the API key
-
Authenticate OpenCode
Link your Hyperstack API key to OpenCode by selecting it as a custom provider. For more information about the login flow, see the full guide.
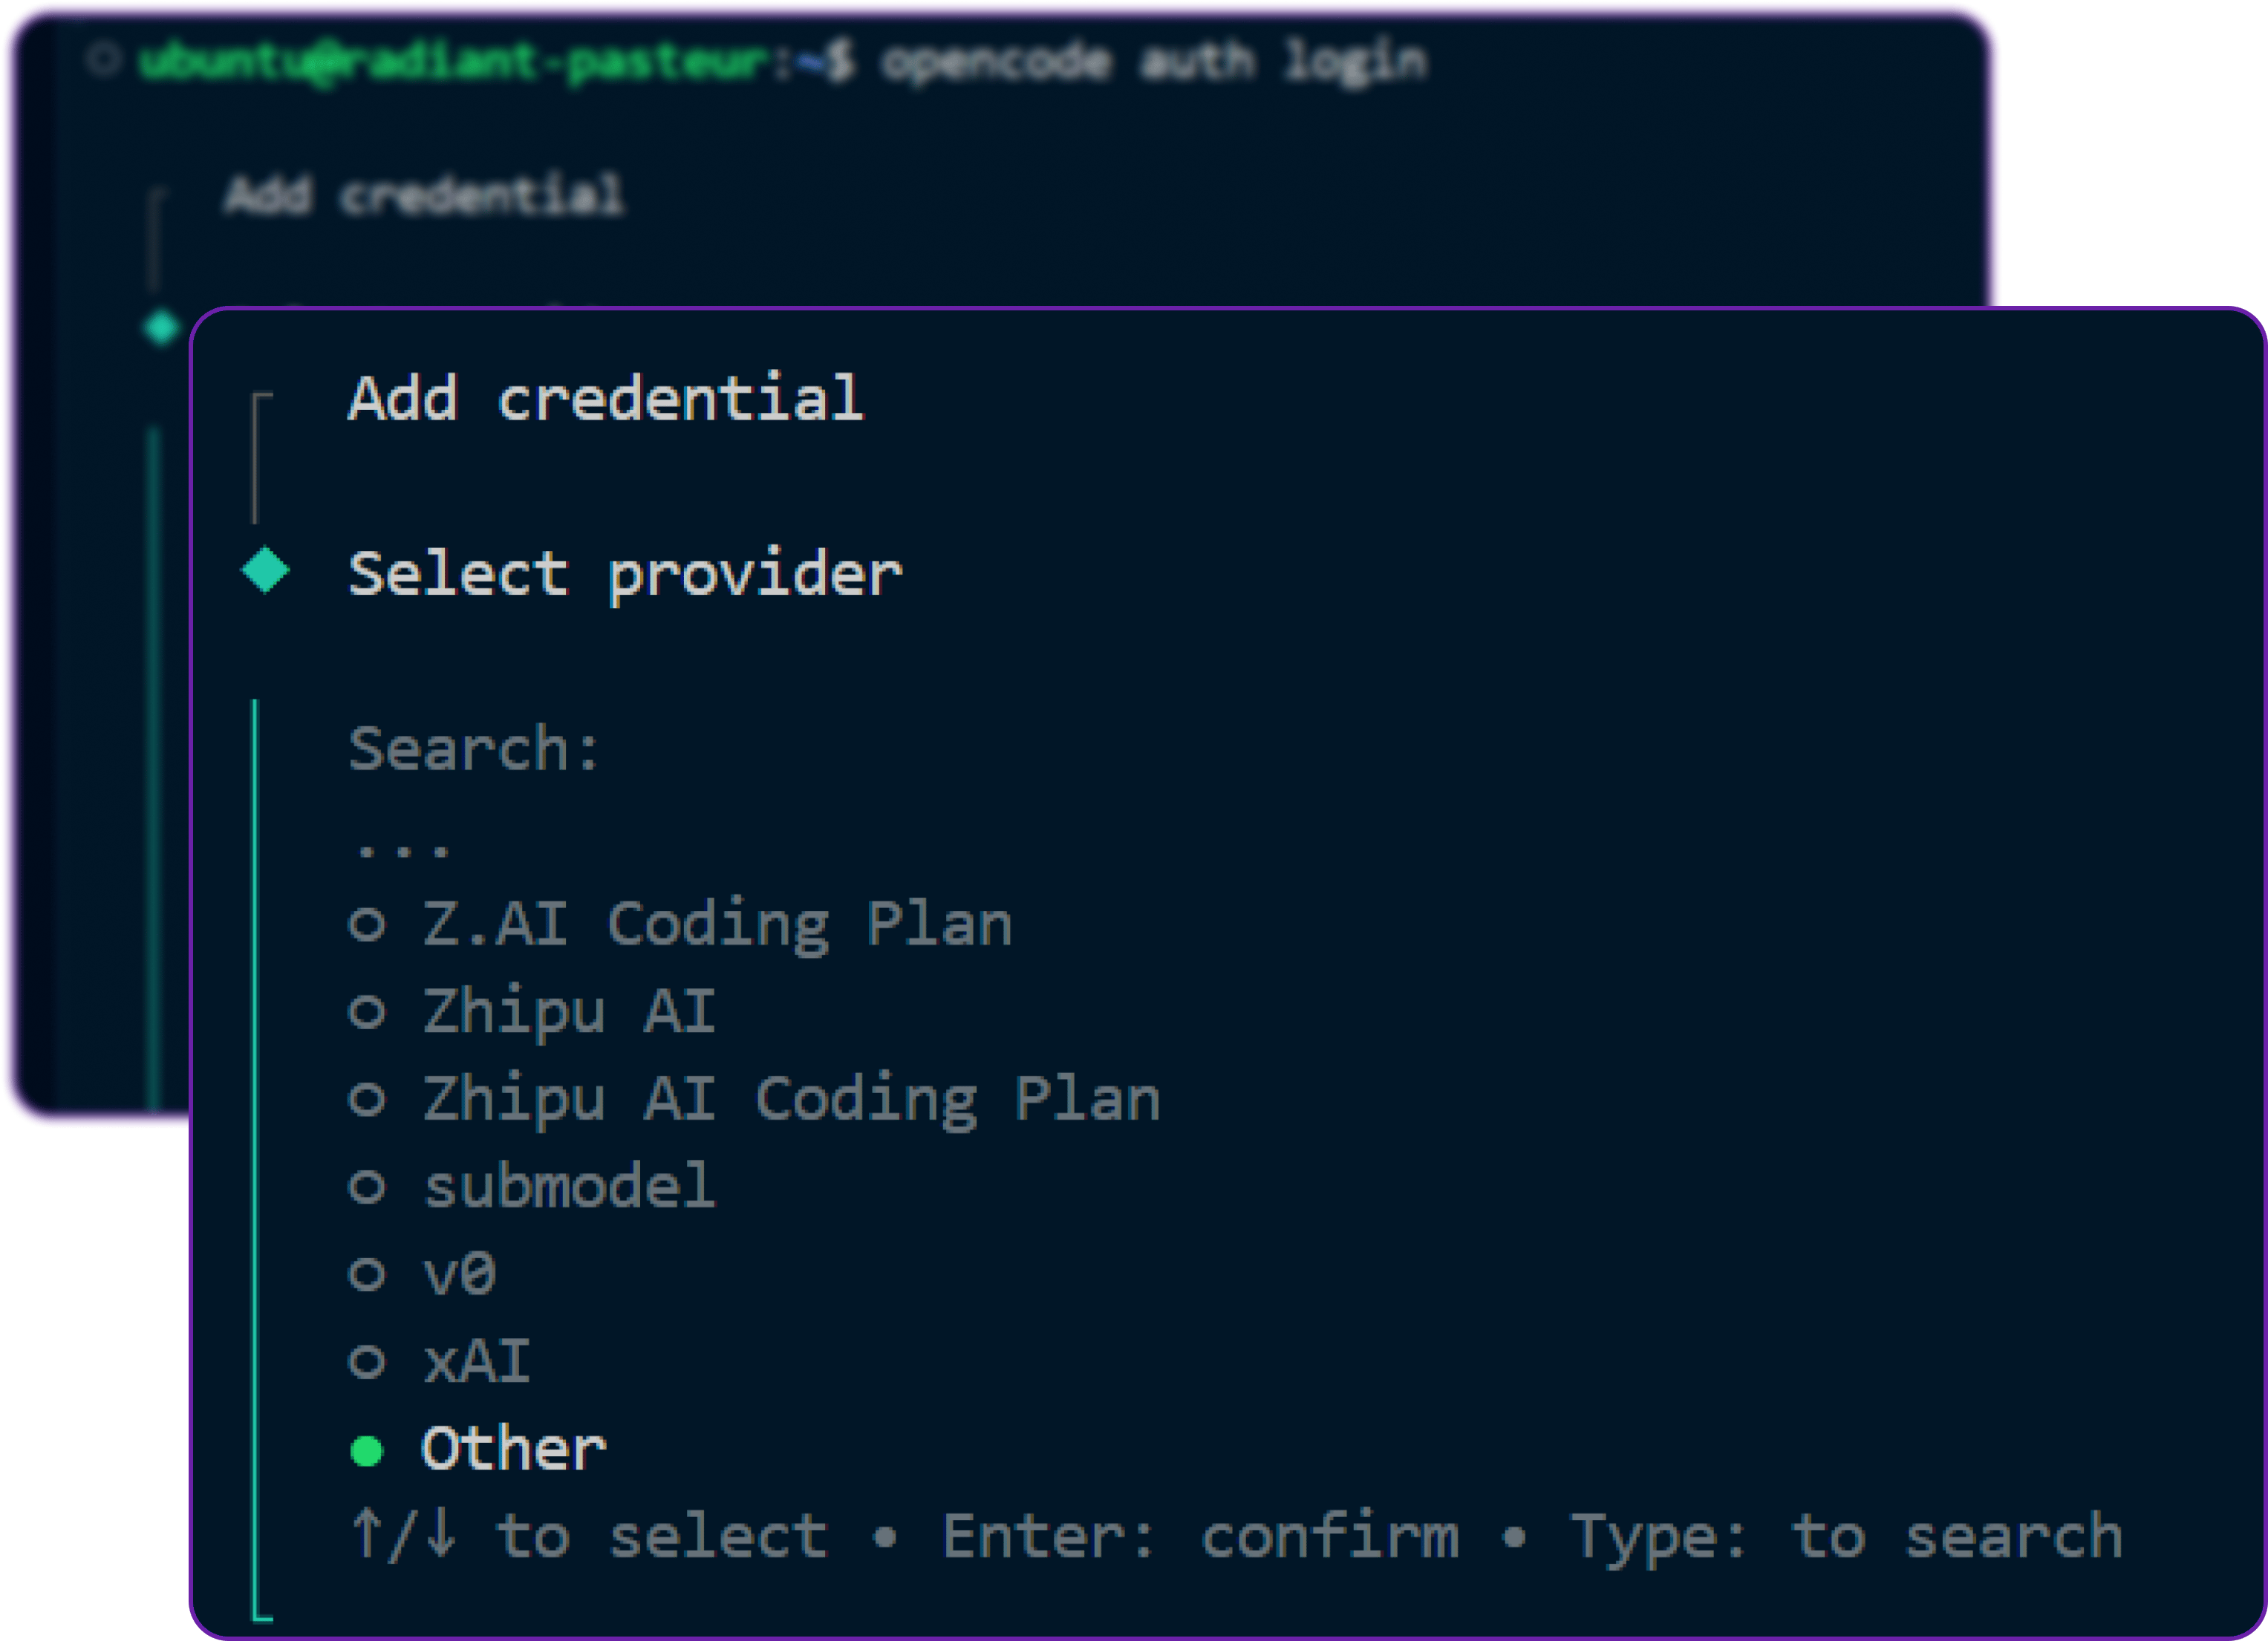
terminalopencode auth login- Scroll to the bottom and select Other
- Use
hyperstackas the provider ID - Paste in your Hyperstack API key
-
Configure
opencode.jsonSet up your OpenCode config file to define Hyperstack as a provider. For config options and tips, see the full guide.
json{
"$schema": "https://opencode.ai/config.json",
"provider": {
"hyperstack": {
"npm": "@ai-sdk/openai-compatible",
"name": "Hyperstack AI",
"options": {
"baseURL": "https://console.hyperstack.cloud/ai/api/v1",
"apiKey": "{env:HYPERSTACK_API_KEY}"
},
"models": {
"openai/gpt-oss-20b": {
"name": "gpt-oss-20b"
}
}
}
}
} -
Set Your Environment Variable
Export the API key to your terminal session so it can be accessed securely.
terminalexport HYPERSTACK_API_KEY="your_hyperstack_api_key_here"
echo $HYPERSTACK_API_KEY -
Verify Setup
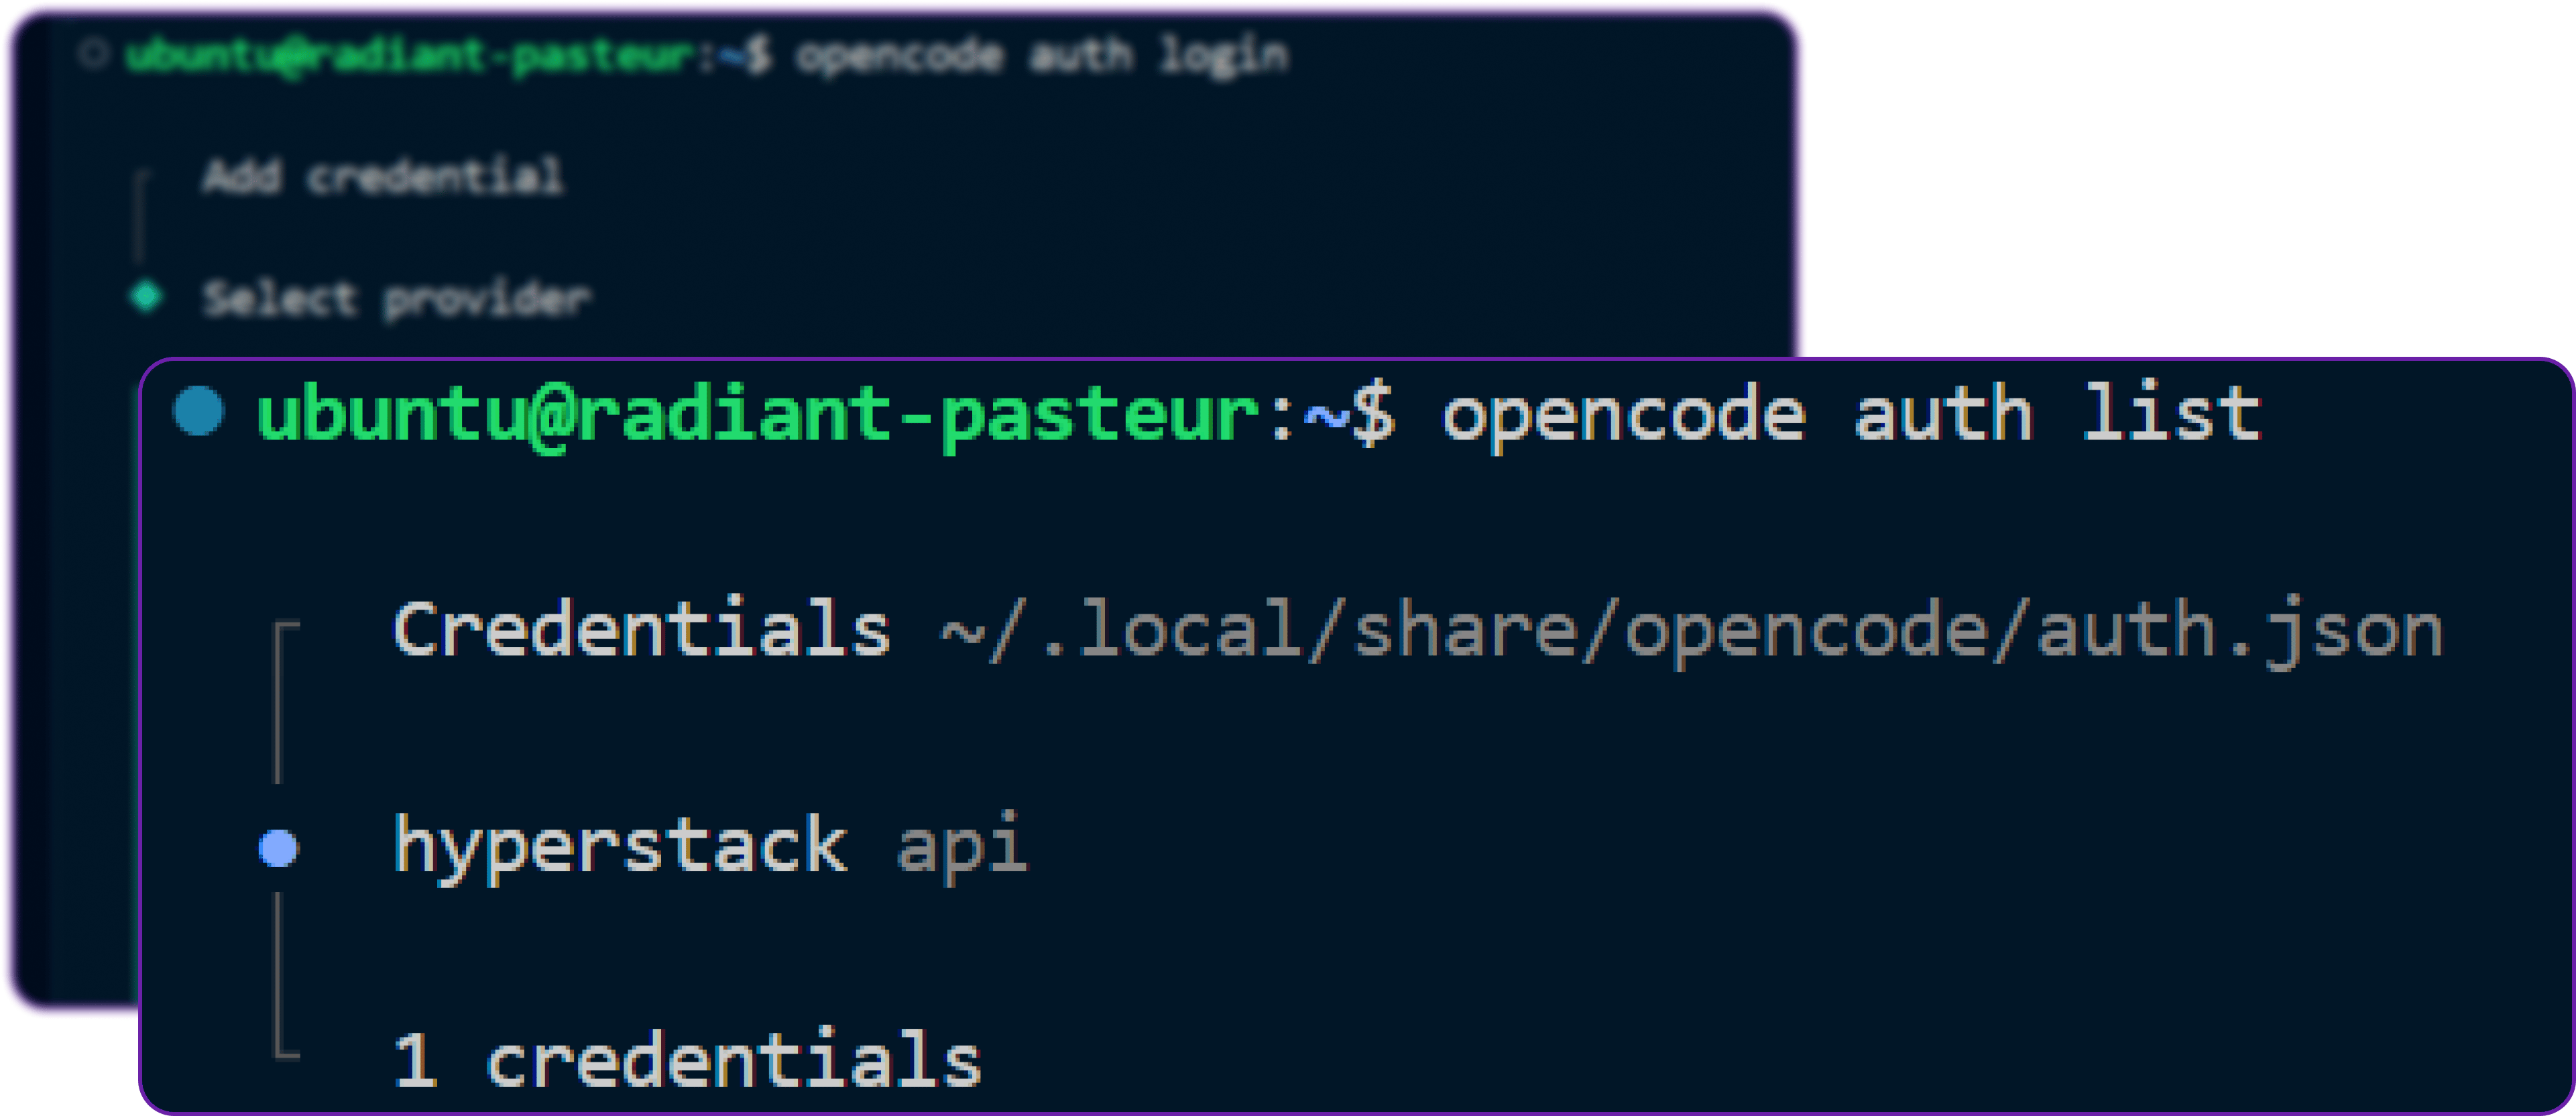
Confirm that OpenCode recognizes Hyperstack as a valid provider.
terminalopencode auth listEnsure that Hyperstack is listed.
-
Start OpenCode Studio
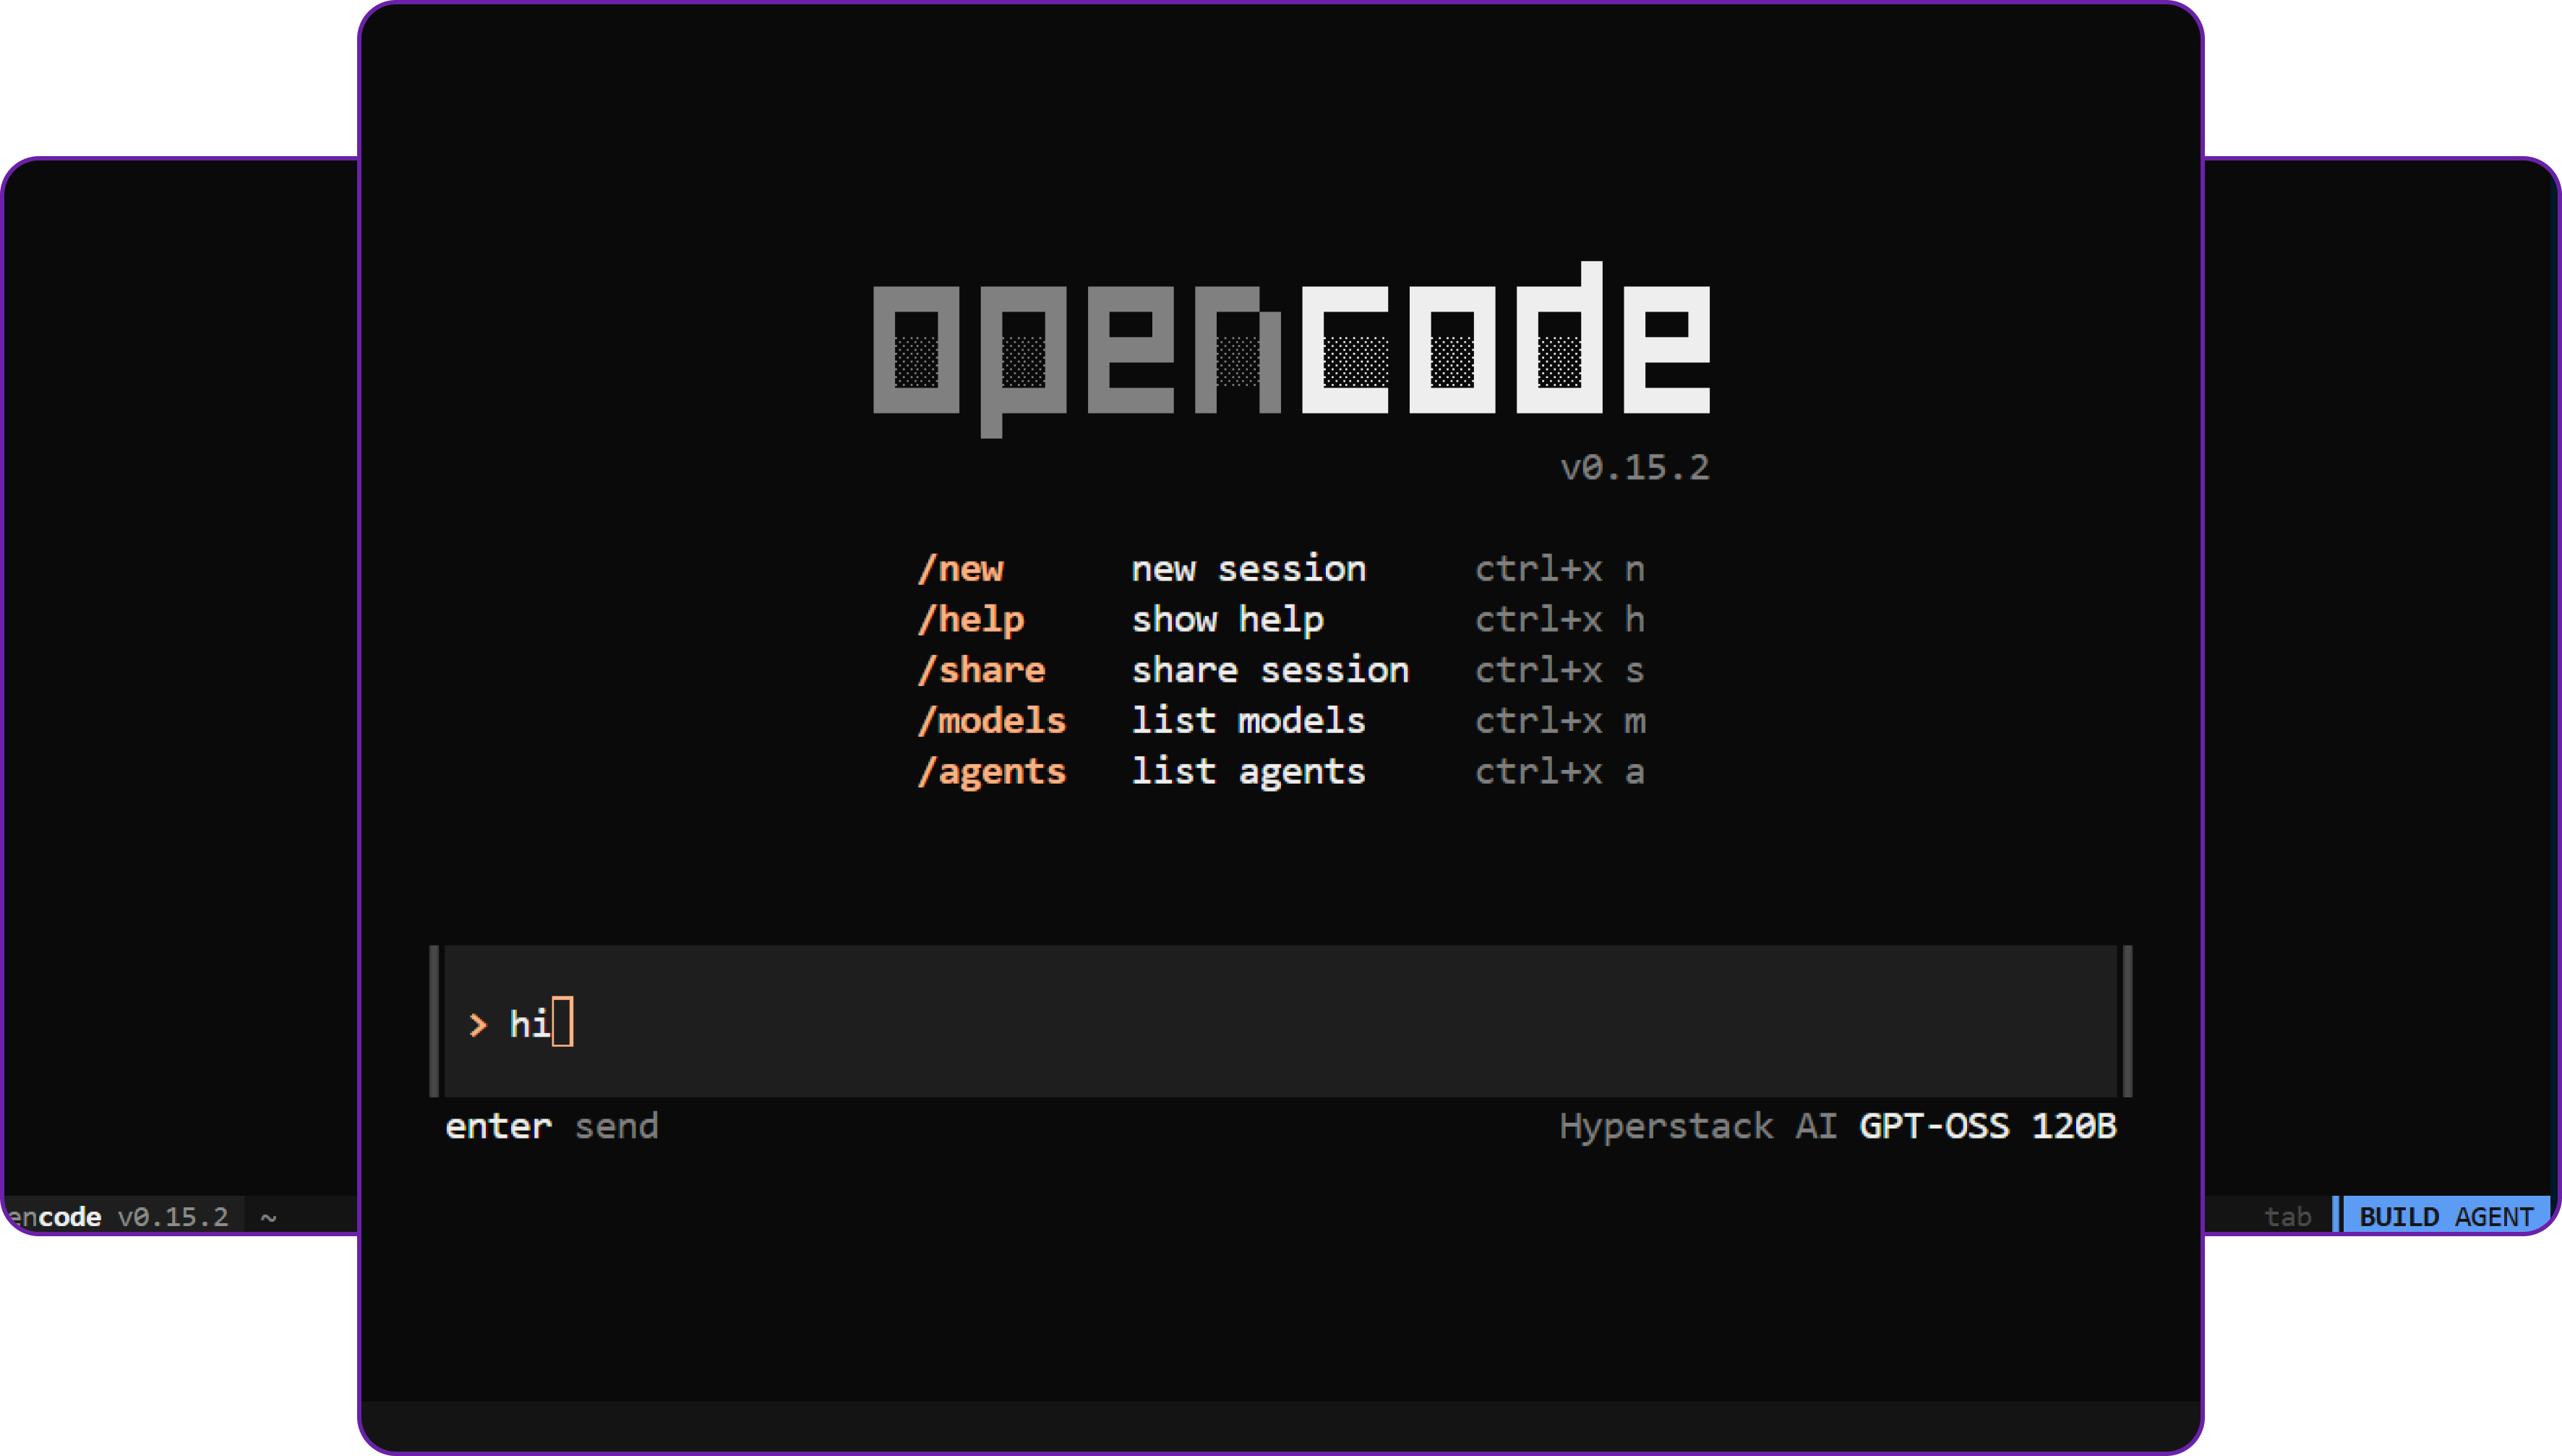
Launch OpenCode’s interactive interface and test your setup. For more test workflows and troubleshooting steps, see the full guide.
terminalopencodeSend a prompt like:
terminalhiYou should receive a response from your Hyperstack model.
-
Test Code Generation
Try generating a simple HTML file to verify LLM output.
terminalcreate an HTML file of h1 tagExpected Output:
html<!DOCTYPE html>
<html>
<head></head>
<body>
<h1>Hello, world!</h1>
</body>
</html> -
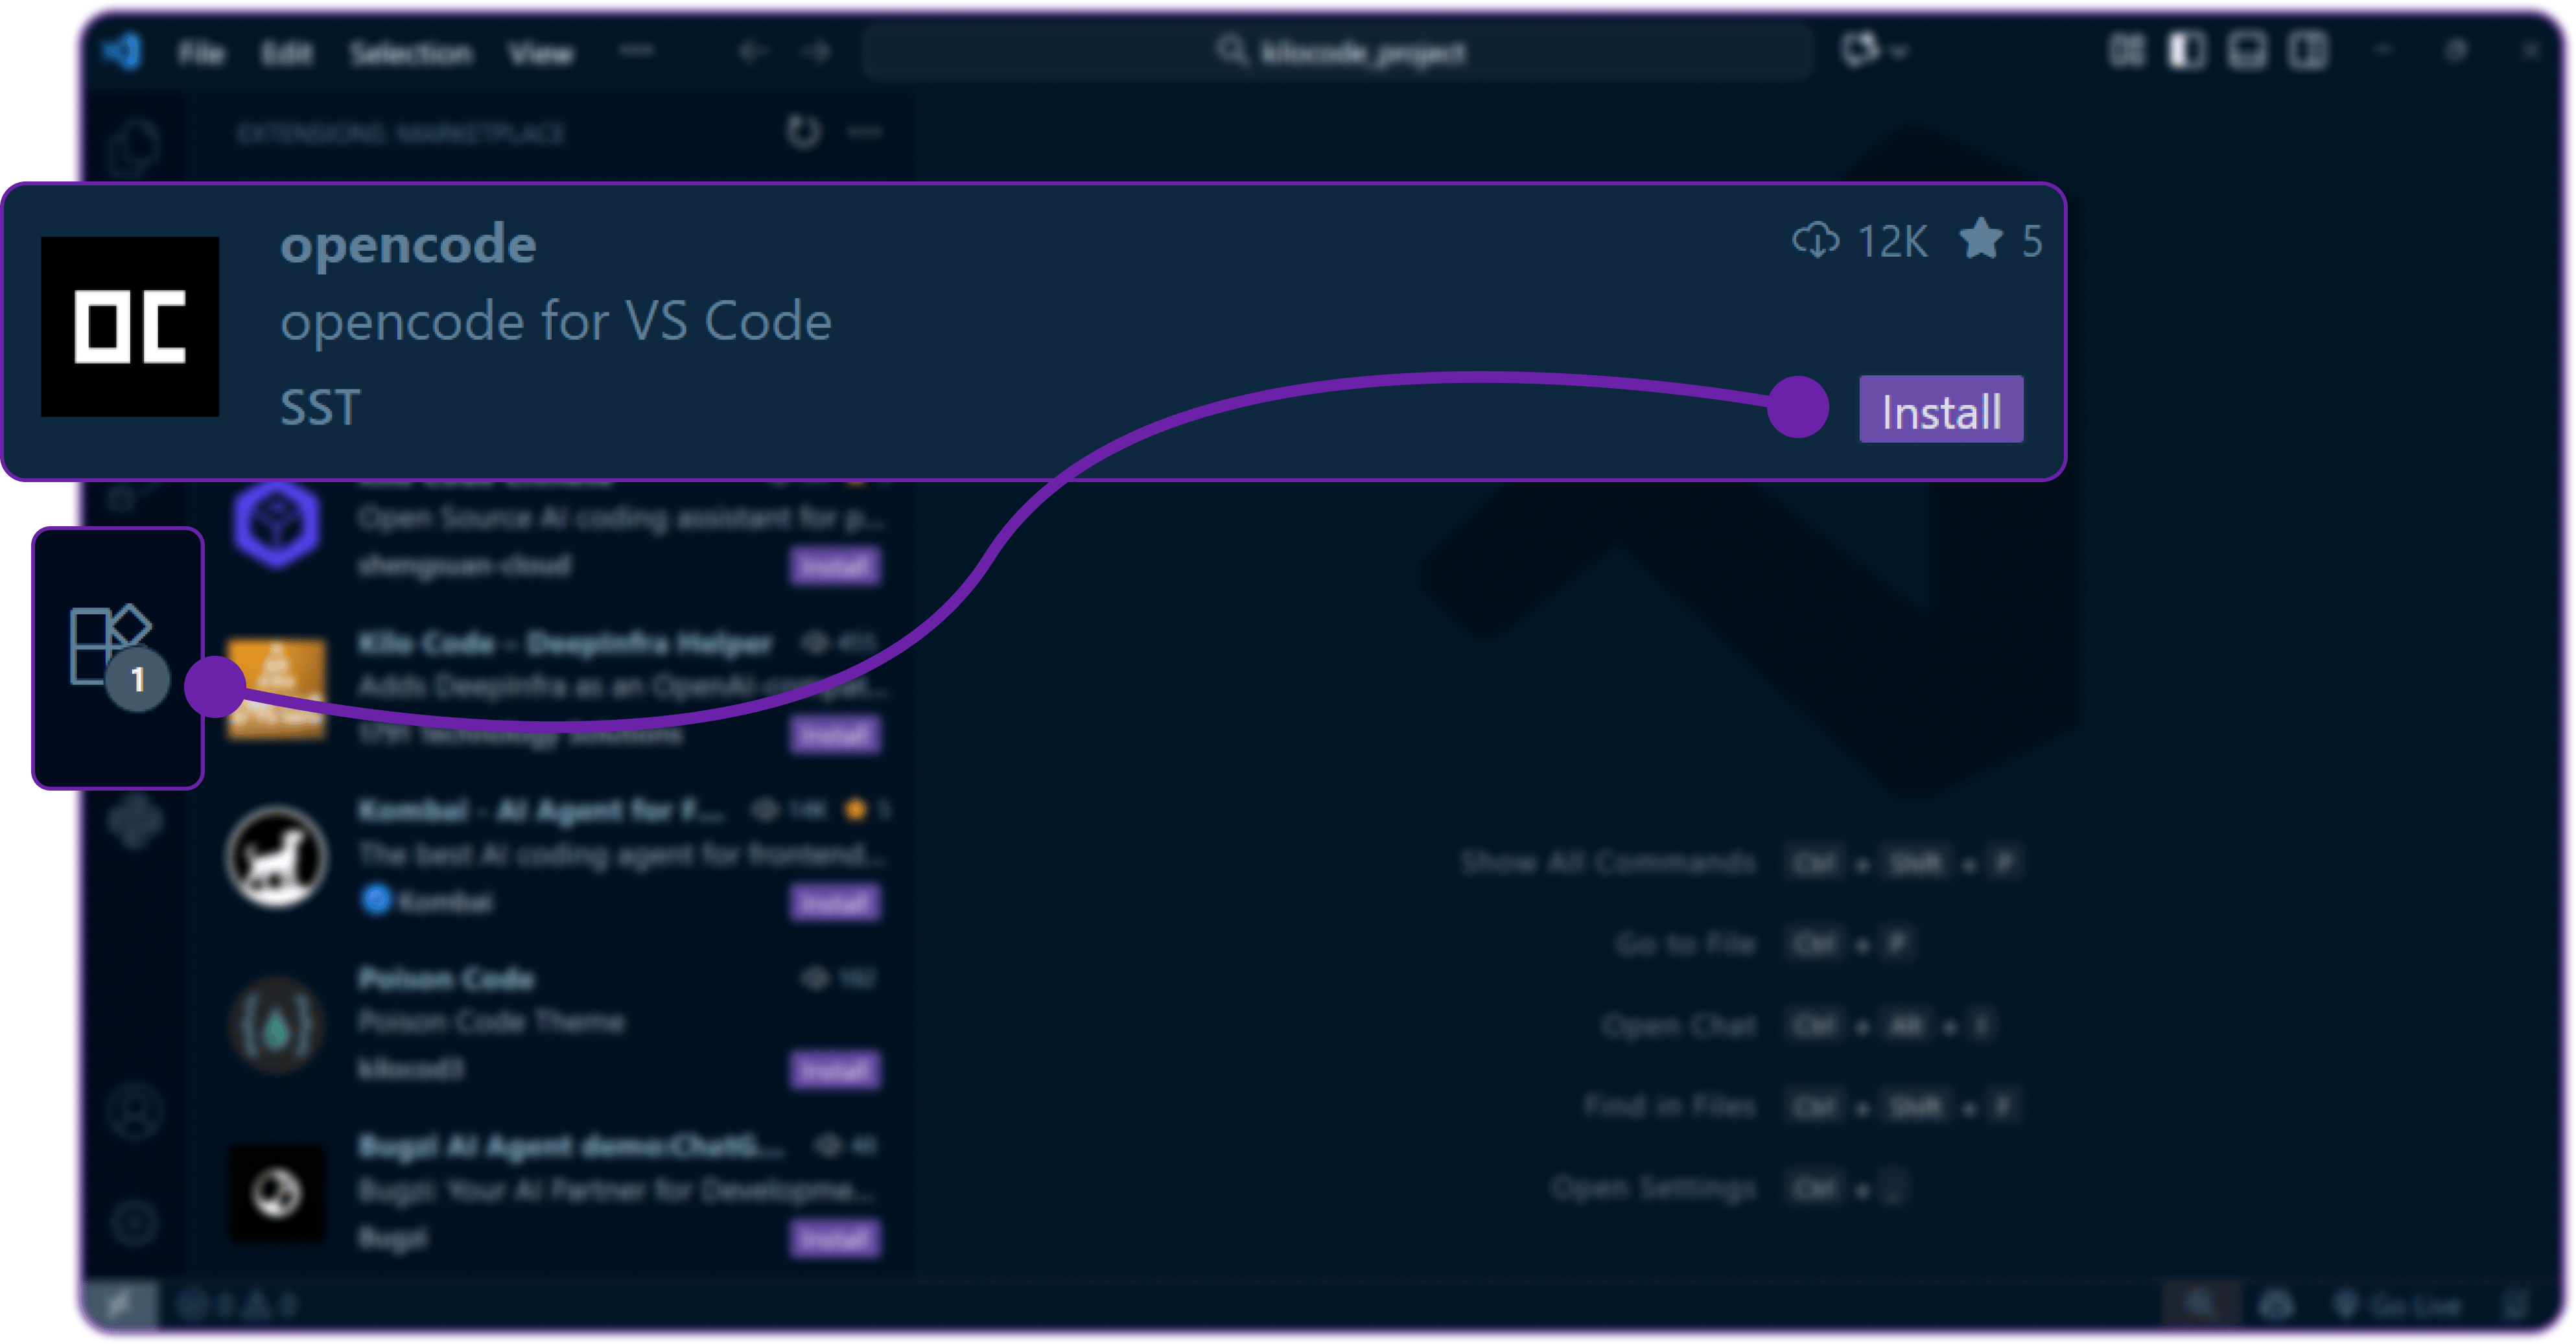
Optional: Use VSCode Extension
Optionally, install the OpenCode VSCode Extension to streamline workflows with agent support.